
Tech: Make a #100 Fuel Plate
 06-26-2007, 09:20 PM
#1
Registered User
Thread Starter

Join Date: Dec 2003
Location: San Marcos, TX
Posts: 620
Likes: 0
Received 0 Likes
on
0 Posts
Tech: Make a #100 Fuel Plate
Here's some pics I took during the process of making a #100 Fuel Plate on my 12V Cummins. Do it yourself, save money, gain pride.
This is just how I did it. You can take this and use it as a guide, follow it exactly, or make fun of it and do it your own way. I figure I'll try to contribute to this forum and maybe help some people out.
NOTE: This mod on my stock '97 3500 made TONS of smoke, and the power increase was incredible. EGT's aren't bad, and the driveability is the same as stock. I should probably back it off a bit in the AFC adjustment, because the smoke can get pretty radical at times. I don't need any more raised eyebrows from the local piggies. This mod took me about 1 hour to do using no specialty tools. Anyhow, have at it, most importantly, have fun doing it.
Okay, I'm assuming you already know how to get your fuel plate out from under the AFC Housing, so I'll start the actual tech with pictures from there. But for you guys who don't know how to get to the plate, here's a few easy steps to make your life simple.
1. Pop the hood, bust out the tools.
2. Use a small center punch or flat blade chisel and a hammer to work the side of the tamper proof bolt head until it loosens. This bolt is the top front bolt up under the fuel lines that doesn't look like the other ones. Use a 8mm socket or wrench to remove the other 3.
3. Pull back the bracket away from the AFC Housing and pop the housing off and away from the pump.
4. Remove the two flat-head machine screws holding the fuel plate.
5. Remove fuel plate.
Ok, from there we carry on to the tech...
1. Clean the fuel plate with brake cleaner or degreaser.
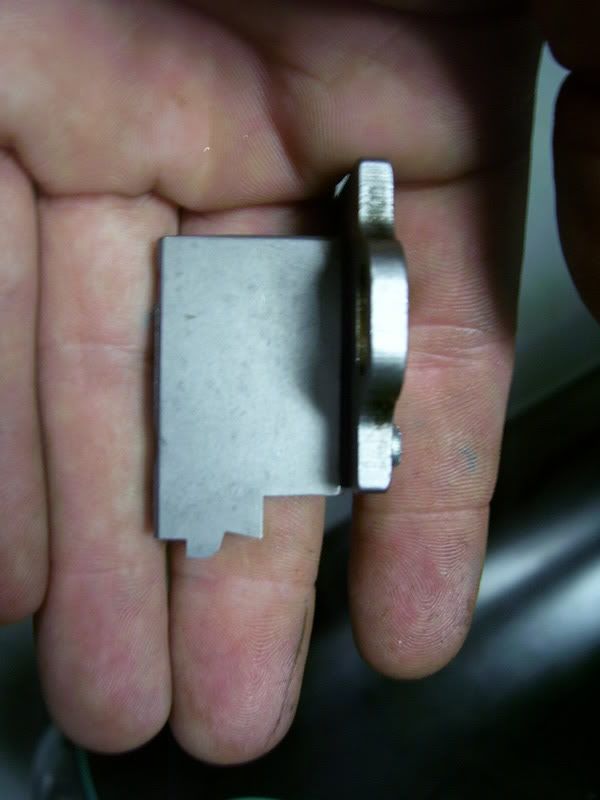
2. Mark the profile of the cut you are going to make with a marker. In my case, red Sharpie to the profile of a #100...
This is just how I did it. You can take this and use it as a guide, follow it exactly, or make fun of it and do it your own way. I figure I'll try to contribute to this forum and maybe help some people out.
NOTE: This mod on my stock '97 3500 made TONS of smoke, and the power increase was incredible. EGT's aren't bad, and the driveability is the same as stock. I should probably back it off a bit in the AFC adjustment, because the smoke can get pretty radical at times. I don't need any more raised eyebrows from the local piggies.
This mod took me about 1 hour to do using no specialty tools. Anyhow, have at it, most importantly, have fun doing it.Okay, I'm assuming you already know how to get your fuel plate out from under the AFC Housing, so I'll start the actual tech with pictures from there. But for you guys who don't know how to get to the plate, here's a few easy steps to make your life simple.
1. Pop the hood, bust out the tools.
2. Use a small center punch or flat blade chisel and a hammer to work the side of the tamper proof bolt head until it loosens. This bolt is the top front bolt up under the fuel lines that doesn't look like the other ones. Use a 8mm socket or wrench to remove the other 3.
3. Pull back the bracket away from the AFC Housing and pop the housing off and away from the pump.
4. Remove the two flat-head machine screws holding the fuel plate.
5. Remove fuel plate.
Ok, from there we carry on to the tech...
1. Clean the fuel plate with brake cleaner or degreaser.
2. Mark the profile of the cut you are going to make with a marker. In my case, red Sharpie to the profile of a #100...
 06-26-2007, 09:40 PM
#2
Registered User
Thread Starter
Join Date: Dec 2003
Location: San Marcos, TX
Posts: 620
Likes: 0
Received 0 Likes
on
0 Posts
(edit: I was havingn uploading issues, so I've moved my photos to a hosting site and will continue with the tech post...)
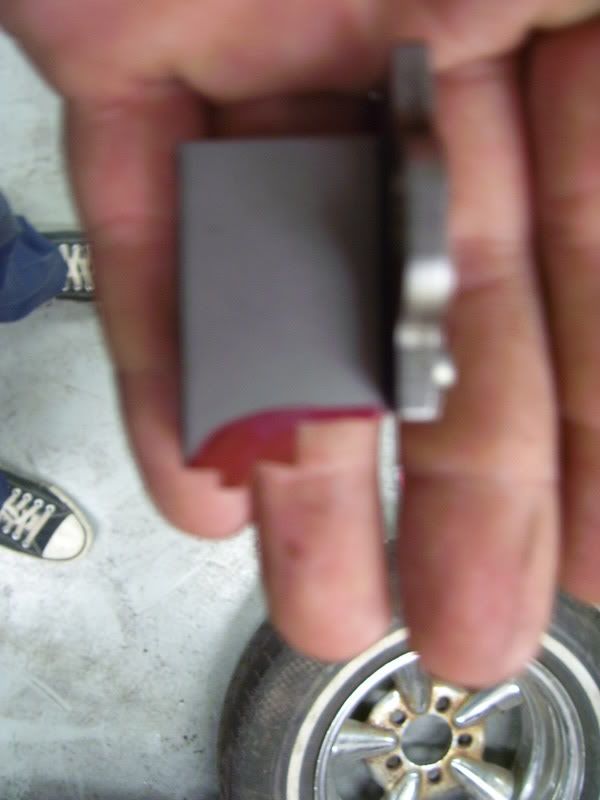
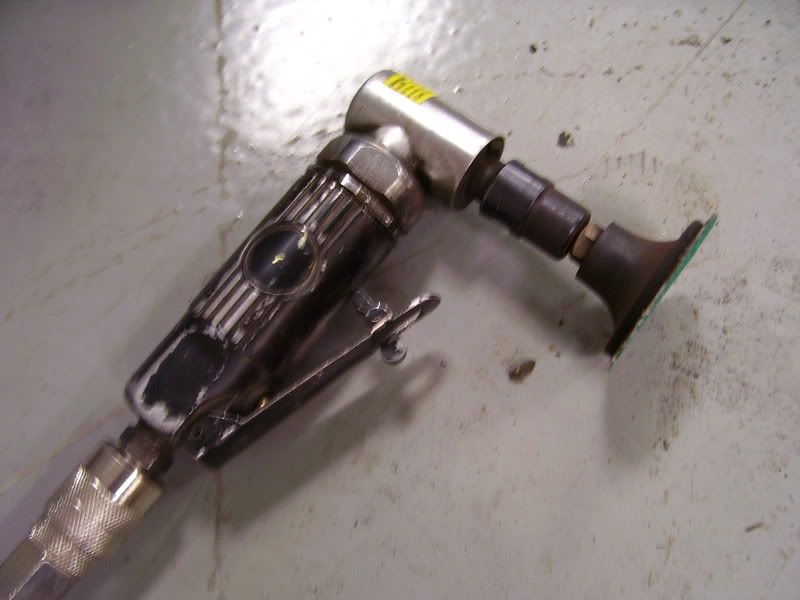
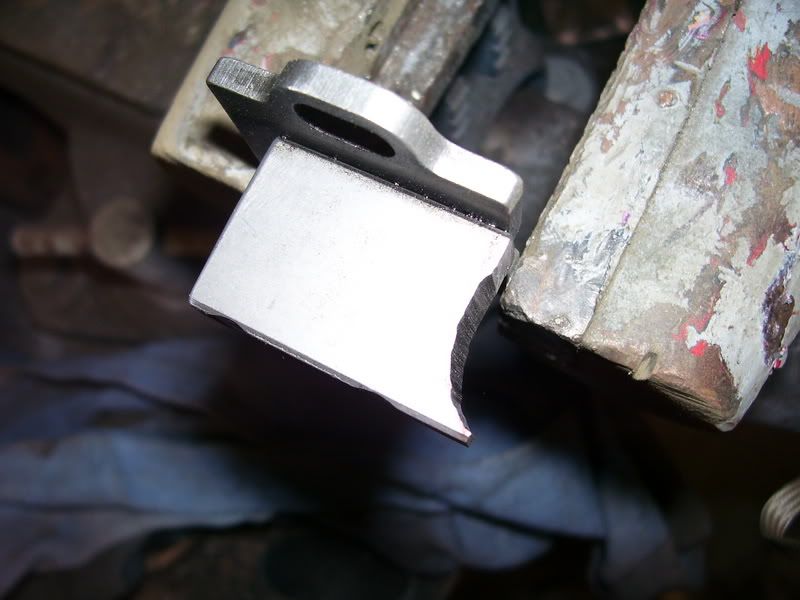
3. Clamp the fuel plate into a bench vise.
4. Use an electric angle grinder, or in my case, a pneumatic mini angle grinder with a 3" Roloc 36-Grit Sanding Disc to grind off the first nub of the fuel plate profile...
3. Clamp the fuel plate into a bench vise.
4. Use an electric angle grinder, or in my case, a pneumatic mini angle grinder with a 3" Roloc 36-Grit Sanding Disc to grind off the first nub of the fuel plate profile...
06-26-2007, 09:49 PM
#3
Registered User

Join Date: Apr 2007
Location: Covington Ohio
Posts: 65
Likes: 0
Received 0 Likes
on
0 Posts
Great post. I did mine the same way. I first tryed to shape it on a small mill we have in our shop. I toasted a cutter (hi speed steel). Lesson just use a grinder A great free mod!
A great free mod!
06-26-2007, 09:56 PM
#4
Banned

Join Date: Apr 2006
Location: Magnolia, TX
Posts: 901
Likes: 0
Received 0 Likes
on
0 Posts
I made my "lip" a little more agressive and grinded it MUCH deeper, and also elongated the holes on the top where you bolt it down so the rack can travel a BUNCH farther... In order to take advantage of it being that way extra rack travel mods and a modded/gutted AFC are required... Good post though, should probably be a sticky since a lot of people ask...
 06-26-2007, 10:05 PM
#6
Registered User
Thread Starter
Join Date: Dec 2003
Location: San Marcos, TX
Posts: 620
Likes: 0
Received 0 Likes
on
0 Posts
Continuing on... (bare with me, the uploads are being a pain)
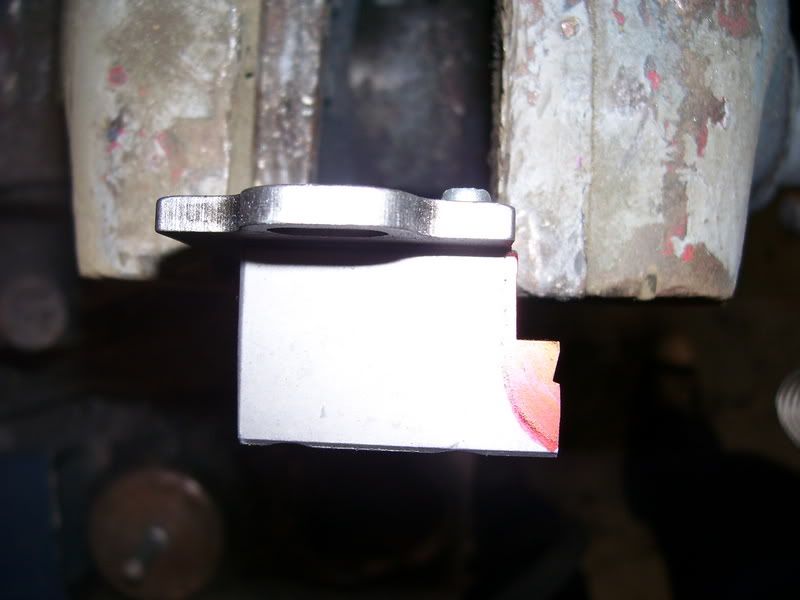
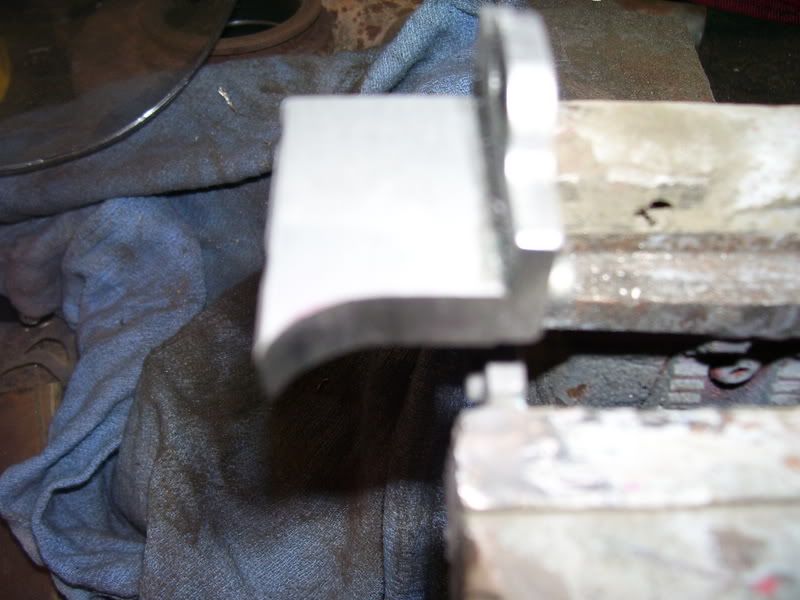
5. I used an electric angle grinder with a cut off wheel to get the majority of the material off the fuel plate so I wouldn't have to sit there for an hour with the mini angle and sanding disc.
6. Back to the mini angle and sanding disc to clean up the profile and make it nice and even across the entire curve...

Trending Topics
06-26-2007, 10:09 PM
#8
Registered User
Thread Starter
Join Date: Dec 2003
Location: San Marcos, TX
Posts: 620
Likes: 0
Received 0 Likes
on
0 Posts
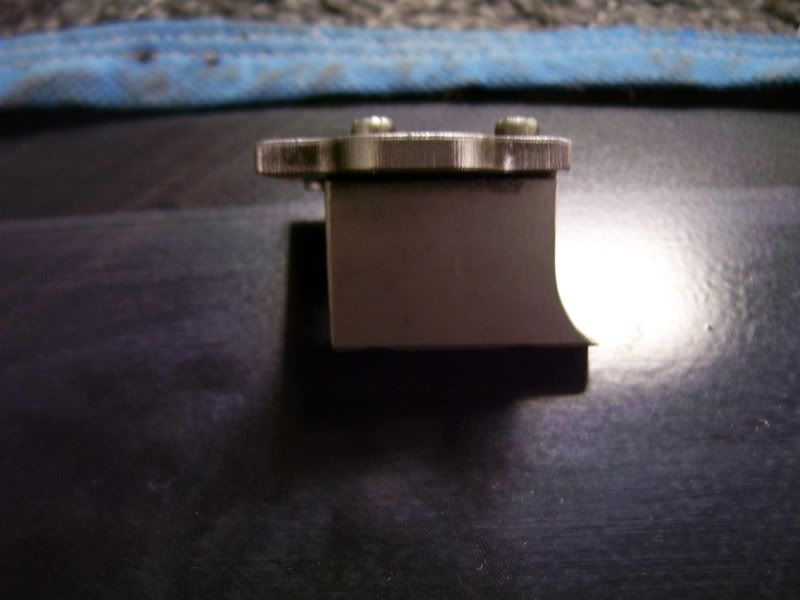
7. On to a Roloc Surface Conditioning Disc to clean the surface nice and smooth...
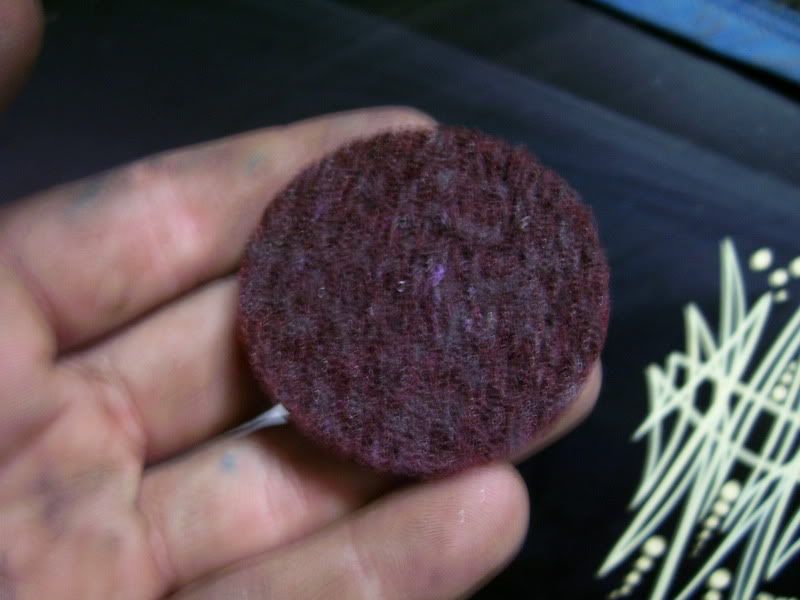
8. Cleaning up with the surface conditioning disc really smooths it out and make sure to get the edges smooth as well...
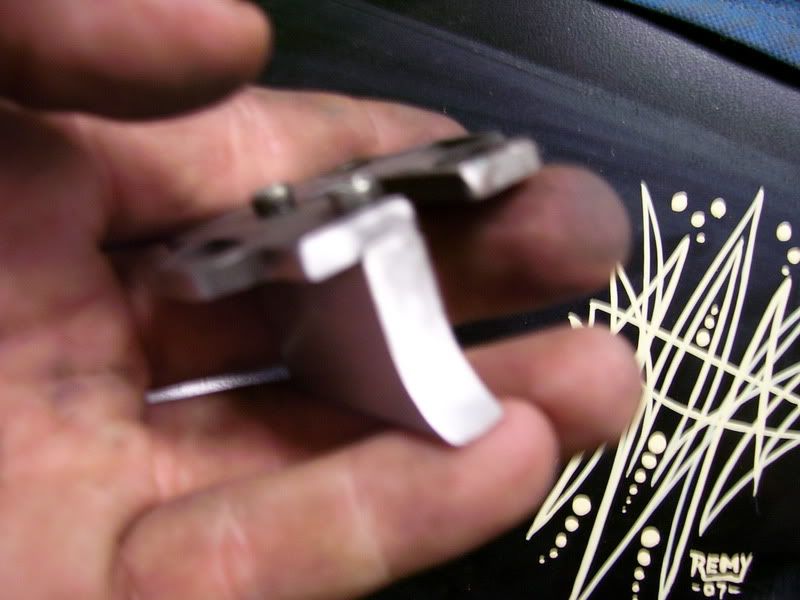
9. Spray the thing down with some cleaner, and dust it off with some air to make sure no trash gets back into the pump.
10. ALL DONE! Put it back in the way you pulled it out and fine tune the placement from there.
8. Cleaning up with the surface conditioning disc really smooths it out and make sure to get the edges smooth as well...
9. Spray the thing down with some cleaner, and dust it off with some air to make sure no trash gets back into the pump.
10. ALL DONE! Put it back in the way you pulled it out and fine tune the placement from there.
06-26-2007, 10:15 PM
#9
Registered User
Thread Starter
Join Date: Dec 2003
Location: San Marcos, TX
Posts: 620
Likes: 0
Received 0 Likes
on
0 Posts
Re-installation note:
I used a small cut-off wheel on my mini-angle grinder and cut flat grooves in the head of the bolts holding the AFC housing down. This makes removing/reinstalling a breeze. Just remember that two of them are long, two are short. Long ones are on the bottom for the bracket. Replacing these bolts with Allen head, or Hex-Head bolts would also be beneficial.
I used a small cut-off wheel on my mini-angle grinder and cut flat grooves in the head of the bolts holding the AFC housing down. This makes removing/reinstalling a breeze. Just remember that two of them are long, two are short. Long ones are on the bottom for the bracket. Replacing these bolts with Allen head, or Hex-Head bolts would also be beneficial.


Thread
Thread Starter
Forum
Replies
Last Post
smoke531
Performance and Accessories 2nd gen only
2
09-23-2008 11:24 PM
West Coast
Performance and Accessories 2nd gen only
1
07-04-2007 10:25 AM
West Coast
Performance and Accessories 2nd gen only
4
07-01-2007 02:32 PM
banks twinram
Performance and Accessories 2nd gen only
8
02-05-2005 10:38 AM