
DIY 5" Turbo Back to 7" Single Miter
 05-30-2007, 09:45 AM
#1
Registered User
Thread Starter
DIY 5" Turbo Back to 7" Single Miter
Here is a little DIY on how I did my 5" turbo back exhaust to a 7" single miter stack.
first yank the stock set-up...I used my trusty porta-band saw
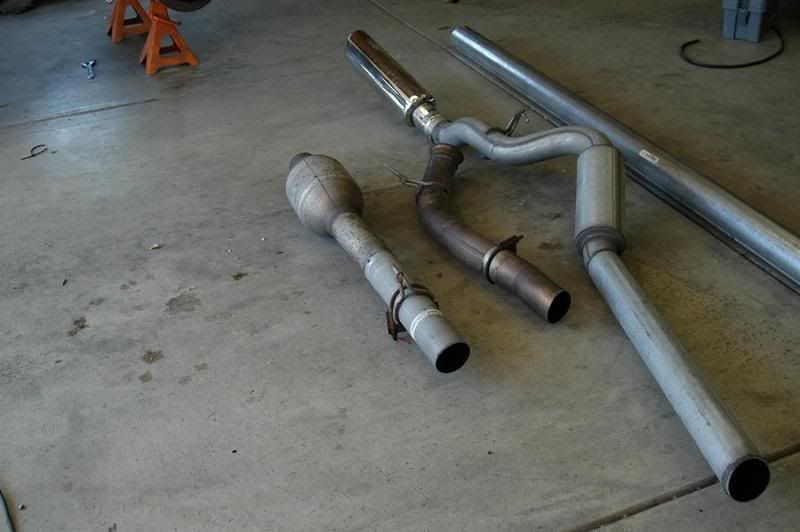
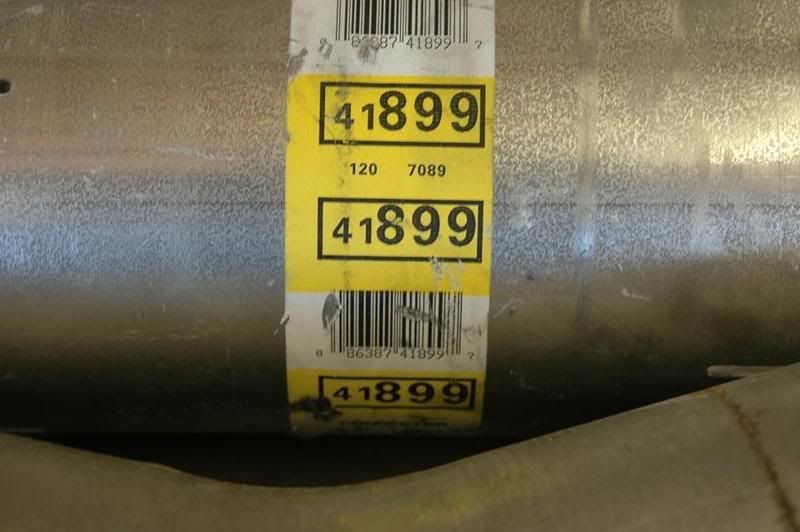
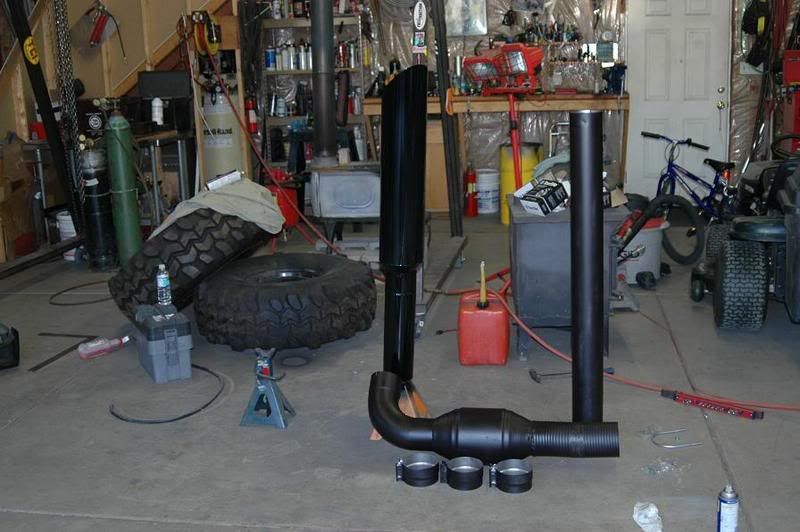
here is a shot of what I started with.
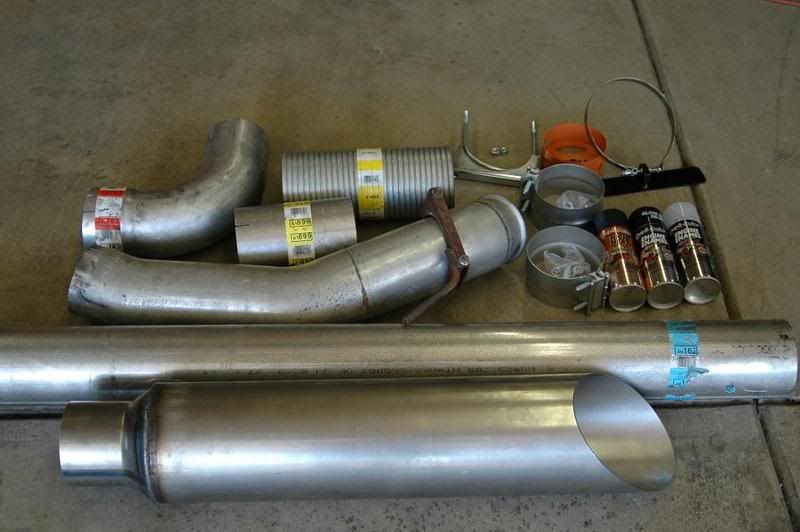
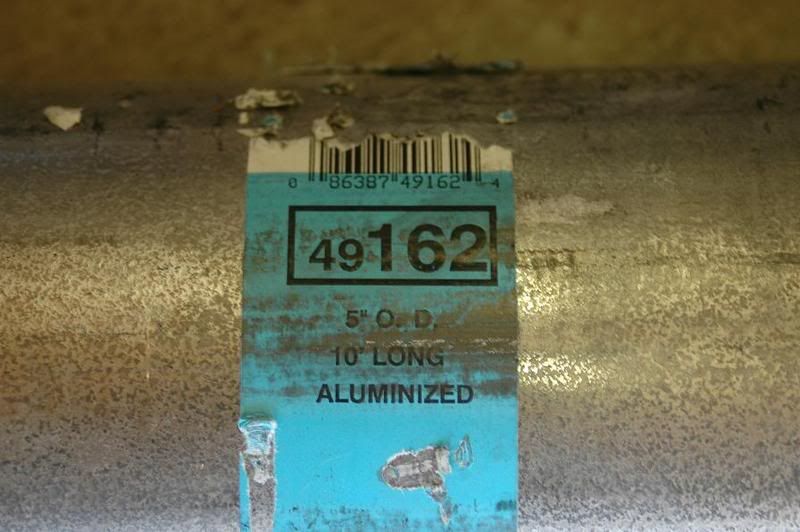
10Ft of 5" pipe.
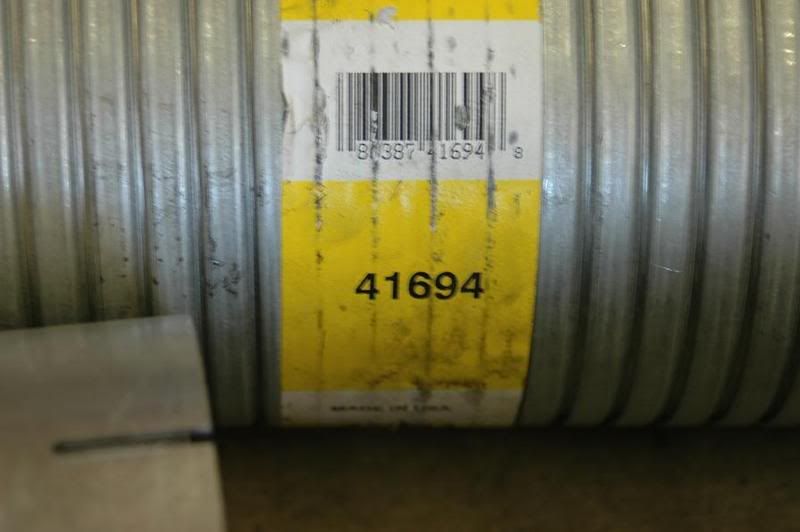
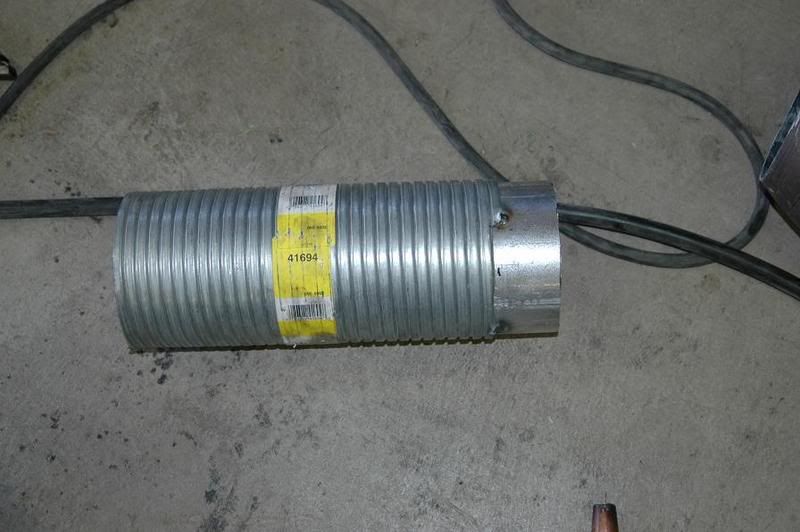
12" of 5" flex
90* elbow...5"ID-5"OD......9.5"x9.5"
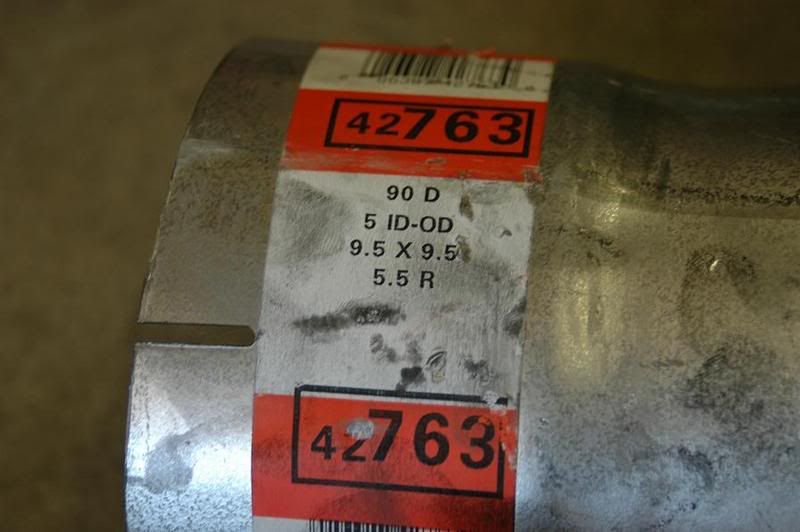
5"ID x 5"ID connector... 8" long
Next I set up the 5" turbo down pipe that I scored in the DTR classifieds...
I welded 5"ID x 5"ID connector... 8" long to the turbo down pipe so that I could attach the straight 5" (10ft) pipe..

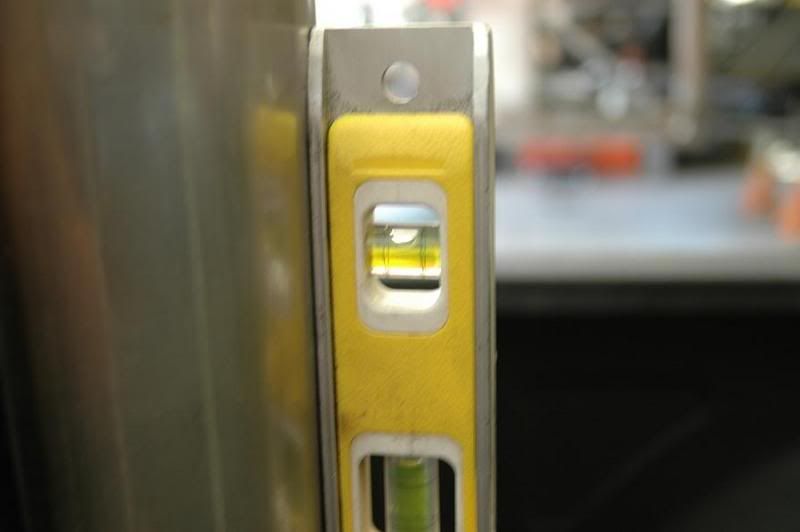
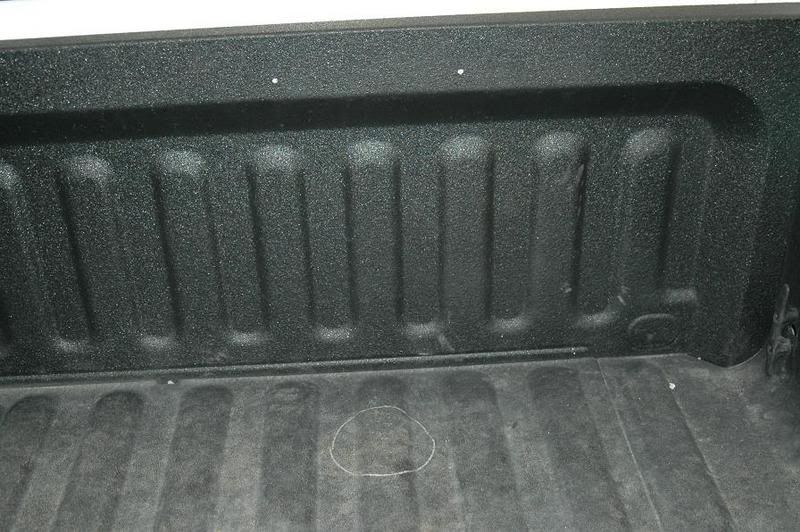
next was stack set-up...you need to get everything leveled/plumb so you can mark the stack hole and the mounting bracket.....
then mark the bed where the stack would go through...
first yank the stock set-up...I used my trusty porta-band saw
here is a shot of what I started with.
10Ft of 5" pipe.
12" of 5" flex
90* elbow...5"ID-5"OD......9.5"x9.5"
5"ID x 5"ID connector... 8" long
Next I set up the 5" turbo down pipe that I scored in the DTR classifieds...
I welded 5"ID x 5"ID connector... 8" long to the turbo down pipe so that I could attach the straight 5" (10ft) pipe..
next was stack set-up...you need to get everything leveled/plumb so you can mark the stack hole and the mounting bracket.....
then mark the bed where the stack would go through...
 05-30-2007, 10:03 AM
#2
Registered User
Thread Starter
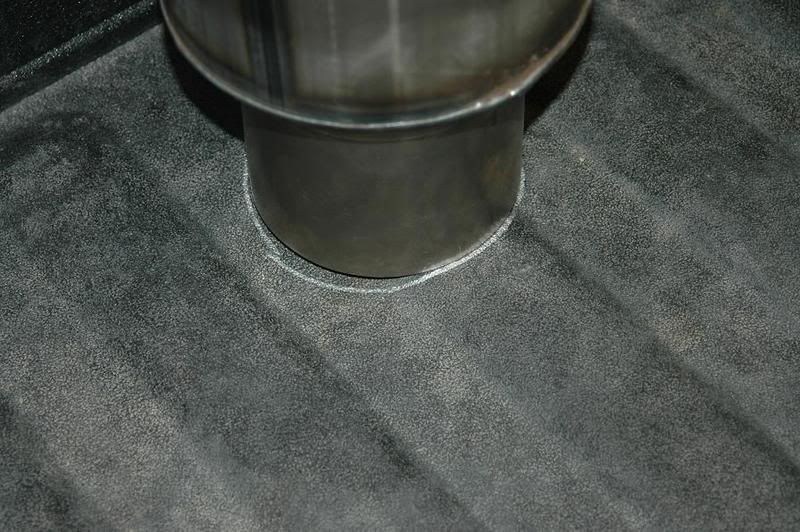
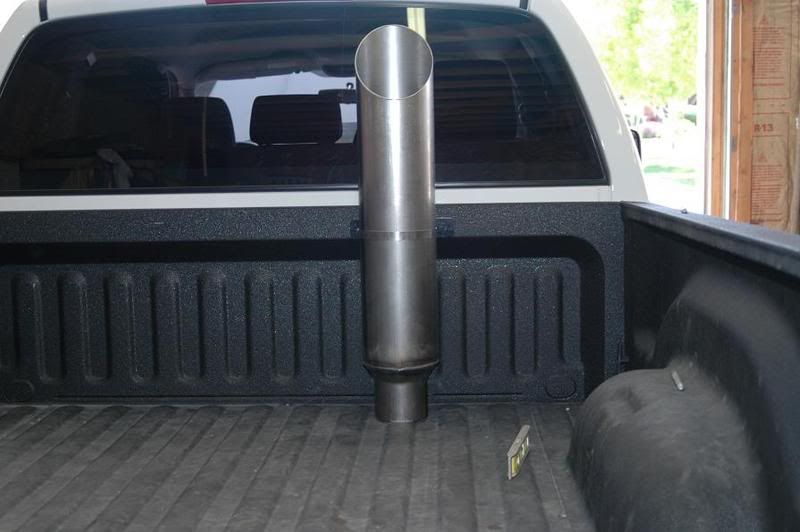
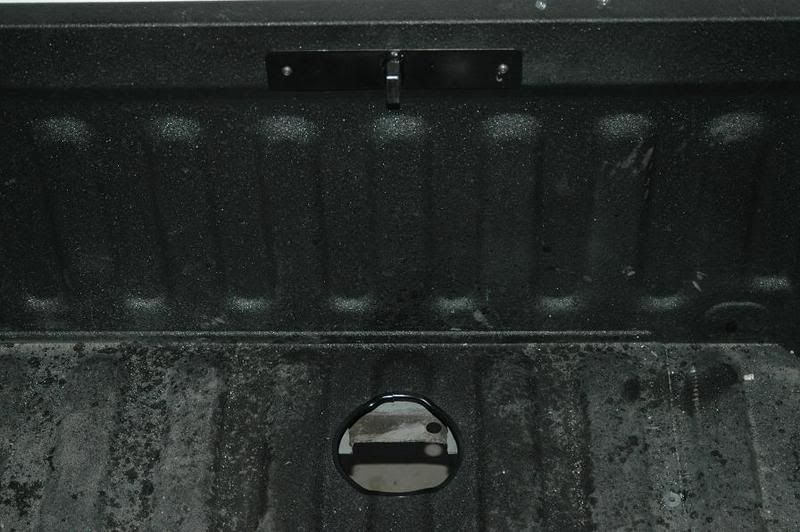
My stack ended up going through the floor on the 3rd full length bed rib as seen below.
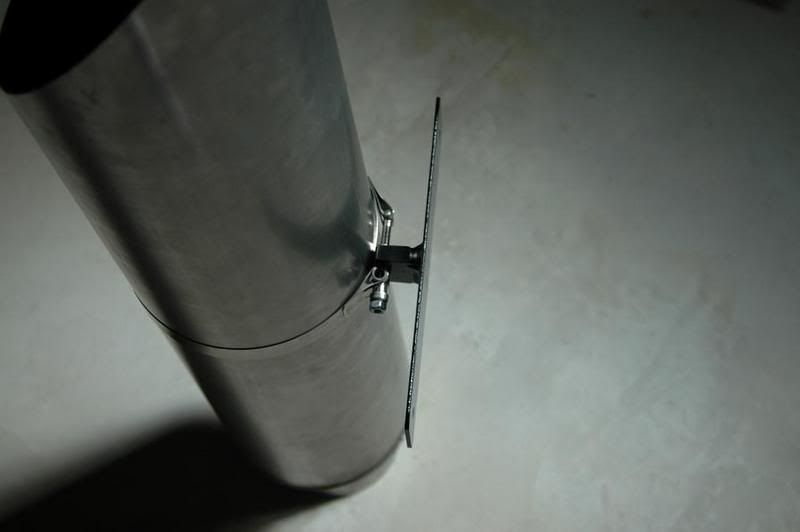
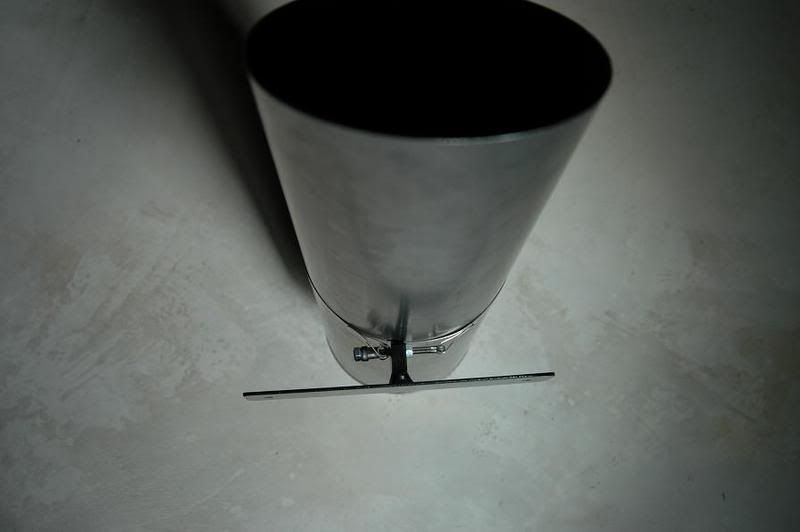
here is the homemade stack clamp I came up with while the 7" Staxx Clamp I want is being made...
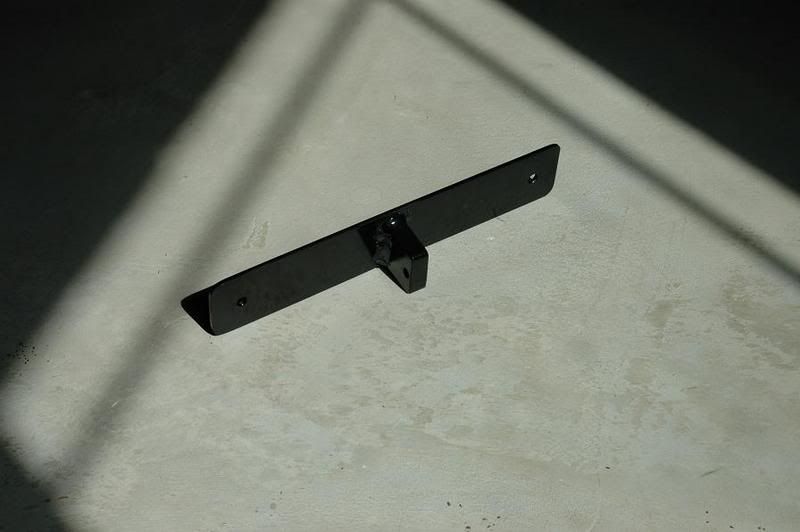
bracket holes and bed hole marked with a white sharpy..
Next I slide the 10ft section of pipe under the truck and connected it to the turbo-down pipe..then I made sure the hole I marked in the bed matched where the pipe was under the bed!!!
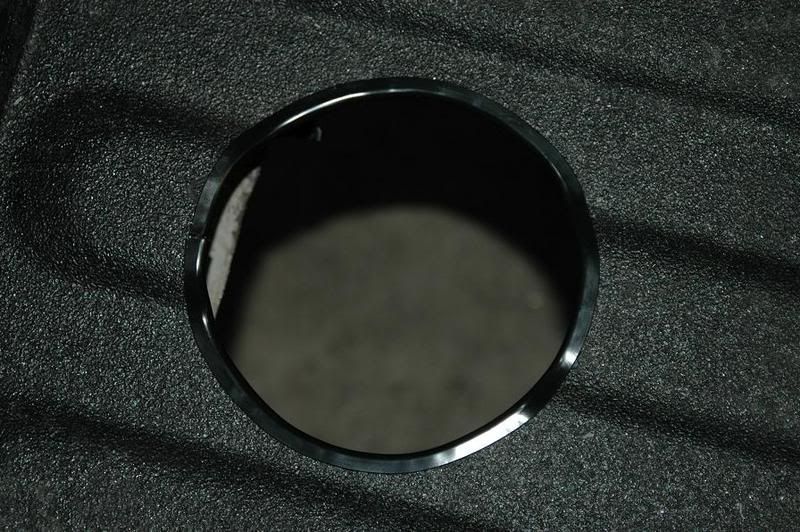
now it is time for the HOLE!!! I bought a 5" hole saw for mine...BTW cutting fluid is your freind
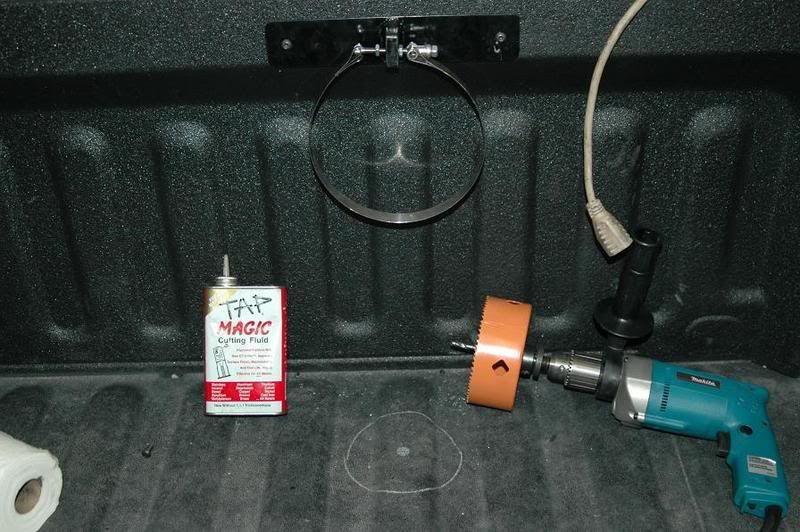
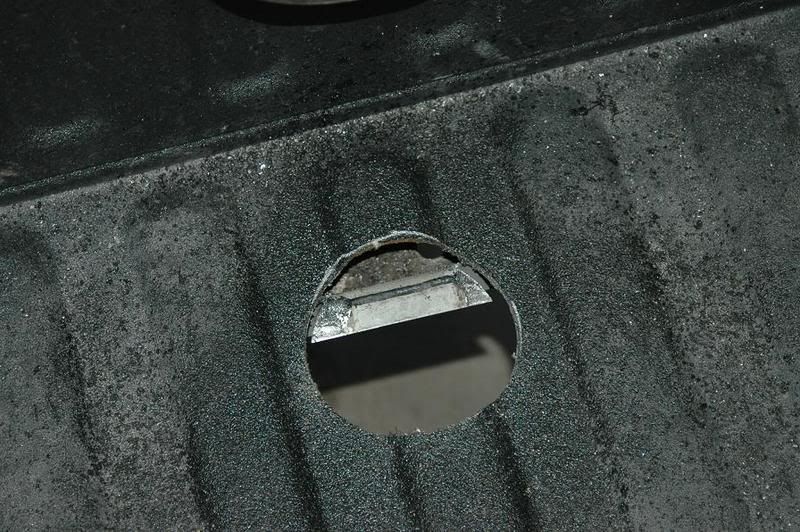
]I wanted my stack as close to the bed front/cab as possible, witch meant I had to drill into the bed support...no big deal.
here is the homemade stack clamp I came up with while the 7" Staxx Clamp I want is being made...
bracket holes and bed hole marked with a white sharpy..
Next I slide the 10ft section of pipe under the truck and connected it to the turbo-down pipe..then I made sure the hole I marked in the bed matched where the pipe was under the bed!!!
now it is time for the HOLE!!!
I bought a 5" hole saw for mine...BTW cutting fluid is your freind]I wanted my stack as close to the bed front/cab as possible, witch meant I had to drill into the bed support...no big deal.

 05-30-2007, 10:17 AM
#4
Banned
Join Date: May 2006
Location: Florida
Posts: 3,660
Likes: 0
Received 0 Likes
on
0 Posts
Awesome write-up and pics!!!
I want one soooo bad but don't want to slide my toolbox forward and lose the bed space. Make sure to get a video of the sound! I'm curious to know how loud it is inside the cab?
I want one soooo bad but don't want to slide my toolbox forward and lose the bed space. Make sure to get a video of the sound! I'm curious to know how loud it is inside the cab?
05-30-2007, 10:20 AM
#5
Registered User
Thread Starter
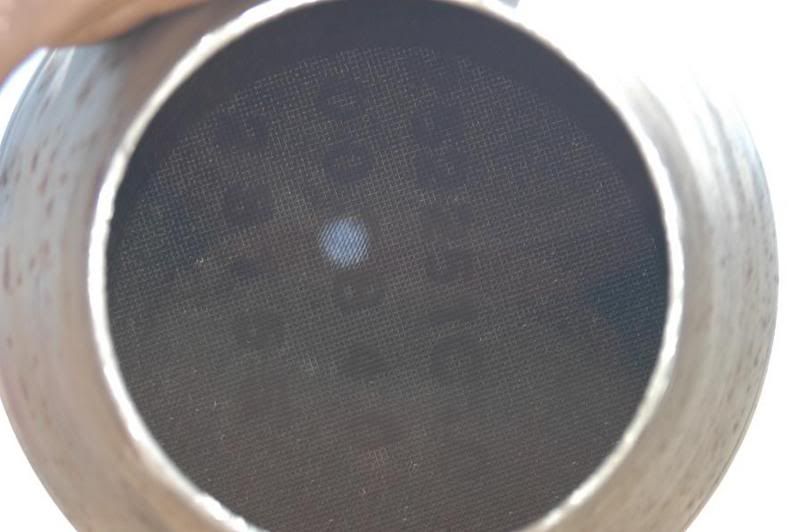
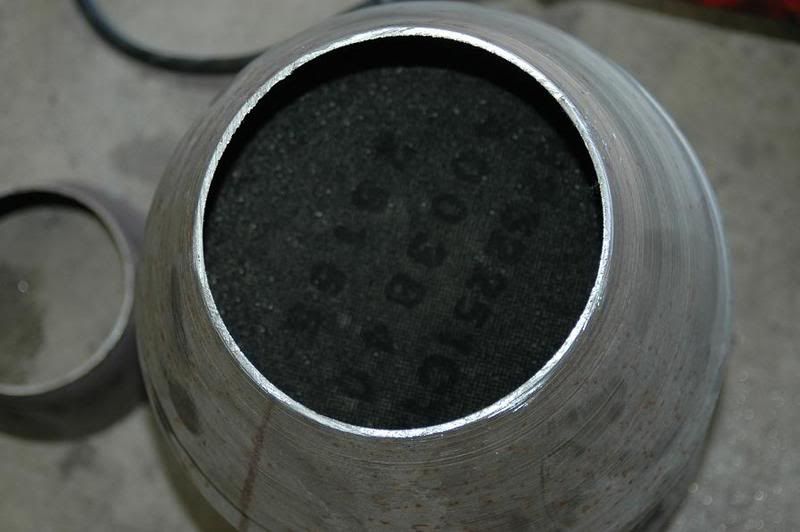
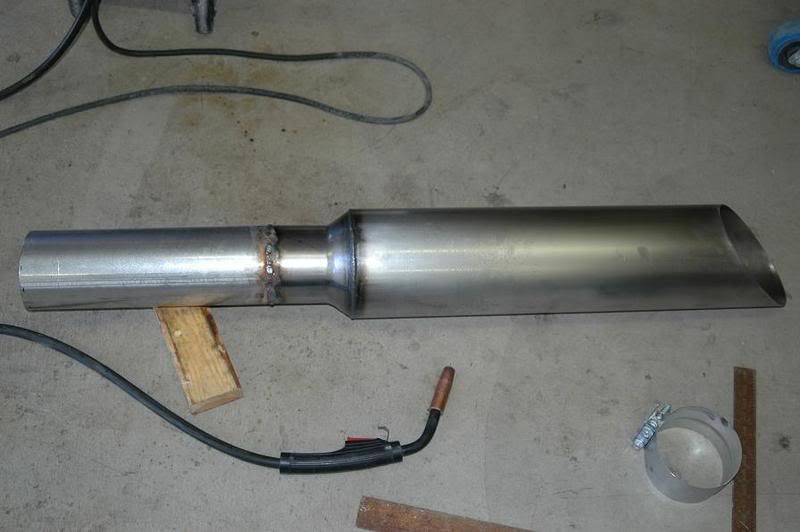
I decided to keep my cat as to stay legal so to do that I needed a 5" cat so I decided to turn my stock cat into a 5" cat by cutting the ends off
with the trusty porta-band...
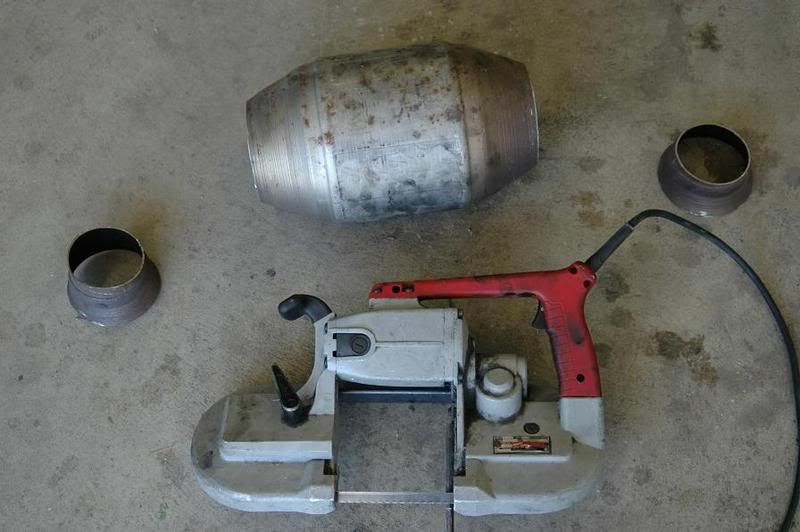
Got restriction???? this was held up strait to the sun and this is all the light that would shine through
Next I wanted to have the cat as close to the stack as possible (hoping it would give it a deep sound) so I welded it right to the 90*elbow...
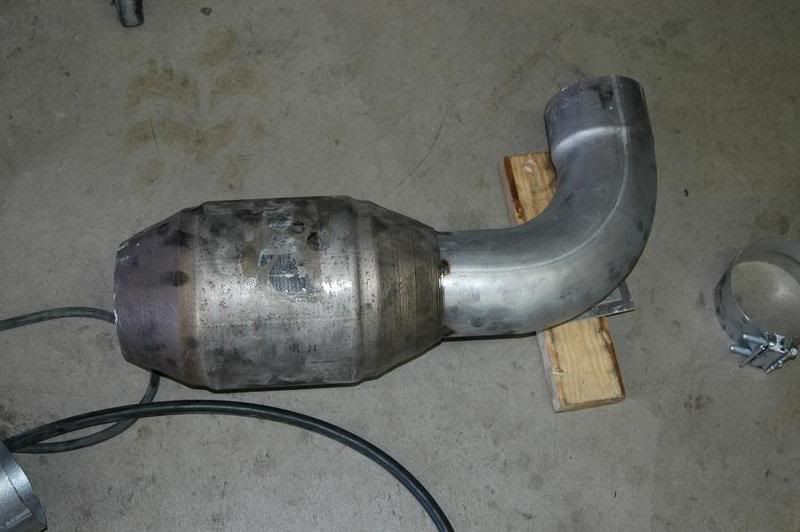
then I cut a small 4" long piece of 6" from the 10 footer and welded it to the flex pipe...
Then I welded that to the cat too...
once I had that ready I was able to measure how much of the 10 footer I needed to cut off..
after I got the 10 footer cut I mocked the whole setup in the truck to make sure it fit.. sorry forgot to get pics of the mock up.
then I pulled it all back out and painted it with some 1200* flat black paint and the stack was sprayed with some 500* gloss black and clear...I also had to by a third clamp...
with the trusty porta-band...
Got restriction???? this was held up strait to the sun and this is all the light that would shine through
Next I wanted to have the cat as close to the stack as possible (hoping it would give it a deep sound) so I welded it right to the 90*elbow...
then I cut a small 4" long piece of 6" from the 10 footer and welded it to the flex pipe...
Then I welded that to the cat too...
once I had that ready I was able to measure how much of the 10 footer I needed to cut off..
after I got the 10 footer cut I mocked the whole setup in the truck to make sure it fit.. sorry forgot to get pics of the mock up.
then I pulled it all back out and painted it with some 1200* flat black paint and the stack was sprayed with some 500* gloss black and clear...I also had to by a third clamp...
05-30-2007, 10:25 AM
#6
Registered User
Thread Starter
I finished the hole off with some trim I had from some other projects...this stuff is pretty handy

It got to dark to take pics last night...I started at 11:00am and was done by 9:00pm..yeah it was a pretty long install but the painting takes a lot of time
finished pics are coming in a few...................
It got to dark to take pics last night...I started at 11:00am and was done by 9:00pm..yeah it was a pretty long install but the painting takes a lot of time
finished pics are coming in a few...................
Trending Topics
05-30-2007, 10:31 AM
#9
Registered User
Thread Starter

 05-30-2007, 10:40 AM
#14
Registered User
Thread Starter
500* gloss black engine enamel and 500* engine enamel clear coat..from any parts store.
but don't go out and buy it yet cause I don't know if it can handle the heat yet???
I will show you why in an hour or so when I get the pics taken......
but don't go out and buy it yet cause I don't know if it can handle the heat yet???
I will show you why in an hour or so when I get the pics taken......
05-30-2007, 10:46 AM
#15
Registered User
Join Date: Dec 2002
Location: Calgary, AB
Posts: 502
Likes: 0
Received 0 Likes
on
0 Posts
500* paint should be more than enough for the stack. The problem I have always had with paint on aluminized exhaust is that it just doesn't stick very well for some reason.