
AFE Bladerunner & AEM Workhorse Intake Installed....
 12-29-2007, 10:15 PM
#1
Registered User
Thread Starter
Join Date: Sep 2007
Location: Indiana
Posts: 2,144
Likes: 0
Received 0 Likes
on
0 Posts
AFE Bladerunner & AEM Workhorse Intake Installed....
I got a good little bundle of items recently, and
finally had a day off to install them.
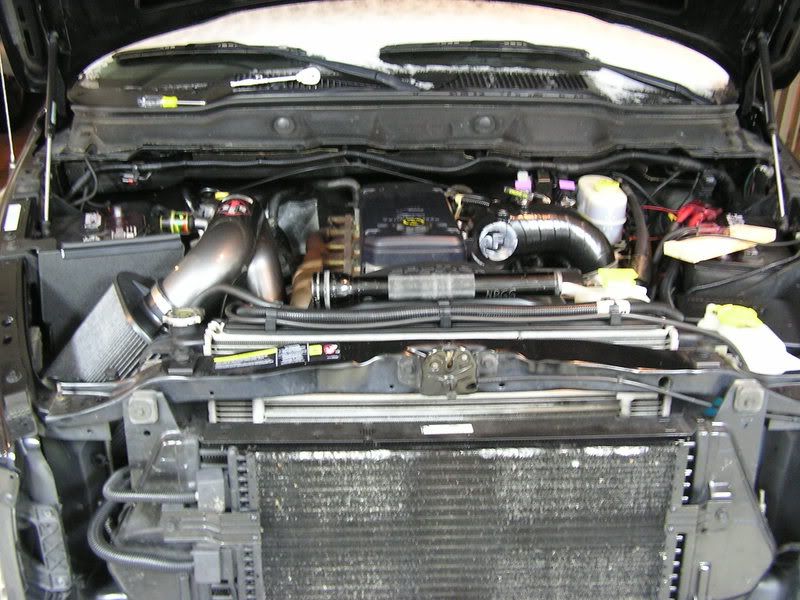
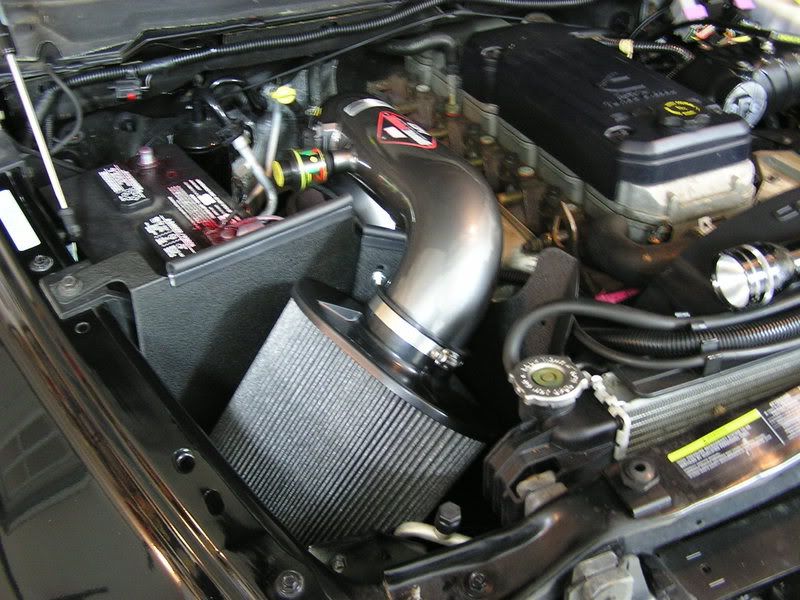
Engine Bay Before Pic:

Engine Bay After:
-----------------------------------------
AFE Bladerunner "Charged Manifold"
P/N # 46-10011
Multiple directional vanes (MDV Technology)
Smooth and direct airflow for minimal pressure
loss and maximum CFM gains.
"2 pre-tapped ports and 3 untapped port pads on
back-side provide easy and clean gauge installation
and other auxiliary input options."
There seemed to be a ton of parts for this 'simple' upgrade! There was a bracket I was supposed to use, that attaches onto the backside of the Bladerunner. It is to remount the wiring harness, but I felt it was not needed since there was not much slack in the harness anyways.
"Innovative internal bolt pads provide unobstructed
airflow and improved volumetric efficiency."
This is an interesting method, and seemed to work and install fine.

The internal vanes:

Stock vs Bladerunner:


Much larger body:


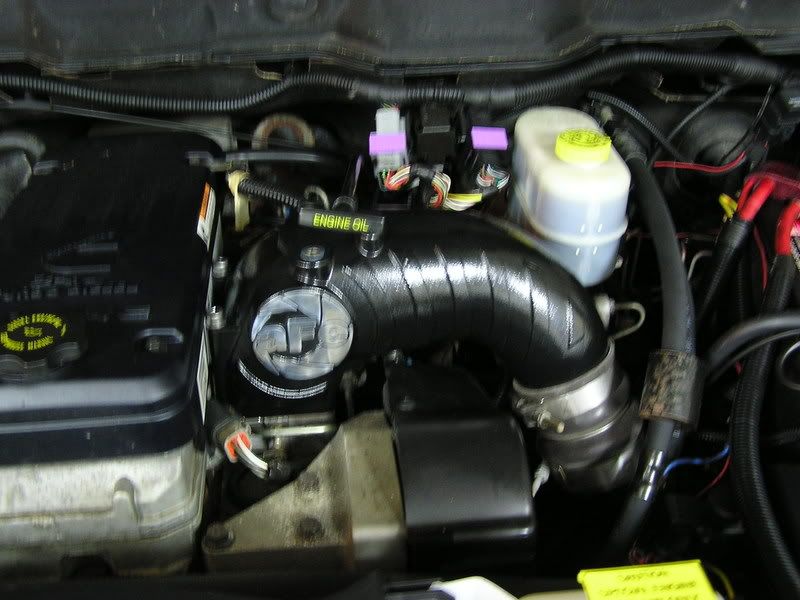
Installed:

finally had a day off to install them.
Engine Bay Before Pic:
Engine Bay After:
-----------------------------------------
AFE Bladerunner "Charged Manifold"
P/N # 46-10011
Multiple directional vanes (MDV Technology)
Smooth and direct airflow for minimal pressure
loss and maximum CFM gains.
"2 pre-tapped ports and 3 untapped port pads on
back-side provide easy and clean gauge installation
and other auxiliary input options."
There seemed to be a ton of parts for this 'simple' upgrade! There was a bracket I was supposed to use, that attaches onto the backside of the Bladerunner. It is to remount the wiring harness, but I felt it was not needed since there was not much slack in the harness anyways.
"Innovative internal bolt pads provide unobstructed
airflow and improved volumetric efficiency."
This is an interesting method, and seemed to work and install fine.
The internal vanes:
Stock vs Bladerunner:
Much larger body:
Installed:
 12-29-2007, 10:17 PM
#2
Registered User
Thread Starter
Join Date: Sep 2007
Location: Indiana
Posts: 2,144
Likes: 0
Received 0 Likes
on
0 Posts
AEM Workhorse HD Diesel Intake
P/N # 21-9211DC
This is the part number for the silver powdercoated
intake tube. I chose the powdercoated tube because of the slate silver color, to blend in better with the engine bay.
I also knew I wanted an intake kit that already came with an oil-free filter.
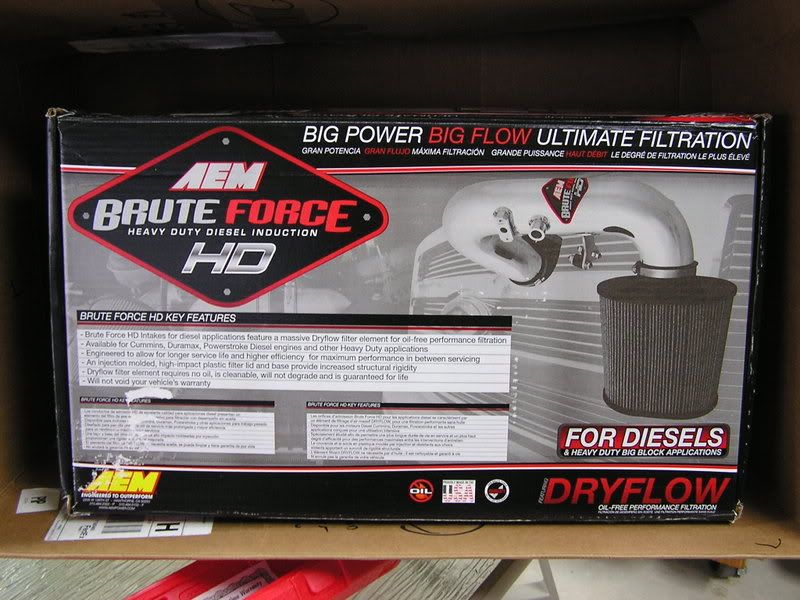
The filter on this kit is HUGE. AEM says that compared to the standard 9" Brute Force Dryflow
Filter, the Brute Force HD Dryflow filter features
over twice the surface area of filter media.
The intake pipe is made from mandrel-bent, lightweight 6063 aluminum. The entire kit almost floats in the engine, since it has dual rubber soft mounts for the intake pipe and utilized two more of the rubber grommets off of the battery tray.
The instructions were not all that great, not detailed. The shipping weight of this intake kit is 21 pounds, so it is very large and built very well.
Heat Shield:

Tube:

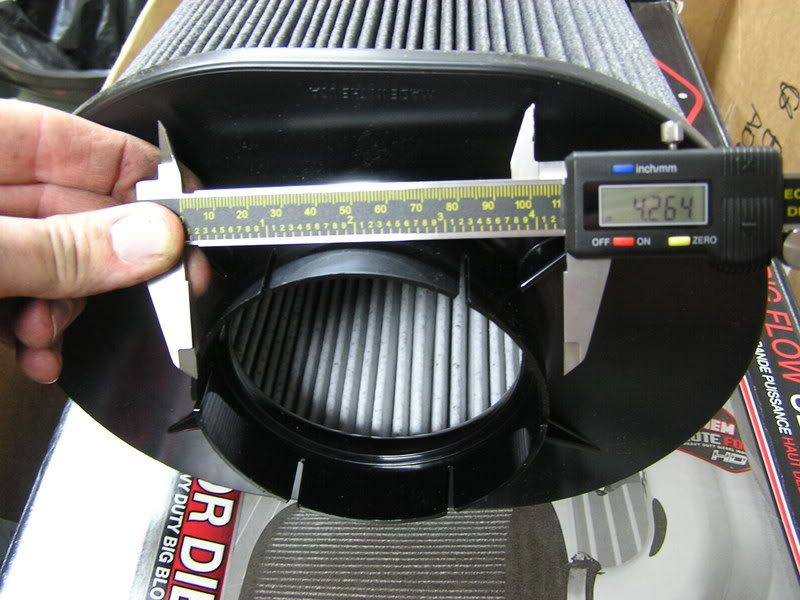
Filter (compared to a gallon container):


P/N # 21-9211DC
This is the part number for the silver powdercoated
intake tube. I chose the powdercoated tube because of the slate silver color, to blend in better with the engine bay.
I also knew I wanted an intake kit that already came with an oil-free filter.
The filter on this kit is HUGE. AEM says that compared to the standard 9" Brute Force Dryflow
Filter, the Brute Force HD Dryflow filter features
over twice the surface area of filter media.
The intake pipe is made from mandrel-bent, lightweight 6063 aluminum. The entire kit almost floats in the engine, since it has dual rubber soft mounts for the intake pipe and utilized two more of the rubber grommets off of the battery tray.
The instructions were not all that great, not detailed. The shipping weight of this intake kit is 21 pounds, so it is very large and built very well.
Heat Shield:
Tube:
Filter (compared to a gallon container):
12-29-2007, 10:18 PM
#3
Registered User
Thread Starter
Join Date: Sep 2007
Location: Indiana
Posts: 2,144
Likes: 0
Received 0 Likes
on
0 Posts
At the same time when installing the AEM kit, I also spent a few minutes and removed the silencer ring. I left the 'snap' ring in place and just removed (aka destroyed) the silencer ring.
------------------------------------------
Lastly:
Magellan Maestro 4250
P/N # MA4250-SGXNA
Very large 4.3" Touch Screen, voice command and
control, that is Bluetooth compatible!
I did not get a chance to do a full custom install with pics, but I will get around to doing it tomorrow, with pics.....
--------------------------------------------
The truck launches almost effortlessly and has a great deal of more noticeable power. Oh yeah, and the turbo is also very distinct and LOUD.
It was a very worthwhile update and I am very pleased with the power.
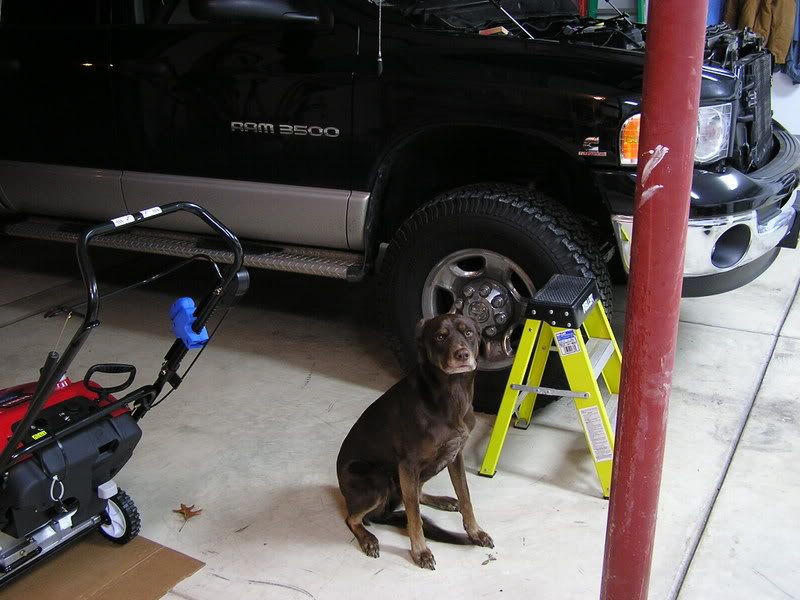
The lady-bird did help....somewhat
------------------------------------------
Lastly:
Magellan Maestro 4250
P/N # MA4250-SGXNA
Very large 4.3" Touch Screen, voice command and
control, that is Bluetooth compatible!
I did not get a chance to do a full custom install with pics, but I will get around to doing it tomorrow, with pics.....
--------------------------------------------
The truck launches almost effortlessly and has a great deal of more noticeable power. Oh yeah, and the turbo is also very distinct and LOUD.
It was a very worthwhile update and I am very pleased with the power.
The lady-bird did help....somewhat


Trending Topics
 12-31-2007, 07:32 AM
#11
Registered User
If I had to do it over again, I'd make up a ******' Whistler...
12-31-2007, 07:56 AM
#12
Registered User

Join Date: Jul 2007
Location: Weymouth, MA
Posts: 522
Likes: 0
Received 0 Likes
on
0 Posts
02-06-2008, 11:57 AM
#14
Registered User
Join Date: Nov 2005
Location: montville,nj
Posts: 1,646
Likes: 0
Received 0 Likes
on
0 Posts
Was the Bladerunner easy to install? I just got one and would like to know what I'm up against. Doesn't seem hard at all, but any feedback would be appreciated. Thanks!