
What did you do to your Gen 1 today?
 05-28-2015, 08:08 AM
#1006
Registered User
Took the white crew cab out for some light off-roading to get to a little backwoods pond for a little kayaking and splashing on the beach with the new pups.
I just picked up two new English Mastiffs pups at the beginning of the month.
The truck did great crawling down the trail in low range on those 37X13.5 Dick Cepeks.
I just picked up two new English Mastiffs pups at the beginning of the month.
The truck did great crawling down the trail in low range on those 37X13.5 Dick Cepeks.
 05-28-2015, 08:19 AM
#1007
Registered User

Now you need two more doors
puppys are always fun.
puppys are always fun.
05-28-2015, 11:03 AM
#1008
Registered User
05-28-2015, 01:31 PM
#1009
Registered User
05-29-2015, 11:12 AM
#1010
Registered User
Jacked up the front end of Blue (the work beater) to investigate a bind in the steering. Thought it would be the idler as I had a hard time getting grease into it a month ago. Used a different higher pressure grease gun and it took grease fine. Seal was junk so I pumped out a bunch of old black crap.
Still had a bind, and even a chatter near center. I backed off the over center adjustment 3/4 turn and it freed up. Still zero lash between the input shaft and pitman shaft. Considering there's a few loose tie rods in the system, it drives pretty good now.
The over center adjustment is a very fine adjustment, only achievable on the bench as you're measuring ounces of torque. It's an adjustment to compensate for variations in parts, done one time at assembly time. For some reason, probably because a lot of idiots on the web encourage it, folks "tighten" up that adjustment trying to compensate for other junk in their front end. About all it can accomplish is to make it bind a little in the center, and destroy over time the ball and screw assembly in the sector.
05-29-2015, 01:01 PM
#1011
Registered User
Join Date: Dec 2010
Location: Land of the Toxic Avenger
Posts: 6,789
Received 1,647 Likes
on
1,120 Posts
Hey J.
Chip from powersteering,com said the good majority of people who adjust that on their steering gears wind up having to replace or rebuild a gear that would have lasted a lifetime if they hadn't.
You know what they say...
"I read it on the net, so it must be true. !"
8-(
Chip from powersteering,com said the good majority of people who adjust that on their steering gears wind up having to replace or rebuild a gear that would have lasted a lifetime if they hadn't.
You know what they say...
"I read it on the net, so it must be true. !"
8-(
05-29-2015, 01:10 PM
#1012
Registered User
Hey J.
Chip from powersteering,com said the good majority of people who adjust that on their steering gears wind up having to replace or rebuild a gear that would have lasted a lifetime if they hadn't.
You know what they say...
"I read it on the net, so it must be true. !"
8-(
Chip from powersteering,com said the good majority of people who adjust that on their steering gears wind up having to replace or rebuild a gear that would have lasted a lifetime if they hadn't.
You know what they say...
"I read it on the net, so it must be true. !"
8-(
It doesn't feel too bad. I think I'll open it up and check it out myself. Rebuilding them isn't rocket science. Just takes patience and attention to detail.
05-30-2015, 04:10 PM
#1013
Registered User
Join Date: Dec 2010
Location: Land of the Toxic Avenger
Posts: 6,789
Received 1,647 Likes
on
1,120 Posts
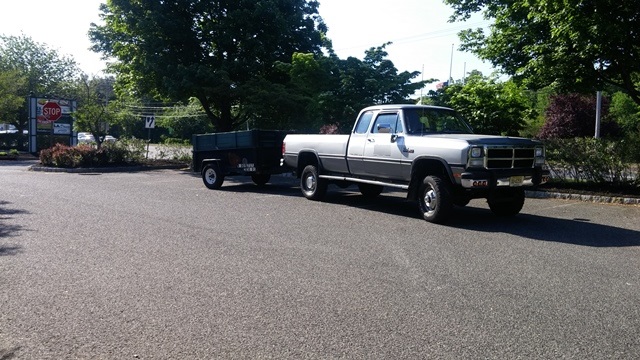
Power washed the undercarriage today to get the salt and stuff off from the winter.
Had to drive it around to get it dried out for tomorrow, as I will be painting areas that have chipped on the frame / suspension.
Wife came along and we went to DD. She loves that java...


It's getting some body work done on monday again.....
Had to drive it around to get it dried out for tomorrow, as I will be painting areas that have chipped on the frame / suspension.
Wife came along and we went to DD. She loves that java...


It's getting some body work done on monday again.....
05-30-2015, 04:11 PM
#1014
Registered User
Join Date: Dec 2010
Location: Land of the Toxic Avenger
Posts: 6,789
Received 1,647 Likes
on
1,120 Posts
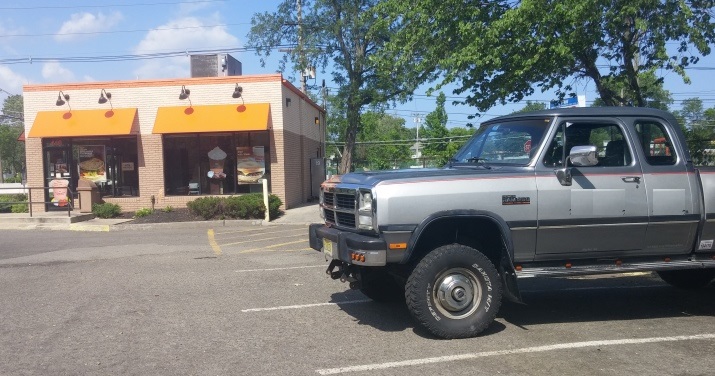
From the other day.. after the dump, I stopped at the bagel place
 05-30-2015, 04:15 PM
#1015
Registered User
Power washed the undercarriage today to get the salt and stuff off from the winter.
Had to drive it around to get it dried out for tomorrow, as I will be painting areas that have chipped on the frame / suspension.
Wife came along and we went to DD. She loves that java...


It's getting some body work done on monday again.....
Had to drive it around to get it dried out for tomorrow, as I will be painting areas that have chipped on the frame / suspension.
Wife came along and we went to DD. She loves that java...
It's getting some body work done on monday again.....
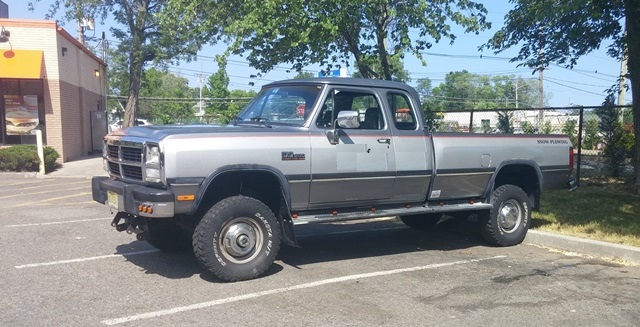
 . What size tires you running? And that has a 2"lift? IIRC.
05-30-2015, 04:20 PM
. What size tires you running? And that has a 2"lift? IIRC.
05-30-2015, 04:20 PM
#1016
Registered User
Join Date: Dec 2010
Location: Land of the Toxic Avenger
Posts: 6,789
Received 1,647 Likes
on
1,120 Posts
 05-30-2015, 04:26 PM
#1017
Registered User
Join Date: Dec 2010
Location: Land of the Toxic Avenger
Posts: 6,789
Received 1,647 Likes
on
1,120 Posts
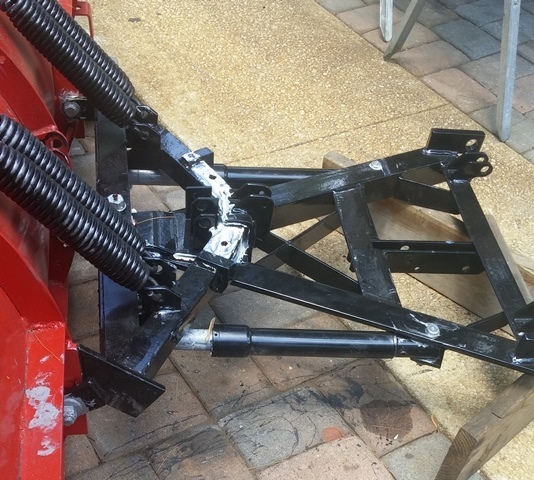
Rebuilding my 20 year old plow.
Took it completely apart, repaired some parts that needed to be welded, then sent the parts off to the powder coater.
Waiting for the up lift frame and light arms.
New angle rams, hoses, pump seal kit (all the hydraulic), and a new wiring harness and plug. I also added wings, but they're not back from the powder coater yet either..
Before:

Wings
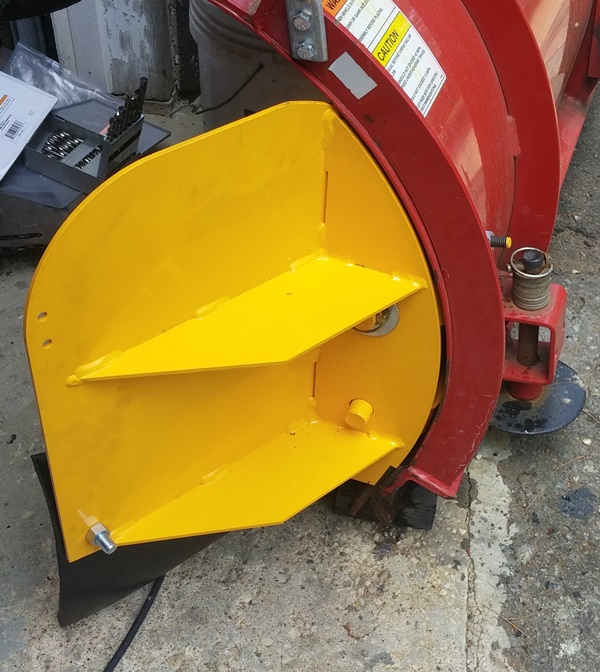
Supports:
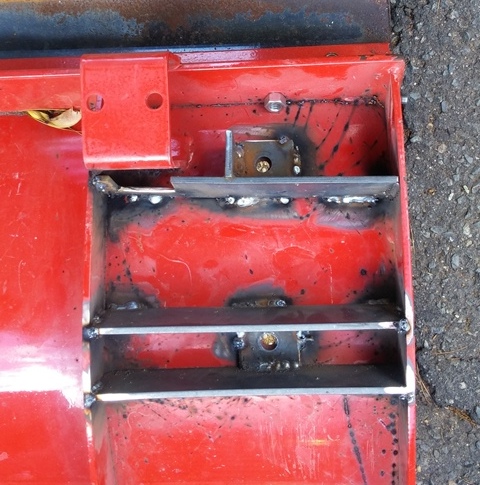
Today, with everything I have back from the Powder coater:
Makes a 20 year old plow look brand new
The pictures can be found here:
Western Unimount Plow Refurbishing Photos by 9woofmaster | Photobucket
Took it completely apart, repaired some parts that needed to be welded, then sent the parts off to the powder coater.
Waiting for the up lift frame and light arms.
New angle rams, hoses, pump seal kit (all the hydraulic), and a new wiring harness and plug. I also added wings, but they're not back from the powder coater yet either..
Before:

Wings

Supports:

Today, with everything I have back from the Powder coater:
Makes a 20 year old plow look brand new

The pictures can be found here:
Western Unimount Plow Refurbishing Photos by 9woofmaster | Photobucket
 05-31-2015, 08:44 PM
#1019
Registered User
I walked over and opened the door and looked at the fuse box hanging down.
I am in the process of dreaming up a better way to mount the thing.
I am in the process of dreaming up a better way to mount the thing.
05-31-2015, 11:07 PM
#1020
Registered User
Lost fluid in the rear brake circuit, so I pulled the drums to look. found the right side soaked in brake fluid. I had a wheel cylinder handy so I bought a set of shoes from Oreilly's.
Then the fun began.
When I went to install the shoes, I found one of them ground to within a few thousandths of the rivets. I took them back, and the other set they had on the shelf was only a bit better. Counter man agreed he wouldn't put either set on his truck. I got my money back. I had a set of Wagner shoes at home that looked pretty good.
Threw them in, bled the rear brakes, and tried to adjust them and get the parking brake to work. Strange going's on... adjusted till scraping and still low pedal. Half set the parking brake, and got high pedal. Set the parking brake hard, and something seemed to snap. Started the engine and put it in gear, right side spun, left side didn't (Note to self, check out the limited slip no op)
Pulled the left drum and remembered why I had set those shoes aside. The shoes were shaped wrong in that the pad the parking lever was supposed to hit was basically missing. The lever would ride over it, jamming it downward (thus the early hit on adjusting) and not apply the brakes.
Grabbed the HF wire feed, set it up for .030" mig, put some metal on one of the culprits and ground it back to the proper shape. Looks like it'll be fine. Got dark so I'll have to finish tomorrow.
BTW, I found that if you use a pressure bleeder pumped up to 5 lbs, then have someone pump the brake pedal, opening a bleed zerk on the down stroke, and closing it before it's allowed to return to the top, you can blast through bleeding a totally aired up system in a short time. Never mind the hose except to keep the brake fluid off painted underside stuff. The pressure bleeder serves to keep the MC full.
Looks like this one's going to need both MC and booster also. Hope the ones I have are good.