
What did you do to your Gen 1 today?
 02-26-2015, 08:27 PM
#856
You're only 3 more than me, but I see holes for future gages!
 02-26-2015, 09:05 PM
#857
Administrator

Wow,
I am impressed.
A trick I learned when I raced, set all of the important readings at 12 o'clock so you are only looking at the position of the pointer instead of the readings.
My car looked like the Stewart Warner display.
Jim
I am impressed.
A trick I learned when I raced, set all of the important readings at 12 o'clock so you are only looking at the position of the pointer instead of the readings.
My car looked like the Stewart Warner display.
Jim
02-26-2015, 10:32 PM
#858
Registered User
When I was a kid I hung around the pit crew of a winning dirt track stock car. They used the gauges to set the car up, then taped them all over for the race, including the tach. "Drive the car, don't be lookin at no durn gauges."
02-26-2015, 11:48 PM
#859
Haha I am spawn of a career pilot, alas I cannot take credit for this gauge setup. I bought the truck as an unfinished project. The previous owner was a perfectionist and also randomly the auto shop teacher at my high school alma mater.
The gauges are a bit hard to read in general whist sitting in the front, and a co-pilot would seriously come in handy. The overhead console is a custom powdercoated one-off piece. All the wiring is beautifully run, with split looms, heat shrink and gator skins everywhere.
So, ford factory gauges are a bit flaky, ironically, after '87 they became "Idiot lights in Gauge's clothing." Meaning, any oil pressure at all, would make the gauge shoot straight to the middle of the "ok" range.
Anyway, The kicker here is that there is no boost gauge! I will be installing that on the A pillar (a matching autometer sport comp)
The truck was originally a factory 6.9L IDI diesel V8.
Left to right - Pyro, Oil Pressure, Water Temp, Engine Oil pressure, Engine Oil Temp, Trans (getrag) temp, Fuel Pressure, Volts, Rear Diff oil Temp, Vacuum, and finally, Fuel tank Level (There is a 100 Gallon transfer tank in bed that is the sole fuel tank at the moment. I am thinking about installing the factory F450 40 gallon rear tank that goes above the spare tire location as well. This truck originally had dual 20 gallon tanks, but are long gone. The front tank most likely won't fit after I mount up the divorced Np205. The transfer tank is nice, but I do like having a full empty bed sometimes.
The gauges are a bit hard to read in general whist sitting in the front, and a co-pilot would seriously come in handy. The overhead console is a custom powdercoated one-off piece. All the wiring is beautifully run, with split looms, heat shrink and gator skins everywhere.
Anyway, The kicker here is that there is no boost gauge! I will be installing that on the A pillar (a matching autometer sport comp)
The truck was originally a factory 6.9L IDI diesel V8.
Left to right - Pyro, Oil Pressure, Water Temp, Engine Oil pressure, Engine Oil Temp, Trans (getrag) temp, Fuel Pressure, Volts, Rear Diff oil Temp, Vacuum, and finally, Fuel tank Level (There is a 100 Gallon transfer tank in bed that is the sole fuel tank at the moment. I am thinking about installing the factory F450 40 gallon rear tank that goes above the spare tire location as well. This truck originally had dual 20 gallon tanks, but are long gone. The front tank most likely won't fit after I mount up the divorced Np205. The transfer tank is nice, but I do like having a full empty bed sometimes.
02-28-2015, 06:39 PM
#860
Registered User
Join Date: Dec 2010
Location: Land of the Toxic Avenger
Posts: 6,789
Received 1,647 Likes
on
1,120 Posts
Today, I changed my oil, adjusted the rear brakes, checked all the fluids, and took it to the local self serve for washing since it was warm enough to get the salt off.
Speaking of salt off, BobVA (Thanks BOB !)mentioned that Salt off was simply a grout removal light acid that you could buy from home deepblow. So I went there and bought it. I bought a 2 gallon sprayer, and added 4 ounces per gallon to the jug. I then sprayed it on, and went to town with the pressure washer at the car wash.
I was really impressed at how well the salt was dissolved. As an experiment, I sprayed the mixture on the body painted surfaces hoping for the best. Not a bad thing happened to the paint, although your mileage might vary depending on the quality / durability of your painted surfaces, as this is a light acid. Sulfamic Acid to be precise..
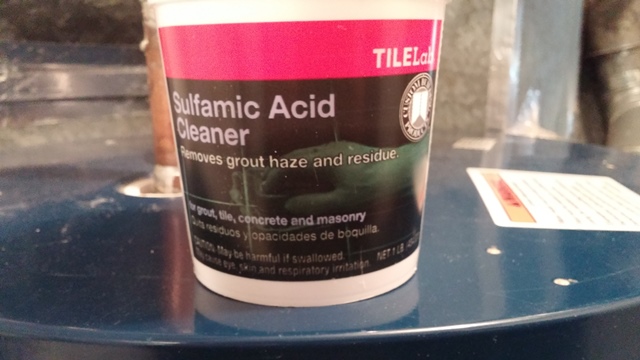


 02-28-2015, 06:41 PM
#861
Registered User
Join Date: Dec 2010
Location: Land of the Toxic Avenger
Posts: 6,789
Received 1,647 Likes
on
1,120 Posts
Very impressed with how clean everything was. This will be my new "first cleaning" of the spring each year from now on, as it just dissolves the salt away, and leaves a nice clean fresh new surface.


 02-28-2015, 06:54 PM
#863
Registered User
i finally got around to buying a new radiator, and ordered the whiteface guage overlay's and some leds for the dash. should have some pics of the whitefaces atleast by the middle of the week 
02-28-2015, 06:55 PM
#864
Registered User
Sweet!
I am so going to Home Deepblow and getting some of that.
I'll need it in 6-8 weeks though, as winter here in VT is far from over.
After a road trip to Mass., today my '95 12V looks like it was just chipped out of the salt mine.
I am so going to Home Deepblow and getting some of that.
I'll need it in 6-8 weeks though, as winter here in VT is far from over.
After a road trip to Mass., today my '95 12V looks like it was just chipped out of the salt mine.
02-28-2015, 07:12 PM
#865
Registered User
Join Date: Dec 2010
Location: Land of the Toxic Avenger
Posts: 6,789
Received 1,647 Likes
on
1,120 Posts
tile dept where they keep the chemicals for grout haze remover. I think it was about $8.00
03-01-2015, 05:38 AM
#866
Administrator
This actually begin a few weeks ago when I started the Sanden SD-709 compressor conversion on my truck after the last remanufactured C-171 compressor pulley bearings and front seal fell out after less than 9 months of service.
All that I have to do now is make the new refrigerant lines.
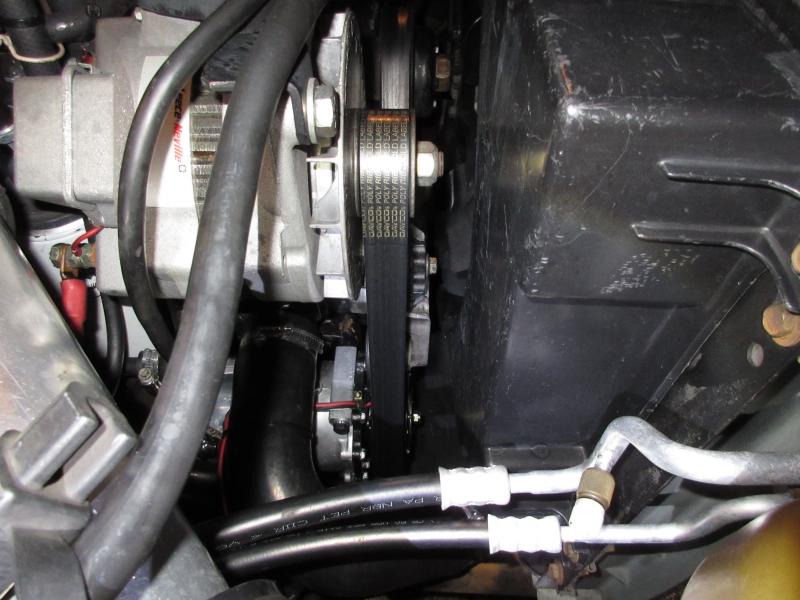
I replaced the upper lower radiator and bypass hoses; I also replaced the water pump.
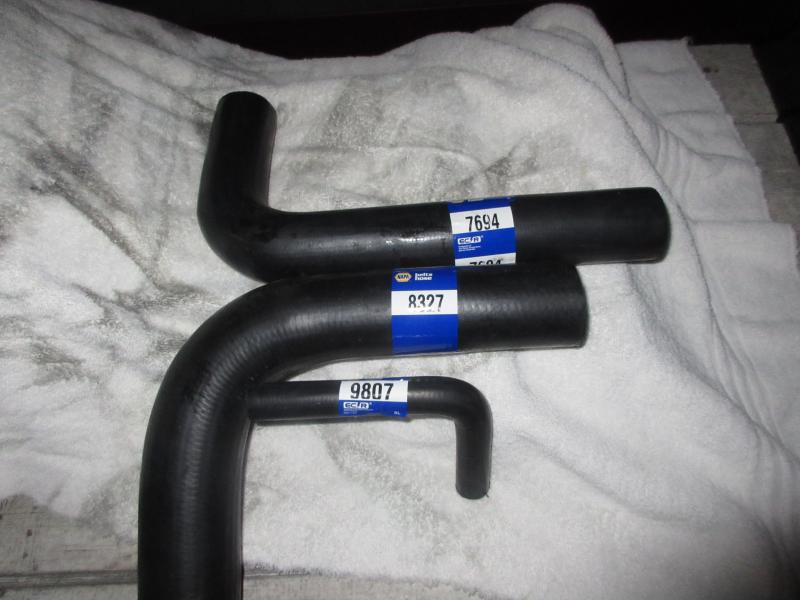
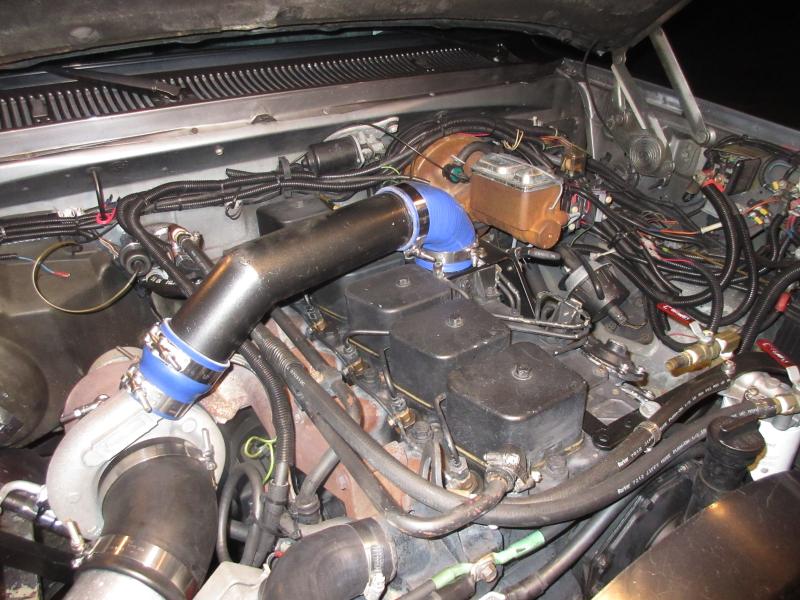
I replaced all of my silicone hoses for my heater and bypass lines except for the 1/2" line for my coolant filter.
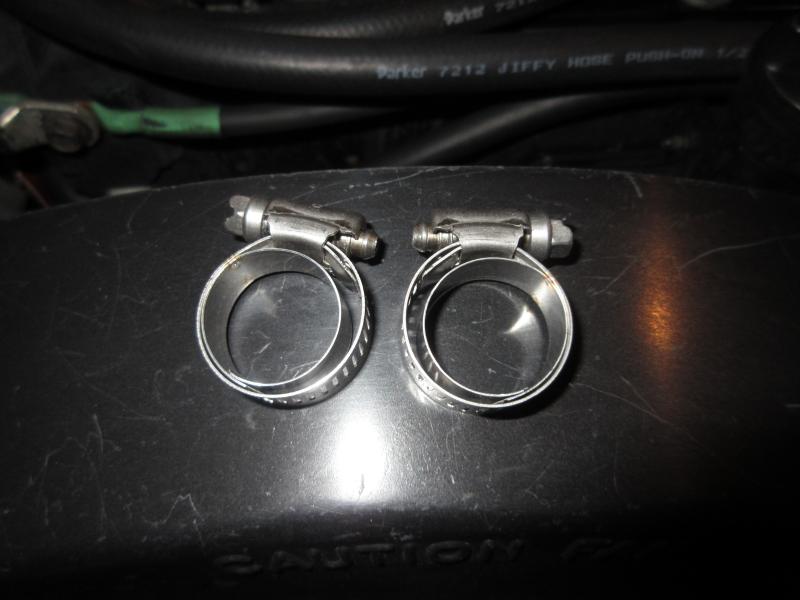
Hose Man had backordered some of my hose clamps so as soon as I am able to pick them up they will all be the correct type.
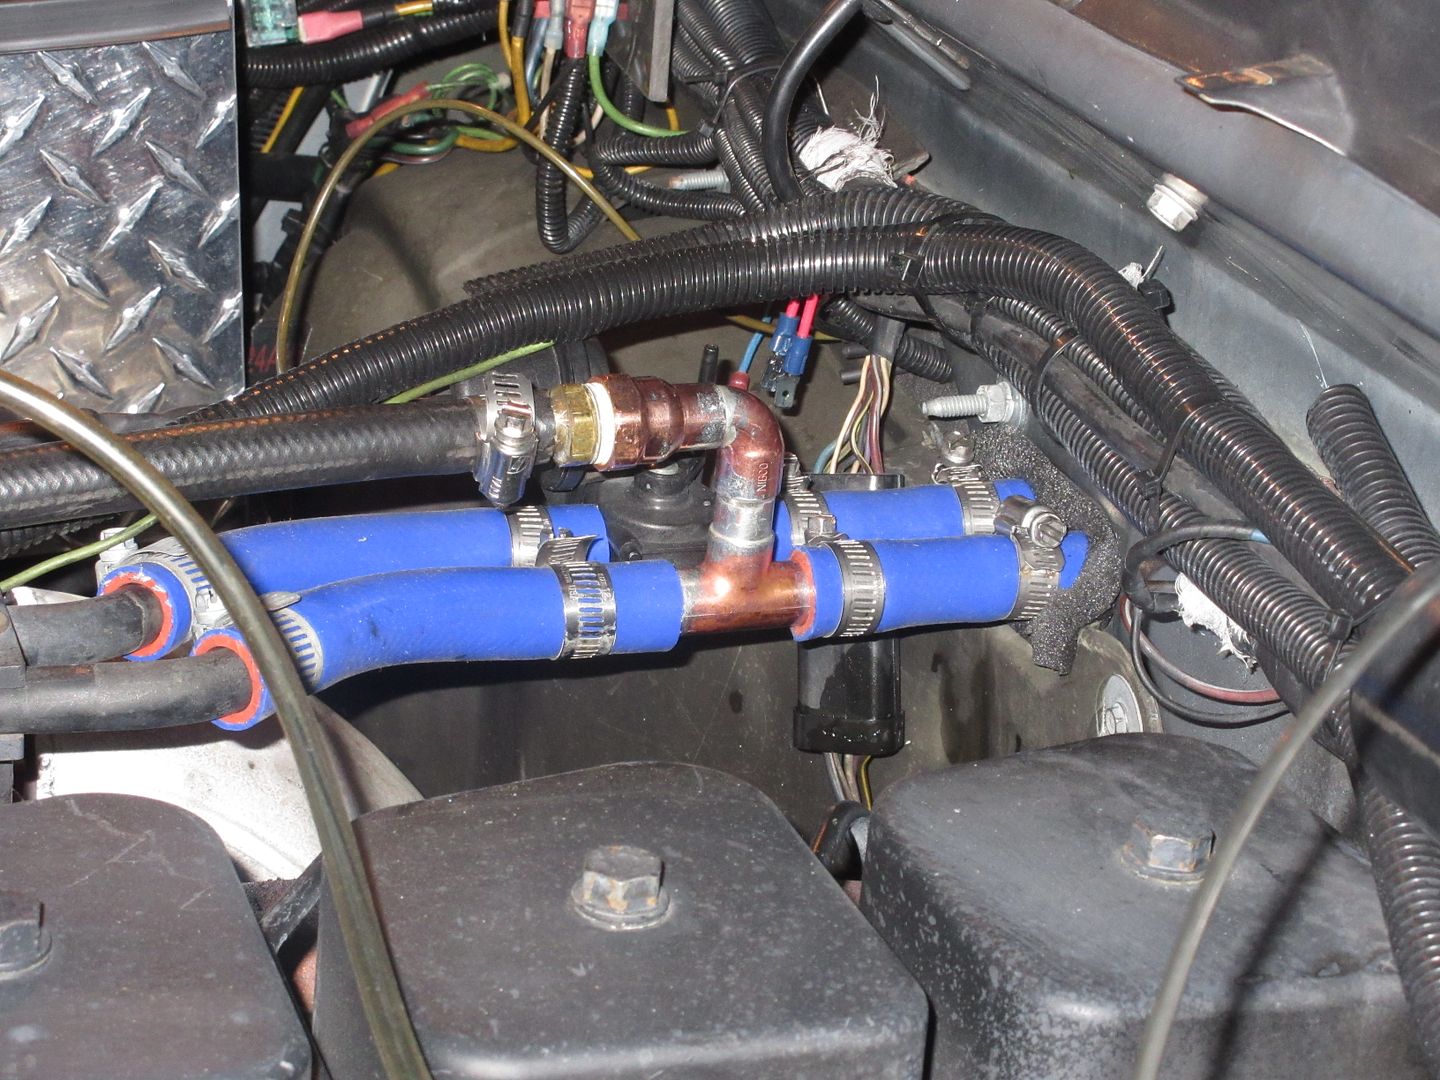
These are the correct hose clamps to use with silicone hose
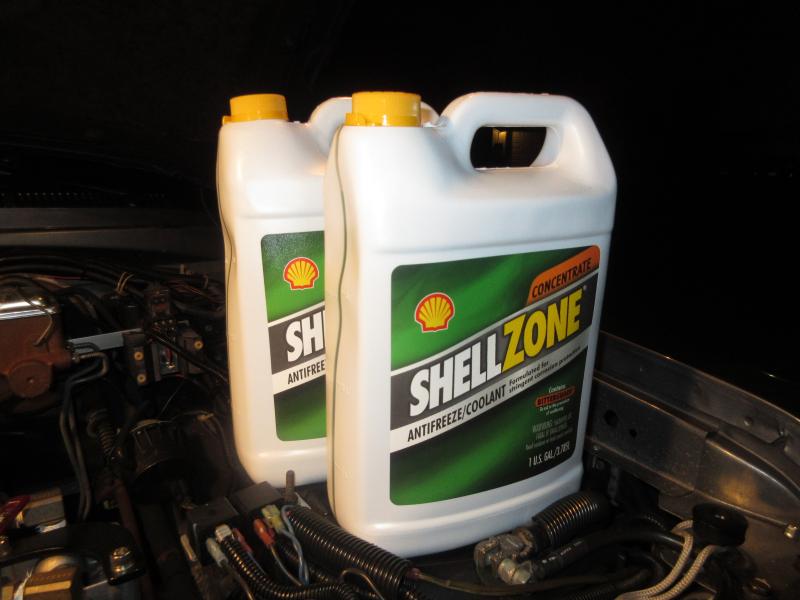
I was finally able to find the Shellzone Low Silicate Antifreeze I was looking for, had it at my local Heavy Truck Parts and 3 gallons of Arrowhead Distilled Water from my local Target Store.
Several days earlier, I had drained all of the old antifreeze out and back flushed the cooling system till I was satisfied that it was clean, then I put a can of cooling system cleaner and ran the truck for 2 days before back flushing the system again, my system was really pretty clean.
I removed the recovery tank and cleaned it out as good as I could and then after using compressed air to drain as much old water out of the block I added the 2 gallons of the coolant and then topped it off with the distilled water, I bled any air out through an open coolant filter line.
I am also waiting for a set of brushes and slip ring to arrive so I can go through the back end of my alternator.

Jim
All that I have to do now is make the new refrigerant lines.

I replaced the upper lower radiator and bypass hoses; I also replaced the water pump.


I replaced all of my silicone hoses for my heater and bypass lines except for the 1/2" line for my coolant filter.
Hose Man had backordered some of my hose clamps so as soon as I am able to pick them up they will all be the correct type.

These are the correct hose clamps to use with silicone hose

I was finally able to find the Shellzone Low Silicate Antifreeze I was looking for, had it at my local Heavy Truck Parts and 3 gallons of Arrowhead Distilled Water from my local Target Store.
Several days earlier, I had drained all of the old antifreeze out and back flushed the cooling system till I was satisfied that it was clean, then I put a can of cooling system cleaner and ran the truck for 2 days before back flushing the system again, my system was really pretty clean.
I removed the recovery tank and cleaned it out as good as I could and then after using compressed air to drain as much old water out of the block I added the 2 gallons of the coolant and then topped it off with the distilled water, I bled any air out through an open coolant filter line.

I am also waiting for a set of brushes and slip ring to arrive so I can go through the back end of my alternator.

Jim
03-04-2015, 05:23 AM
#867
Registered User
Just tweaking and finishing up this build past couple months...
Fluids and filters around Christmas after the restoration, along with a Transgo kit & reusable pan gasket -

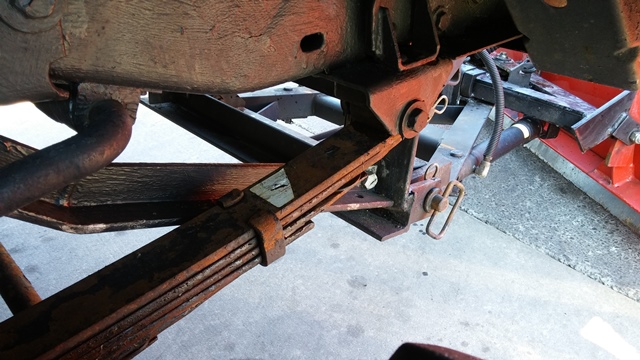
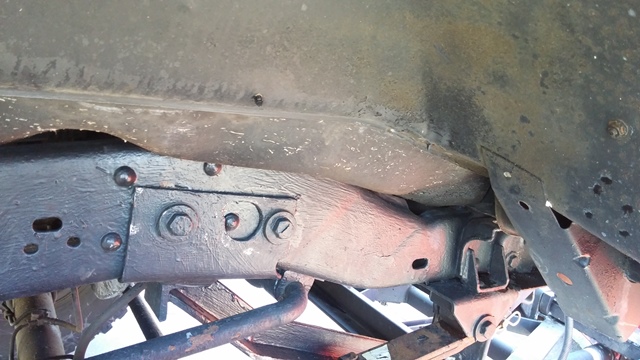
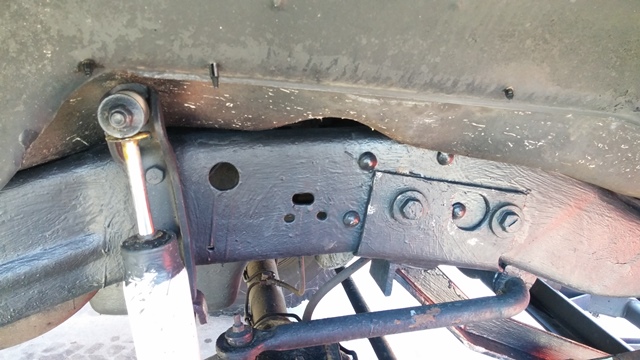
Then new rubber & Bilsteins all around -


And a new battery & terminals -

Fluids and filters around Christmas after the restoration, along with a Transgo kit & reusable pan gasket -
Then new rubber & Bilsteins all around -
And a new battery & terminals -
03-04-2015, 07:18 AM
#868
Registered User
ofelas,
Love the old Mopar paint color choice.
Is that "Citronella Yella" / "Lime Light" or is that more of a "Sassy Grass" green?
I just painted my bedroom in Sassy Grass green to go along with my daughter's Plum Crazy purple bedroom, and our bathroom which is in Go-Man-Go [orange].
The '91-'93 Driver side mirror mounted over the bathroom sink gets a few chuckles too.
03-04-2015, 08:46 AM
#869
Registered User
Thx oliver.
SubLime. Never a Plymouth color on my Dodge LOL.
Nice on the paint schemes! Not enough of us left!
SubLime. Never a Plymouth color on my Dodge LOL.
Nice on the paint schemes! Not enough of us left!
ofelas,
Love the old Mopar paint color choice.
Is that "Citronella Yella" / "Lime Light" or is that more of a "Sassy Grass" green?
I just painted my bedroom in Sassy Grass green to go along with my daughter's Plum Crazy purple bedroom, and our bathroom which is in Go-Man-Go [orange].
The '91-'93 Driver side mirror mounted over the bathroom sink gets a few chuckles too.
Love the old Mopar paint color choice.
Is that "Citronella Yella" / "Lime Light" or is that more of a "Sassy Grass" green?
I just painted my bedroom in Sassy Grass green to go along with my daughter's Plum Crazy purple bedroom, and our bathroom which is in Go-Man-Go [orange].
The '91-'93 Driver side mirror mounted over the bathroom sink gets a few chuckles too.
03-04-2015, 11:03 AM
#870
Registered User
ofelas,
Love the old Mopar paint color choice.
Is that "Citronella Yella" / "Lime Light" or is that more of a "Sassy Grass" green?
I just painted my bedroom in Sassy Grass green to go along with my daughter's Plum Crazy purple bedroom, and our bathroom which is in Go-Man-Go [orange].
The '91-'93 Driver side mirror mounted over the bathroom sink gets a few chuckles too.
Love the old Mopar paint color choice.
Is that "Citronella Yella" / "Lime Light" or is that more of a "Sassy Grass" green?
I just painted my bedroom in Sassy Grass green to go along with my daughter's Plum Crazy purple bedroom, and our bathroom which is in Go-Man-Go [orange].
The '91-'93 Driver side mirror mounted over the bathroom sink gets a few chuckles too.