W250 frame off restoration
 ...Ben

The following users liked this post:
mikemmw (01-23-2020)
 01-23-2020, 07:44 AM
#17
Registered User
Thread Starter
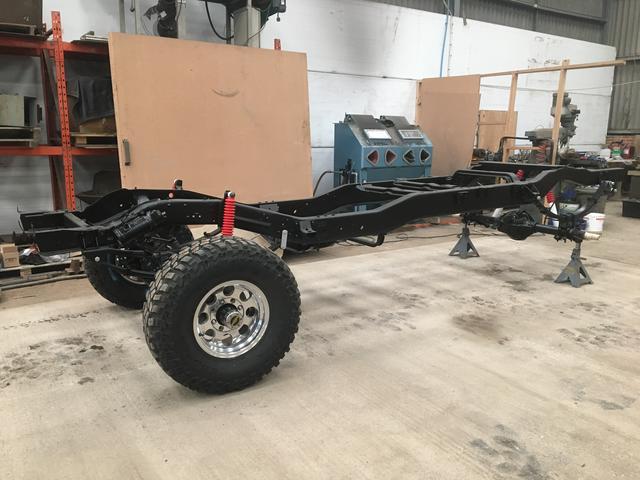
I sat the whole assembly on my cheap crappy creeper which is missing its centre 2 wheels and on my rough concrete floor surprisingly It wouldn't roll and would barely drag.
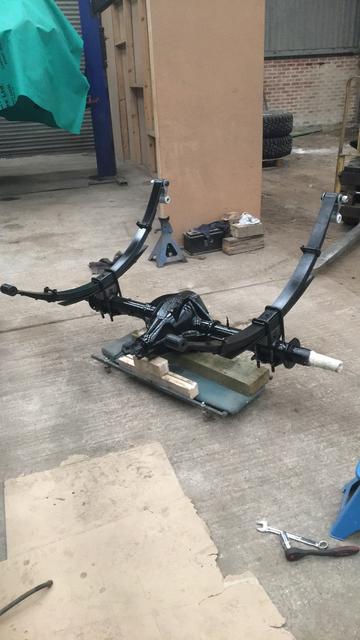
I managed to poke it all underneath carefully with the forklift and then sit it back on the creeper when underneath.
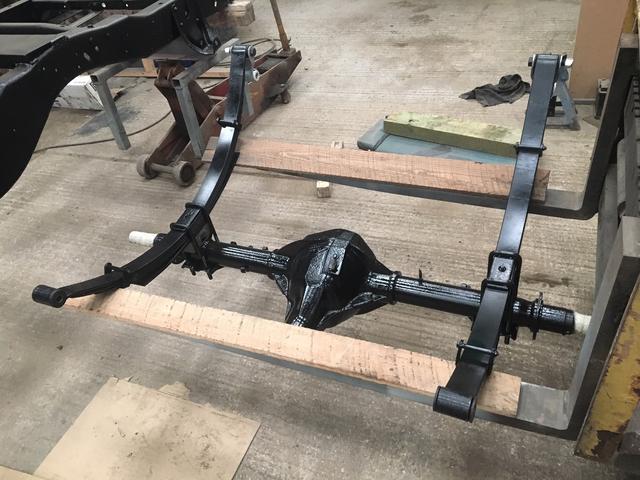
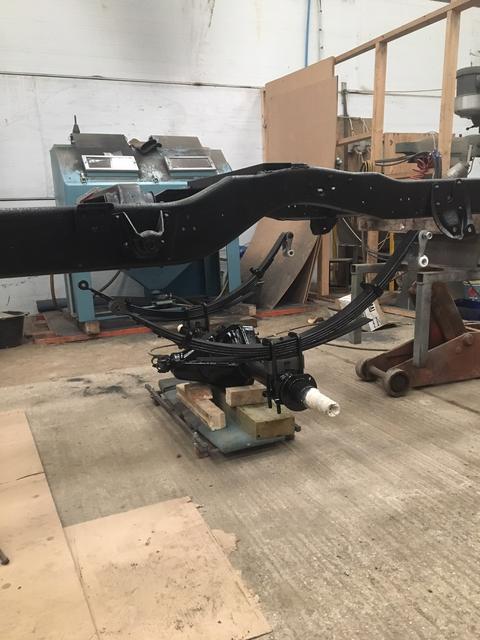
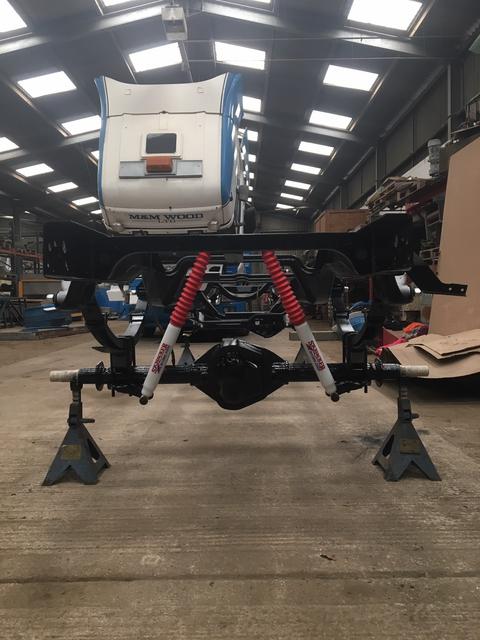
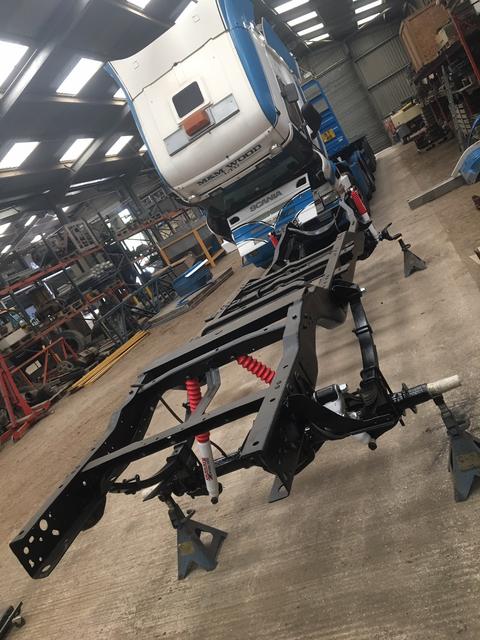
Fitting the springs to the frame was very difficult as the uncompressed springs are barely long enough to reach the mounts, with the help on someone else we struggled to get them in.
The weight of the frame does next to nothing to compress them and as they sit the shackles are hard up against the edge of the shackle mount.
The weight of the bed, diesel tank, bumper and tow hitch will hopefully compress them enough to bring the shackle into a more desired position, ideally vertical.
I finally fitted my rear shocks and these will do but my size choice wasn't as good as the fronts. With shock at full travel I had to really persuade them to fit the axle at full droop. This shouldn't be an issue as I won't be getting any articulation or doing any major off roading in it.
This is how it sits now
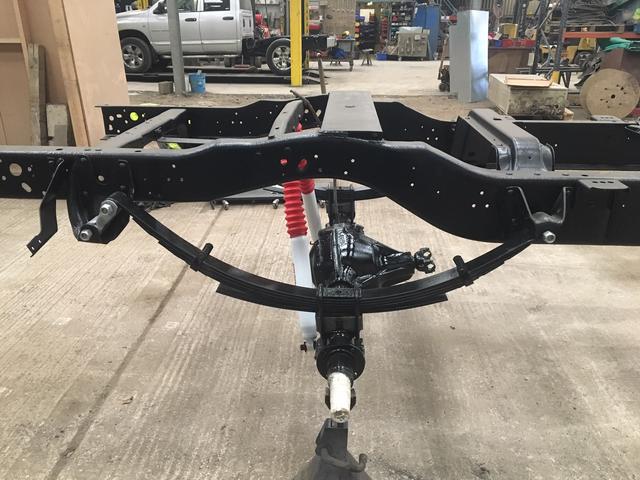
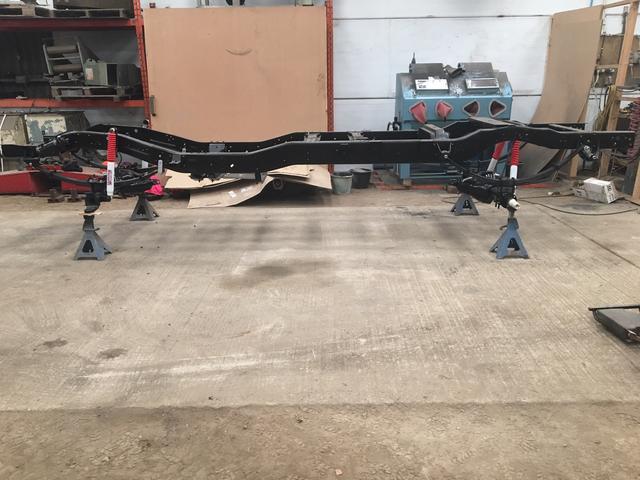
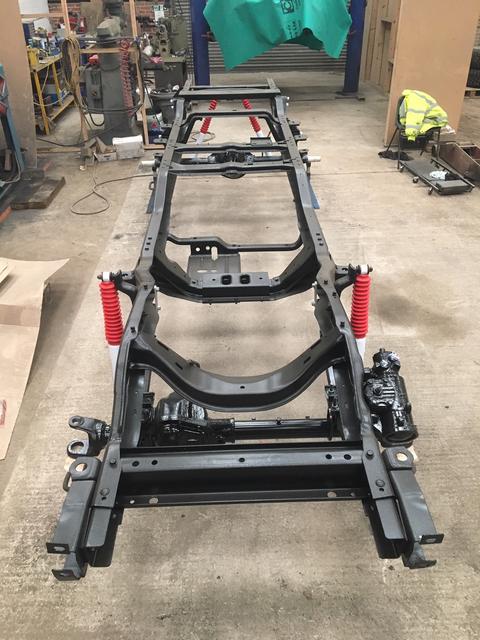
This is as far as I can go with the frame now. I've order all my front and rear axle parts as well as new calipers, drums and brakes. It will probable be June before they arrive with me now.
While I'm waiting I'll probably start on with the engine next.
I managed to poke it all underneath carefully with the forklift and then sit it back on the creeper when underneath.
Fitting the springs to the frame was very difficult as the uncompressed springs are barely long enough to reach the mounts, with the help on someone else we struggled to get them in.
The weight of the frame does next to nothing to compress them and as they sit the shackles are hard up against the edge of the shackle mount.
The weight of the bed, diesel tank, bumper and tow hitch will hopefully compress them enough to bring the shackle into a more desired position, ideally vertical.
I finally fitted my rear shocks and these will do but my size choice wasn't as good as the fronts. With shock at full travel I had to really persuade them to fit the axle at full droop. This shouldn't be an issue as I won't be getting any articulation or doing any major off roading in it.
This is how it sits now
This is as far as I can go with the frame now. I've order all my front and rear axle parts as well as new calipers, drums and brakes. It will probable be June before they arrive with me now.
While I'm waiting I'll probably start on with the engine next.
01-23-2020, 07:45 AM
#18
Registered User
Thread Starter
I've got a few things to update on.
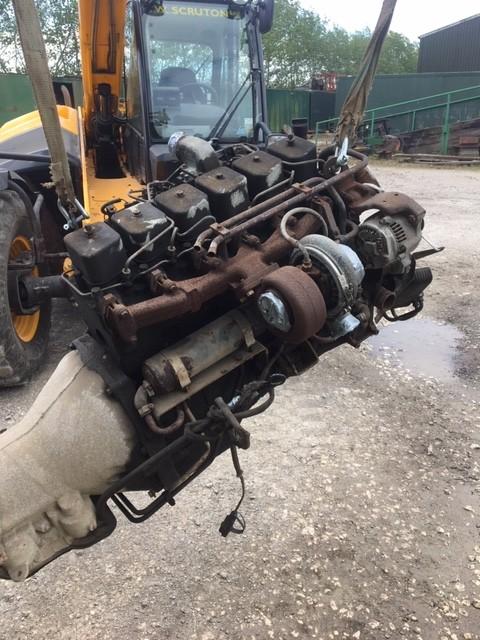
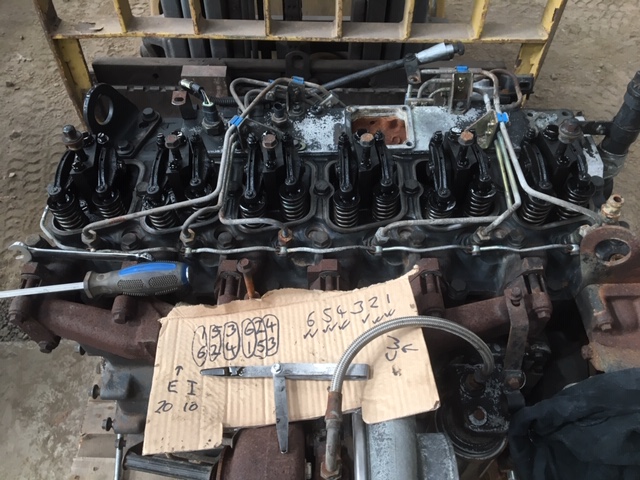
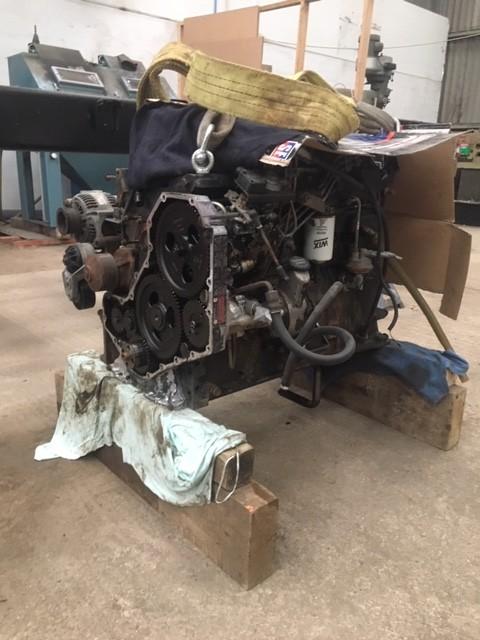
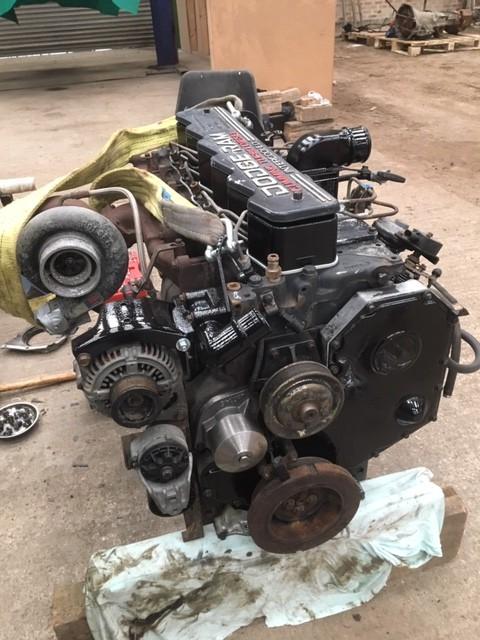
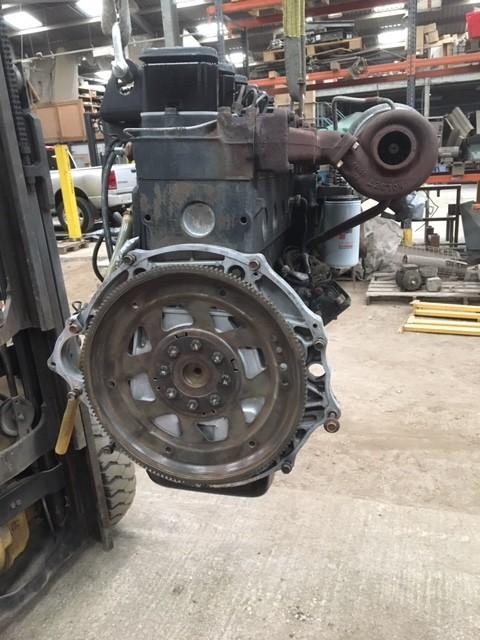
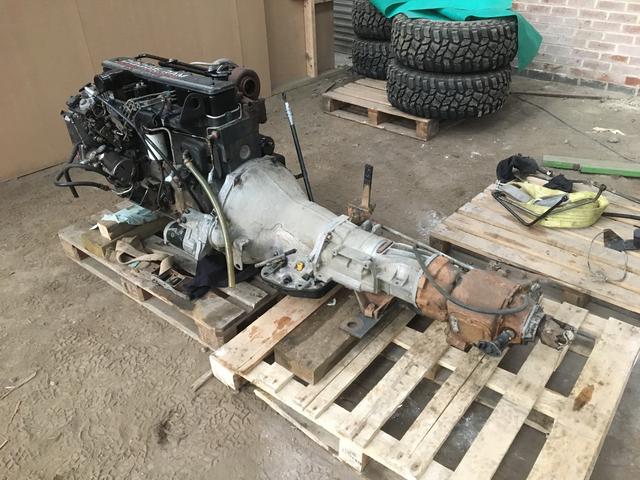
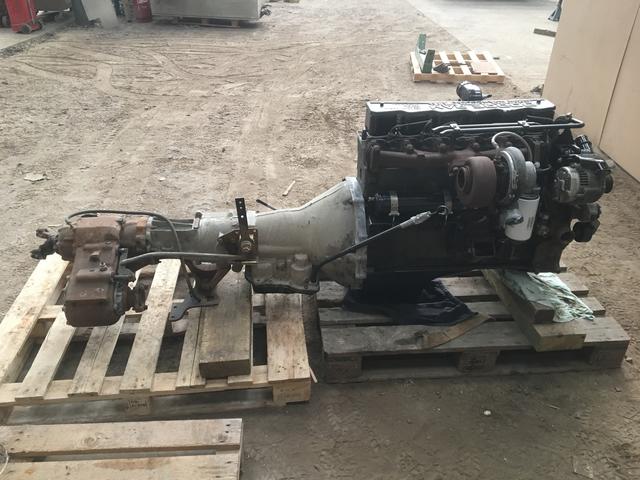
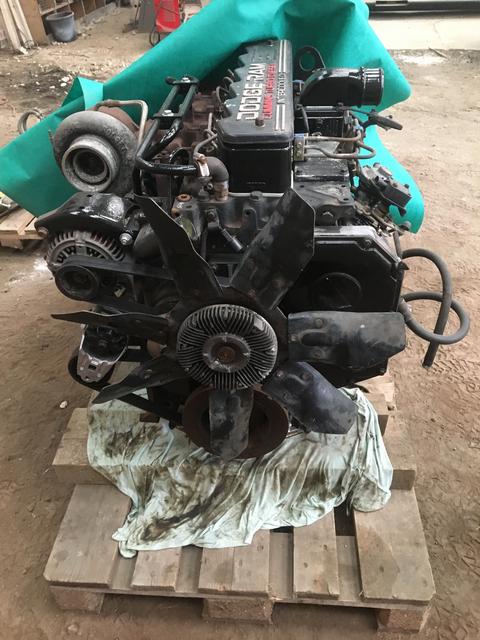
Did some engine work, I never planned on doing a full rebuild or having an immaculate 'as new' block all pimped out with chrome.
I wanted a clean, tidy block with some of the rustier bits blasted and painted properly (I see a lot of people pressure wash off their block and then rattle can everything with no prep and you just know that paint won't last 5 minutes)
The engine ran well so I just wanted to do a thorough service and do all I could to postpone future oil leaks by re-sealing everything.
Before a clean


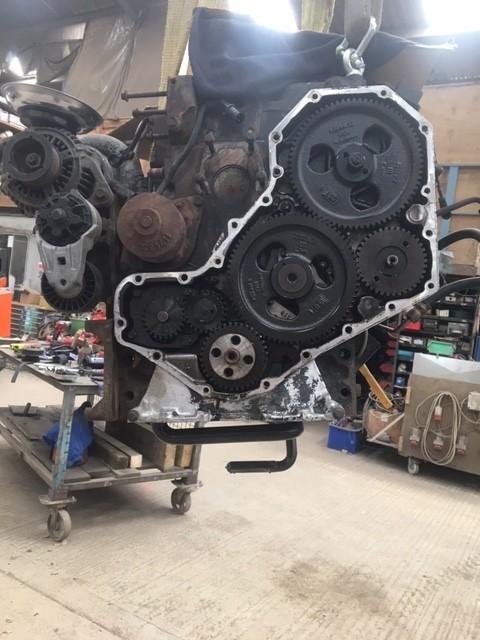
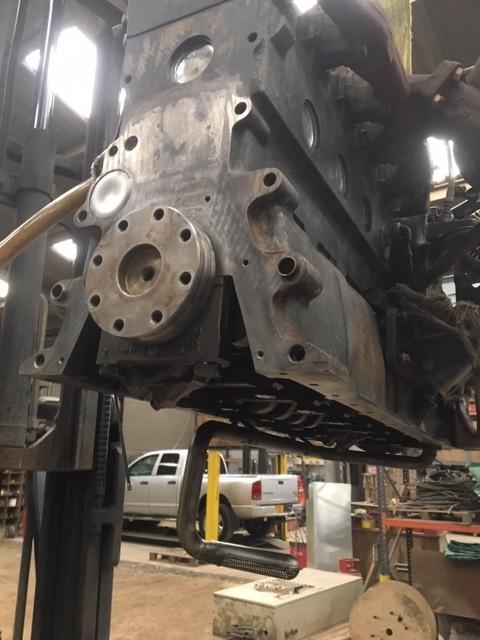
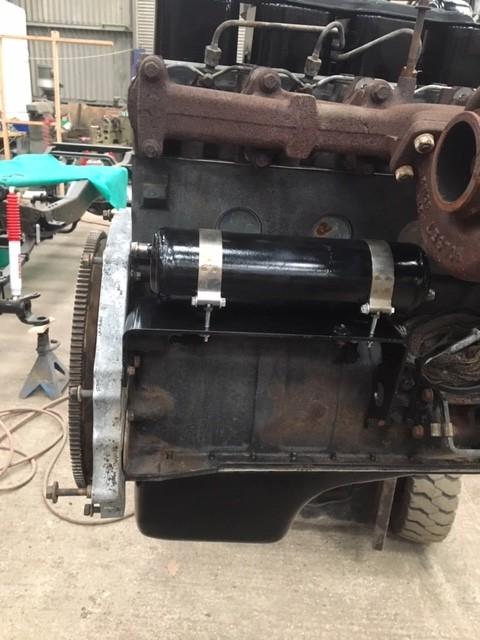
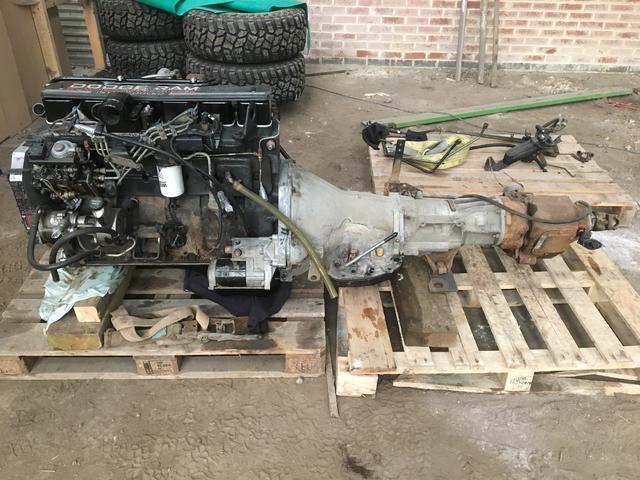
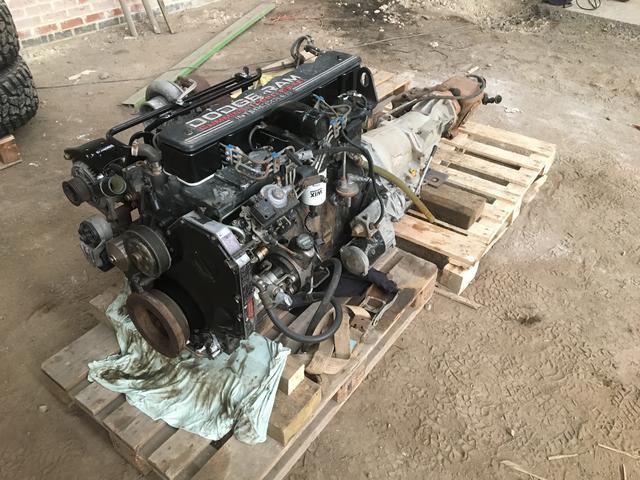
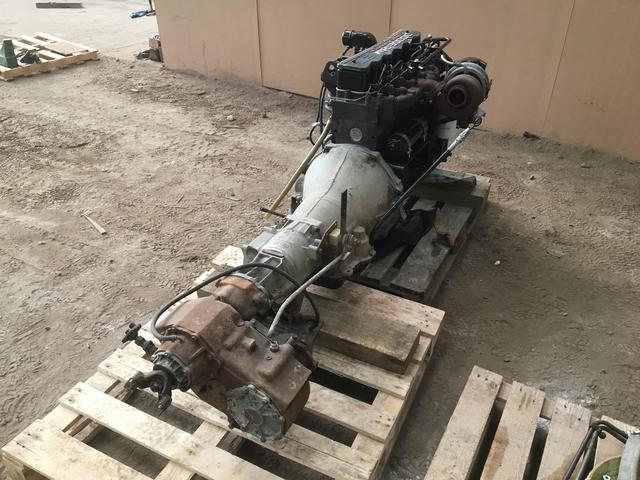
After the first clean (I did apply de greaser and wash again after these photos)

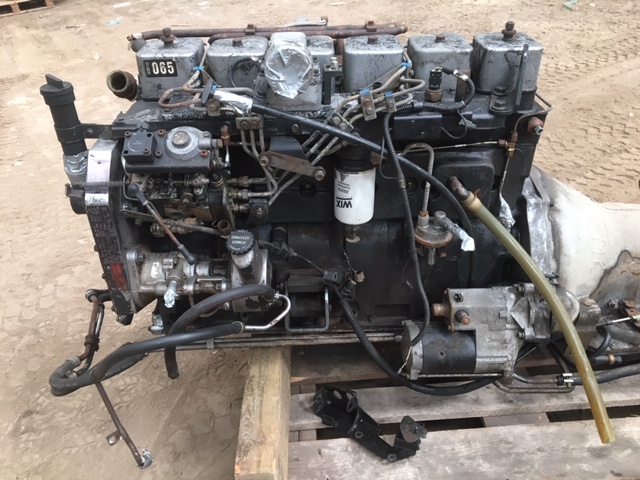
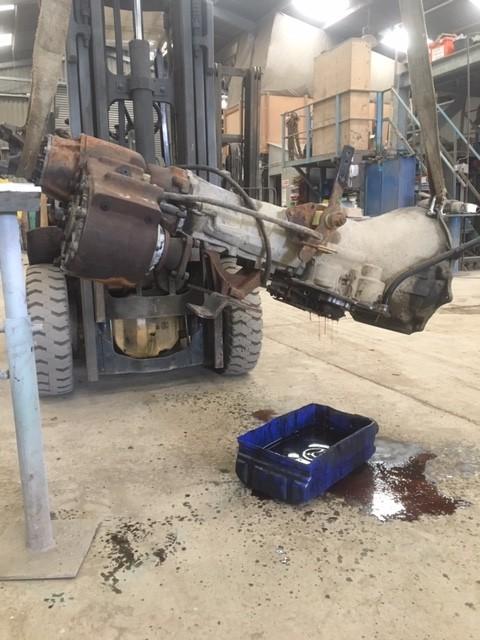
Dropped all the trans and transfer oil and checked the pan for any crap and cleaned it all out
Did some engine work, I never planned on doing a full rebuild or having an immaculate 'as new' block all pimped out with chrome.
I wanted a clean, tidy block with some of the rustier bits blasted and painted properly (I see a lot of people pressure wash off their block and then rattle can everything with no prep and you just know that paint won't last 5 minutes)
The engine ran well so I just wanted to do a thorough service and do all I could to postpone future oil leaks by re-sealing everything.
Before a clean
After the first clean (I did apply de greaser and wash again after these photos)
Dropped all the trans and transfer oil and checked the pan for any crap and cleaned it all out
01-23-2020, 07:46 AM
#19
Registered User
Thread Starter
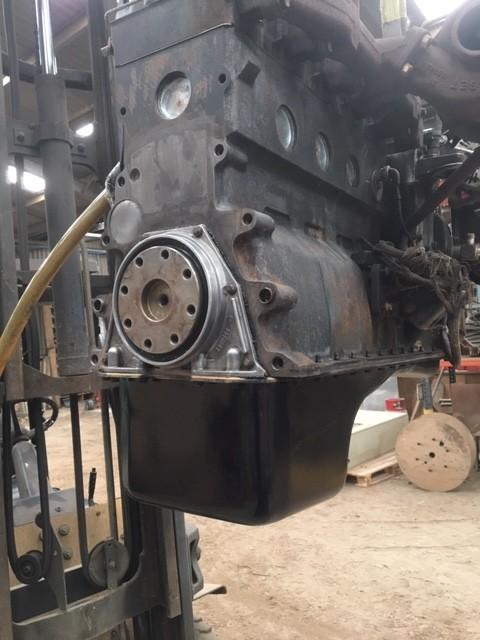
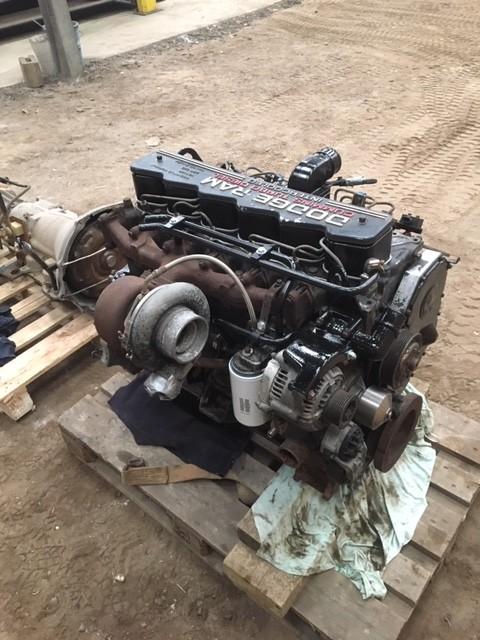
I ended up painting the valve covers, water lines, heater grid, inlet, heat exchanger/trans cooler + bracket, alternator bracket, thermostat housing, sump and timing cover
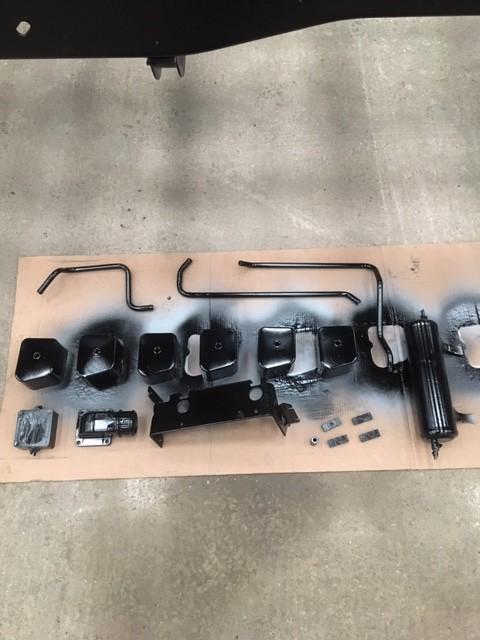
I managed to get new gaskets for everything instead of having to use silicone/instant gasket
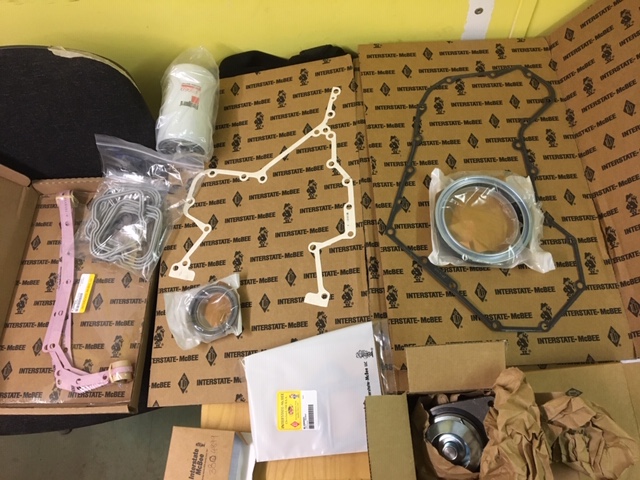
I did the valve lash on it whilst I was painting the valve covers
I managed to get new gaskets for everything instead of having to use silicone/instant gasket
I did the valve lash on it whilst I was painting the valve covers
 01-23-2020, 07:47 AM
#21
Registered User
Thread Starter
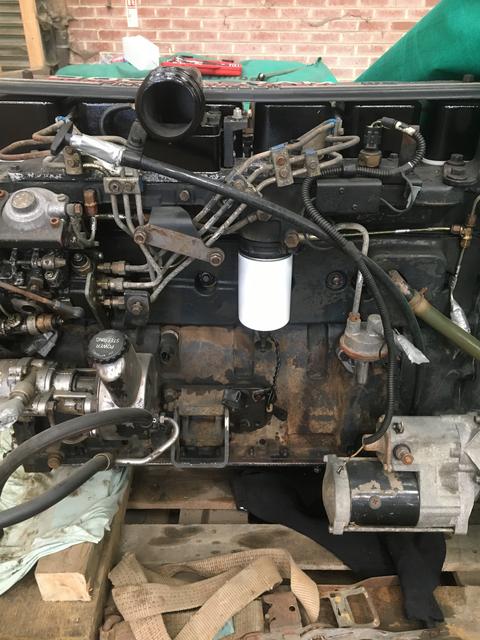
I fitted a new water pump and fromt crank seal and rear main seal

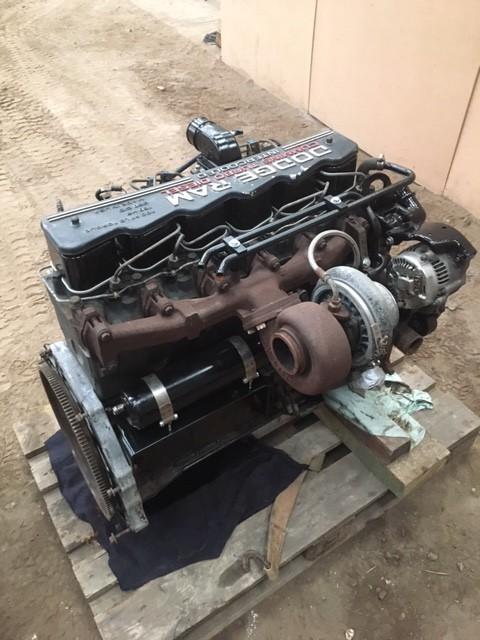
I have removed the A/C compressor for a couple of reasons, mainly because air conditioning is rarely something I find I need over here with our unfavourable climate.
Also the fittings to the condenser are knackered and the pipes don't look in too good condition either.
I have removed the A/C compressor for a couple of reasons, mainly because air conditioning is rarely something I find I need over here with our unfavourable climate.
Also the fittings to the condenser are knackered and the pipes don't look in too good condition either.
01-23-2020, 07:48 AM
#22
Registered User
Thread Starter
The reason I started on the engine was because I could go no further with the frame towards getting it rolling without more parts.
I made an order at the end of April, then 6 weeks later and just as I was running out of engine jobs to do, all my axle and brake parts turned up.
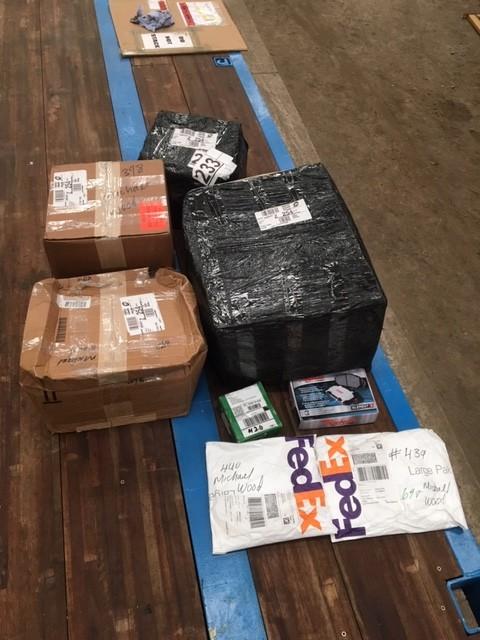
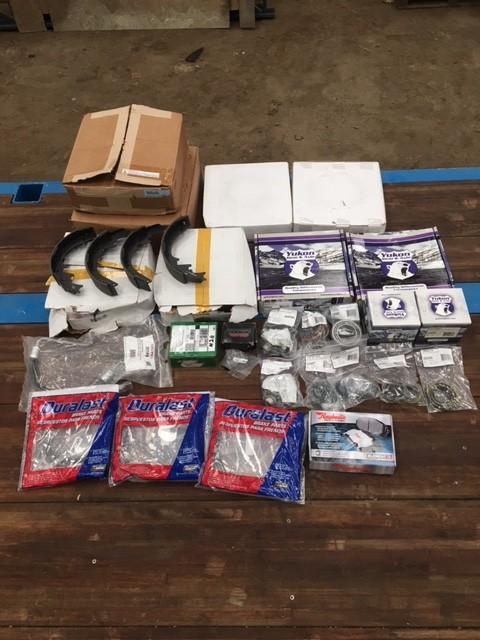
I made an order at the end of April, then 6 weeks later and just as I was running out of engine jobs to do, all my axle and brake parts turned up.
01-23-2020, 07:49 AM
#23
Registered User
Thread Starter
I'm going to drop a large quantity of photos on everyone, I should update more often but I can never be bothered to put all the latest photos from my phone to computer and sit here and type it all out.
I think this is where I left off probably back in June.
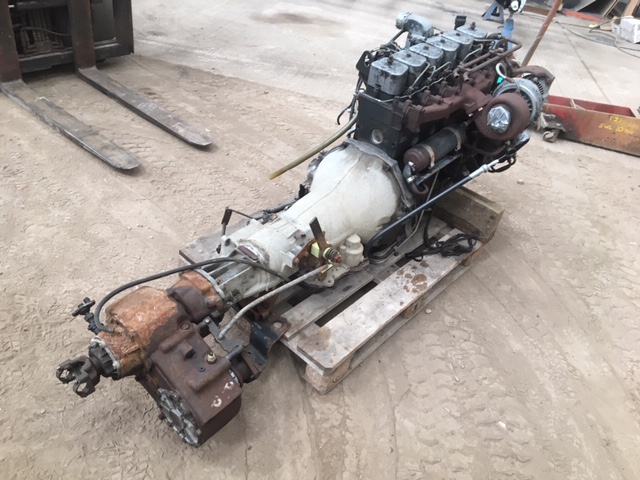
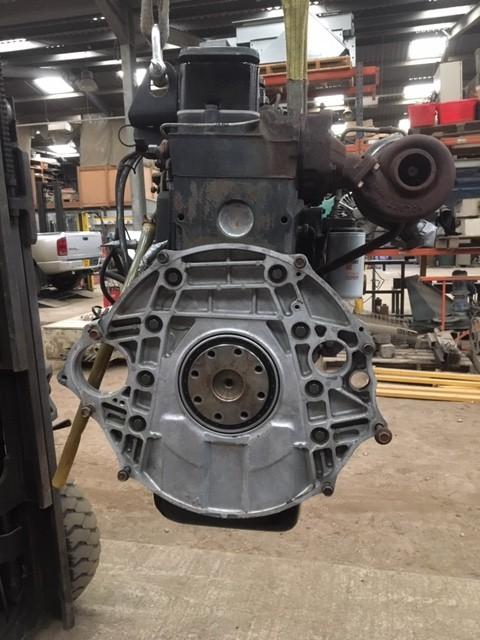
I pulled the pan off the transmission, gave it all a good clean off, tipped it every direction and blew air through the cooler inlet and outlet to ensure I drained as much of the old fluid as I could.
I changed the filter and re-fitted the pan.
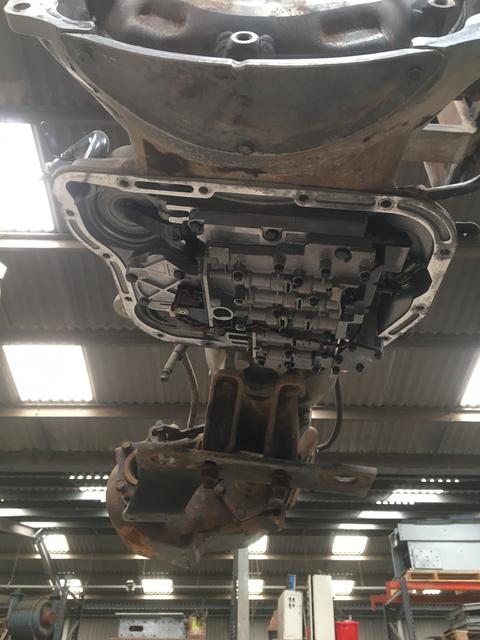
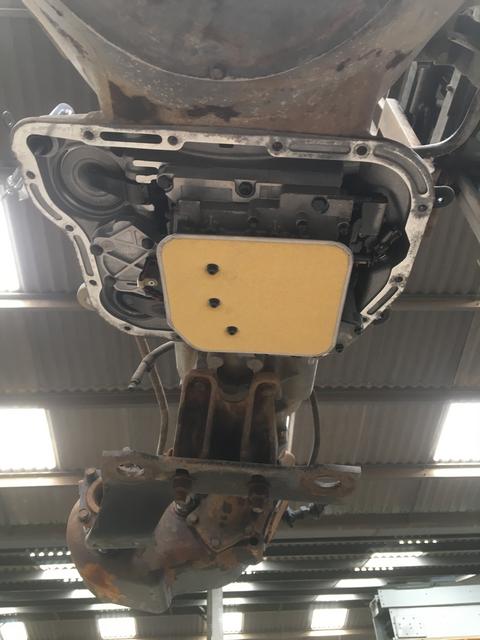
I mated the transmission back up to the engine so it was all ready to drop in, bar a couple little additions.
I think this is where I left off probably back in June.
I pulled the pan off the transmission, gave it all a good clean off, tipped it every direction and blew air through the cooler inlet and outlet to ensure I drained as much of the old fluid as I could.
I changed the filter and re-fitted the pan.
I mated the transmission back up to the engine so it was all ready to drop in, bar a couple little additions.
01-23-2020, 07:50 AM
#24
Registered User
Thread Starter
I had 3 weeks off the truck as I took an amazing trip over to the states where we did a 3500 mile road trip.
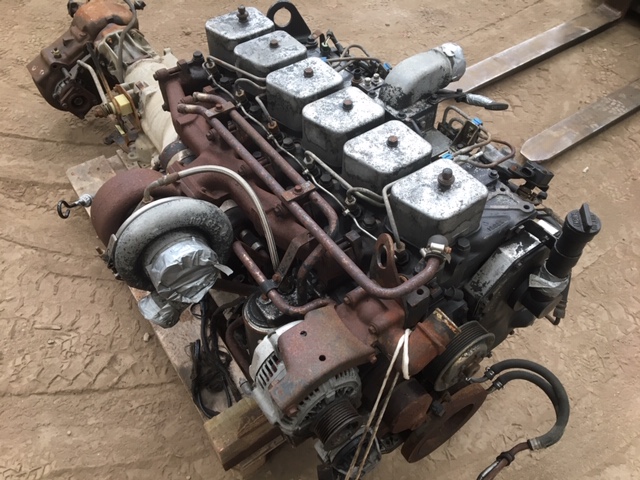
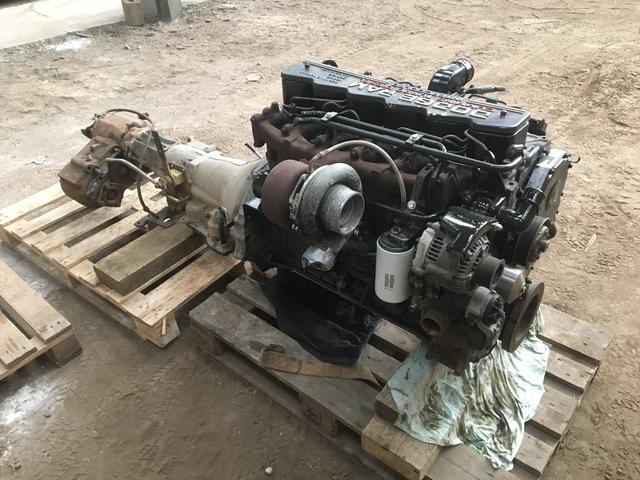
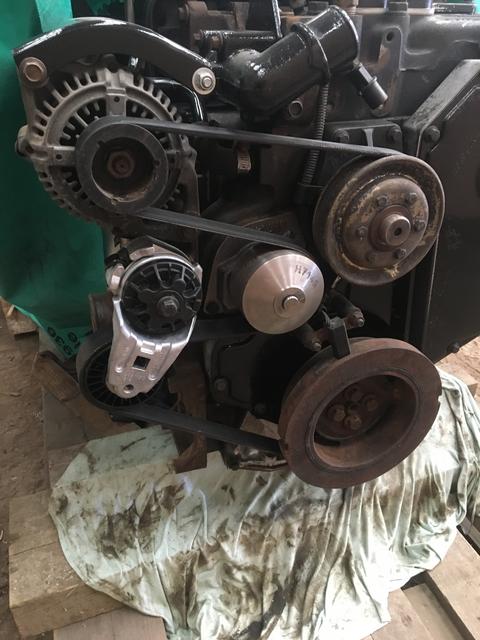
Whilst there I picked up a belt tensioner and fuel filter. As simple as these pieces are I just can't get hold of them over here as our 6bt's have different auxiliaries and different belt routing and our fuel filter housing and water separators are different sizes.
Fit them when I got home with a new belt and fitted the fan.
01-23-2020, 07:50 AM
#25
Registered User
Thread Starter
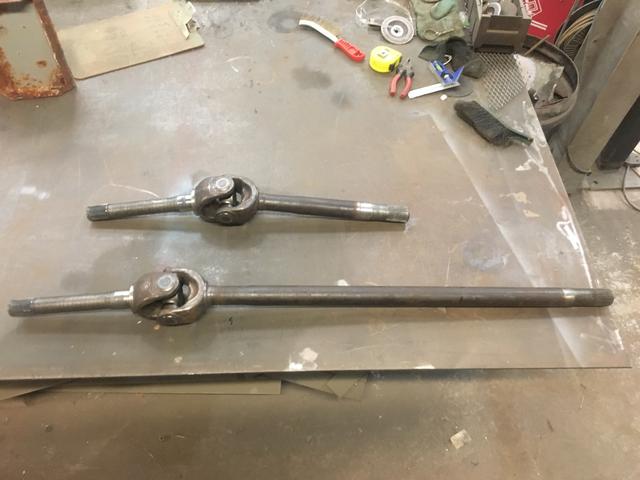
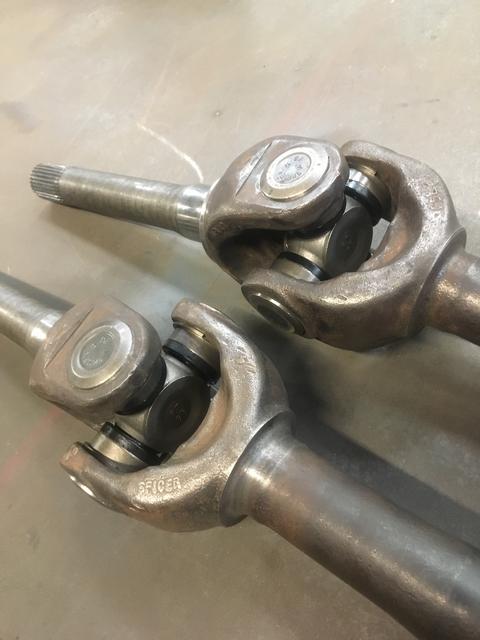
My front axle shafts were covered in oily dirt and rust. The UJ's were totally shot also.
I gave them a good clean up and fitted new UJ's, surprised how well they came out.
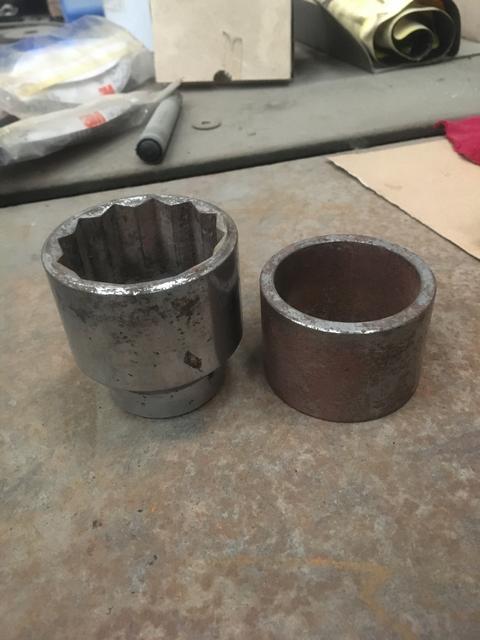
Preempting the fitting of wheel bearings and the lack of having a tool I decided I needed one, I removed them by chiseling round and wouldn't be happy without re-installing in any other way then recommended in the factory service manual.
I'm way too cheap to pay for a specialist tool so I made one, I used a scrap piece of pipe and an old 2" socket, just tacked the two together so I can have my socket back if I ever need it one day. Only took about an hour all in to make and looked like it would do the job.
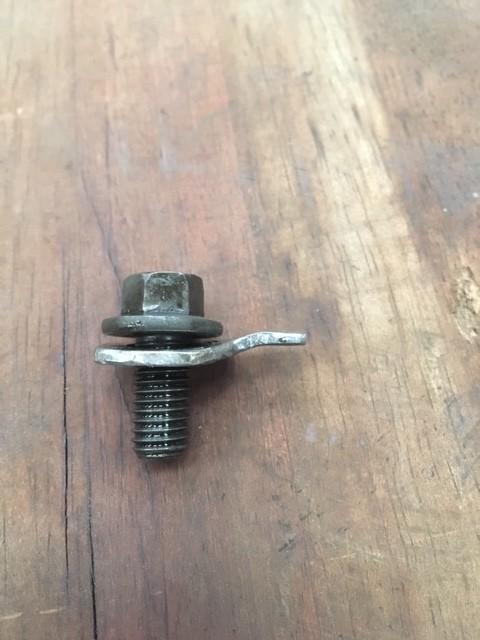
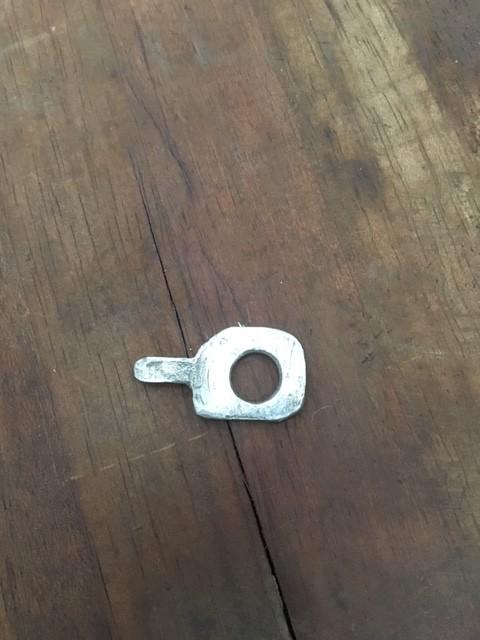
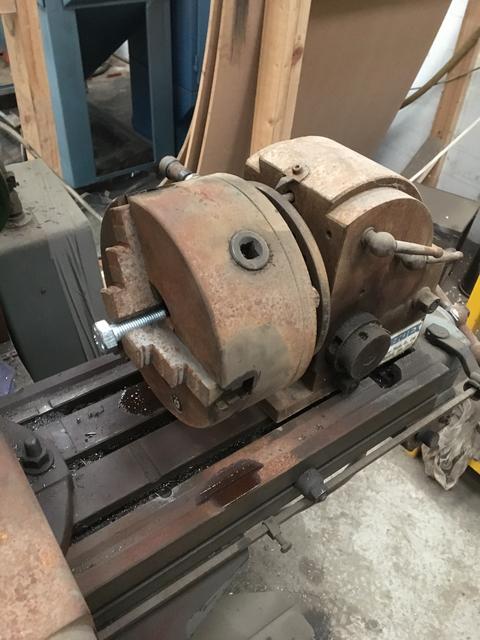
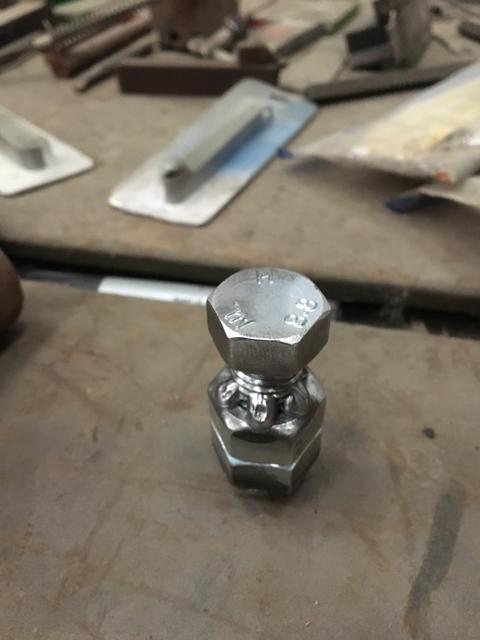
Whilst on with making tools I didn't feel that my modified M16 bolt was up to efficiently torquing down the kingpins.
I fettled the original up roughly using a bench grinder, I took a fresh M16 and lugged the dividing head onto my milling machine to make an accurate version.
I gave them a good clean up and fitted new UJ's, surprised how well they came out.
Preempting the fitting of wheel bearings and the lack of having a tool I decided I needed one, I removed them by chiseling round and wouldn't be happy without re-installing in any other way then recommended in the factory service manual.
I'm way too cheap to pay for a specialist tool so I made one, I used a scrap piece of pipe and an old 2" socket, just tacked the two together so I can have my socket back if I ever need it one day. Only took about an hour all in to make and looked like it would do the job.
Whilst on with making tools I didn't feel that my modified M16 bolt was up to efficiently torquing down the kingpins.
I fettled the original up roughly using a bench grinder, I took a fresh M16 and lugged the dividing head onto my milling machine to make an accurate version.
01-23-2020, 07:51 AM
#26
Registered User
Thread Starter
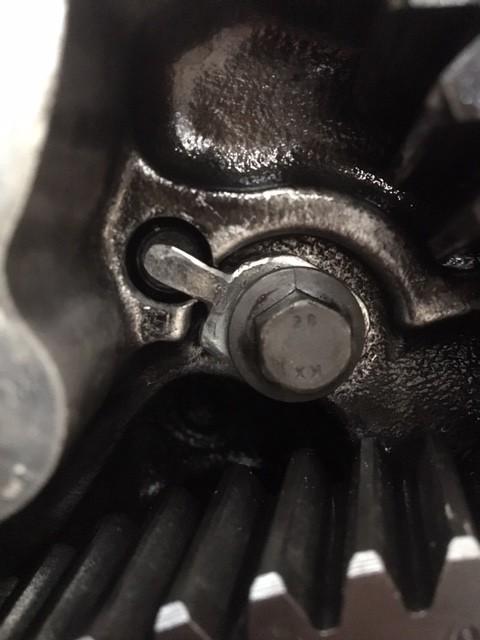
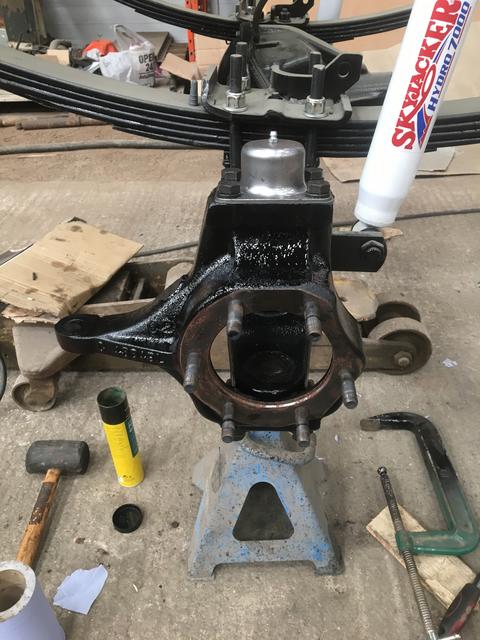
New lower kingpin races, bearings and seals


New upper kingpins, it's worth noting that my new tool, although a perfect fit, was not up to the job. I sheared the bolt in half, welded it back together and sheared it again. I ended up going back to my mark 1 version and gave it as much as I dared, nowhere near the 500-600 ft/lb recommended but it'll have to do.
New upper kingpins, it's worth noting that my new tool, although a perfect fit, was not up to the job. I sheared the bolt in half, welded it back together and sheared it again. I ended up going back to my mark 1 version and gave it as much as I dared, nowhere near the 500-600 ft/lb recommended but it'll have to do.
01-23-2020, 07:52 AM
#27
Registered User
Thread Starter
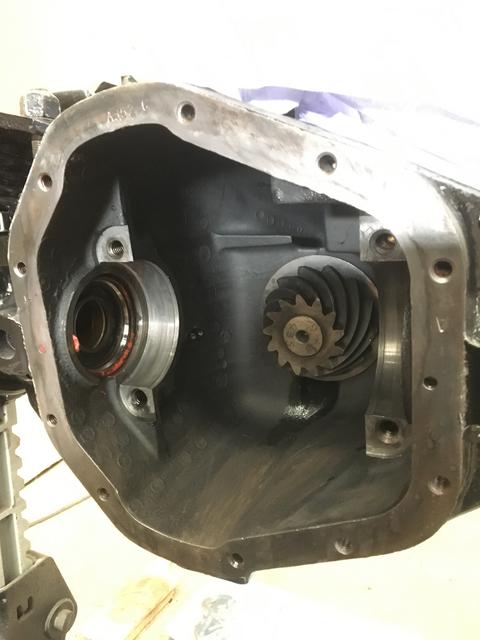
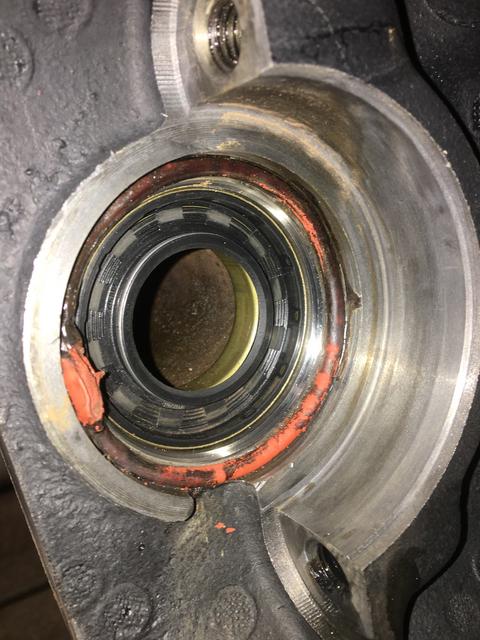
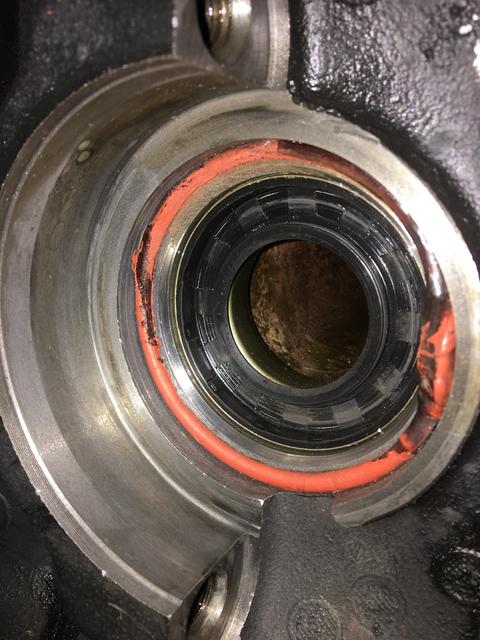
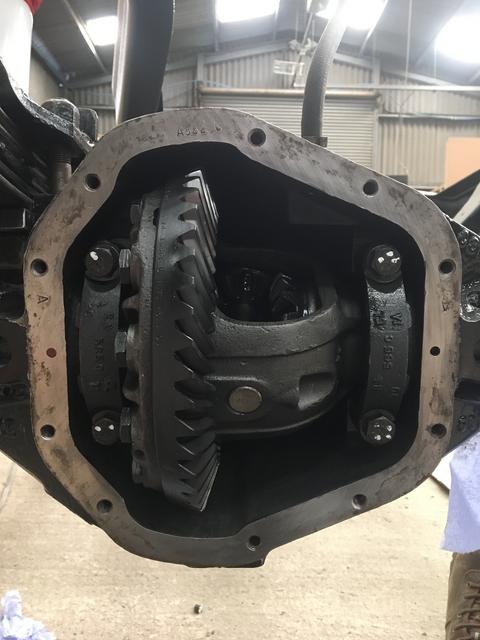
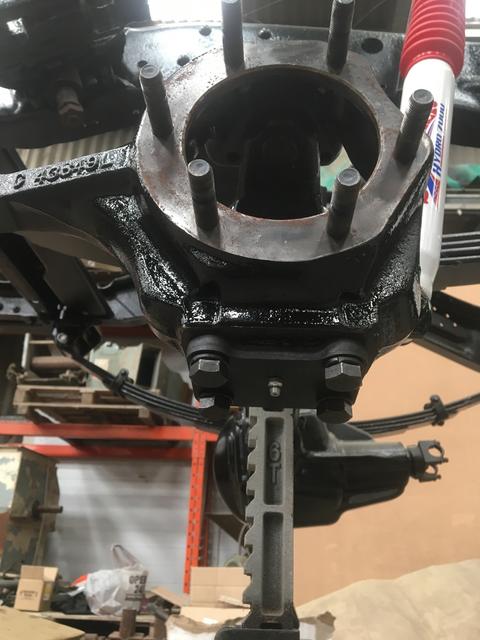
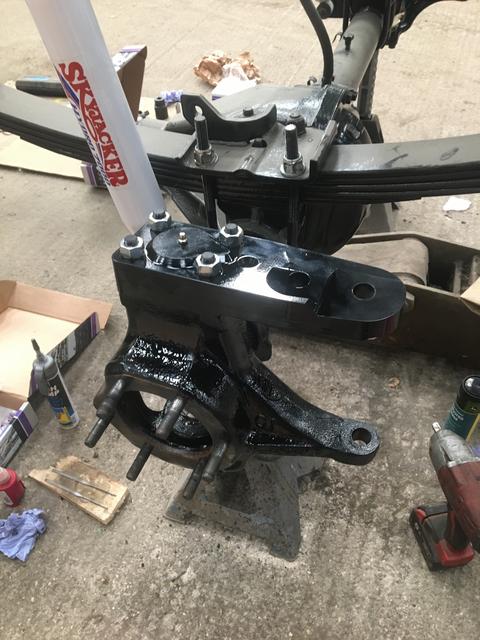
I pulled my carrier out, gave it a good clean in there and fitted new inner axle seals
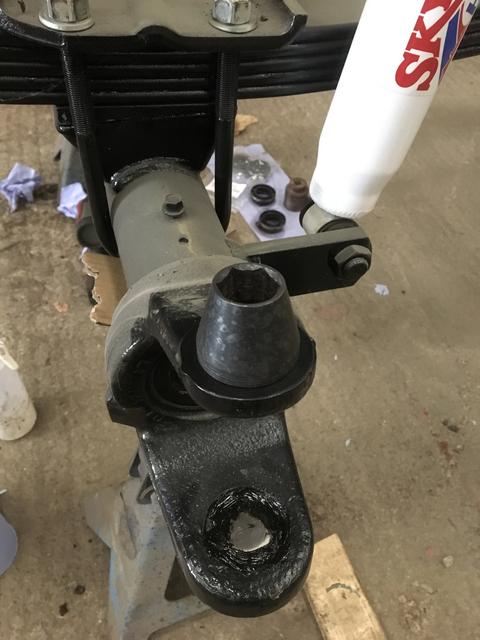
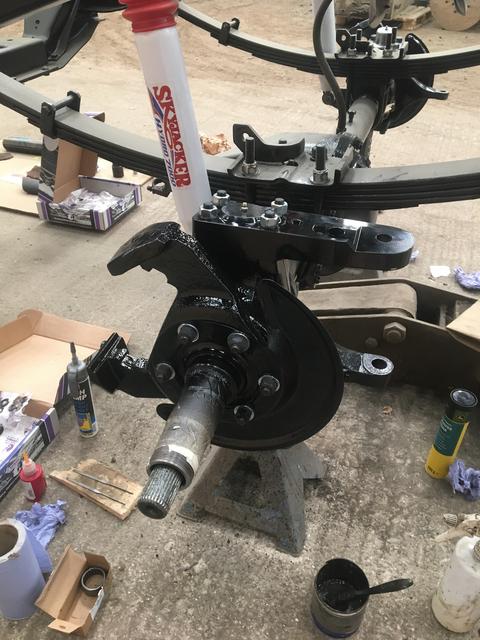
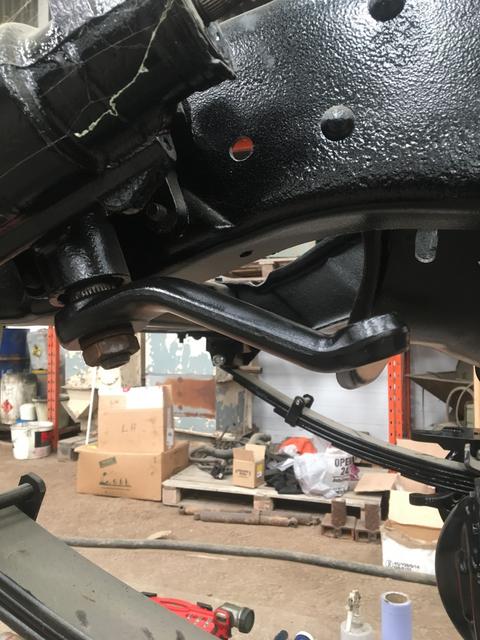
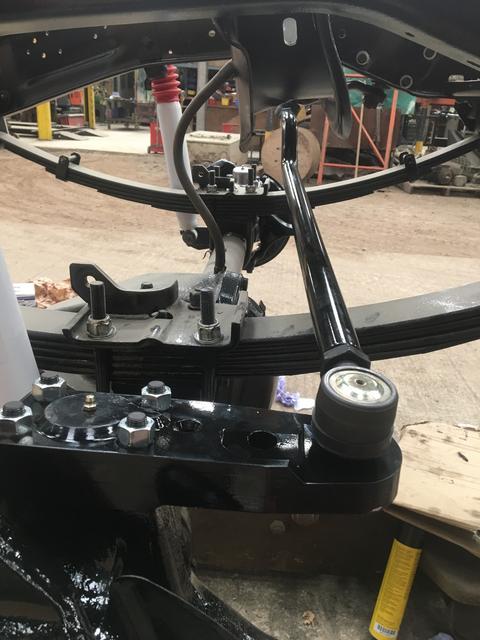
Next I cleaned up and painted my front knuckles, spindles, caliper bracket and guard. Whilst doing this I painted my new off road design cross over steering arm and drag link as they just send them in bare steel.
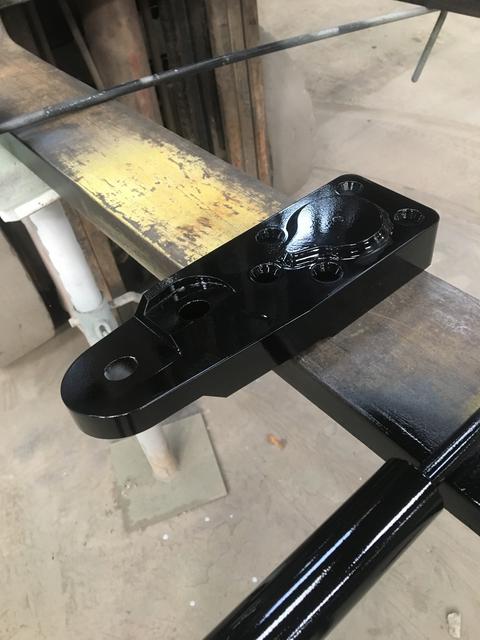

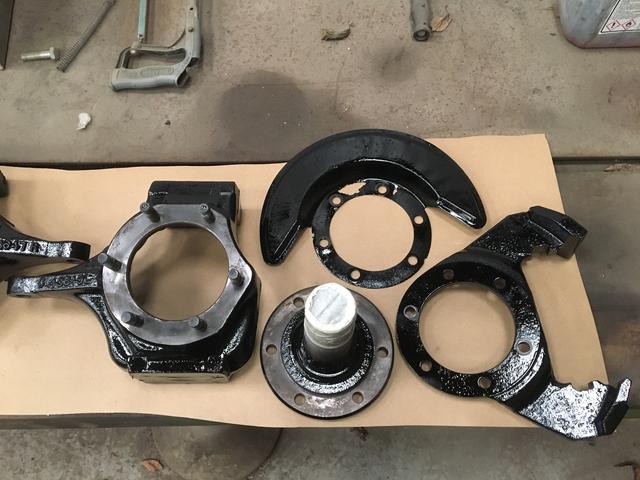
Next I cleaned up and painted my front knuckles, spindles, caliper bracket and guard. Whilst doing this I painted my new off road design cross over steering arm and drag link as they just send them in bare steel.
 01-23-2020, 07:56 AM
#29
Registered User
Thread Starter
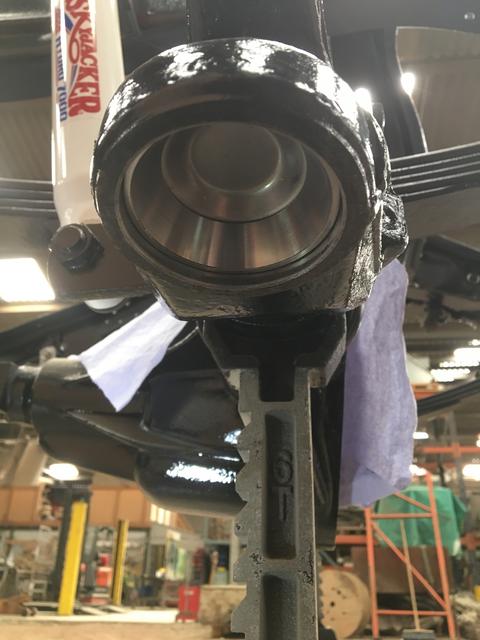
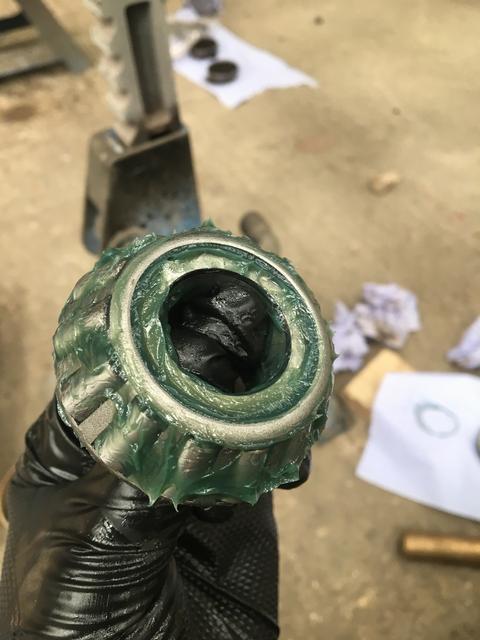
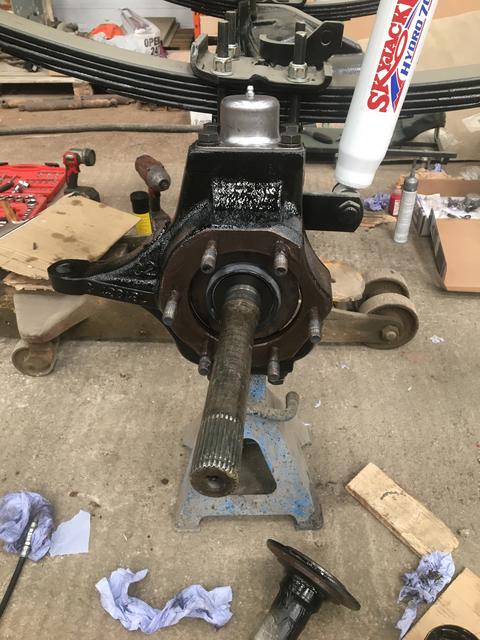
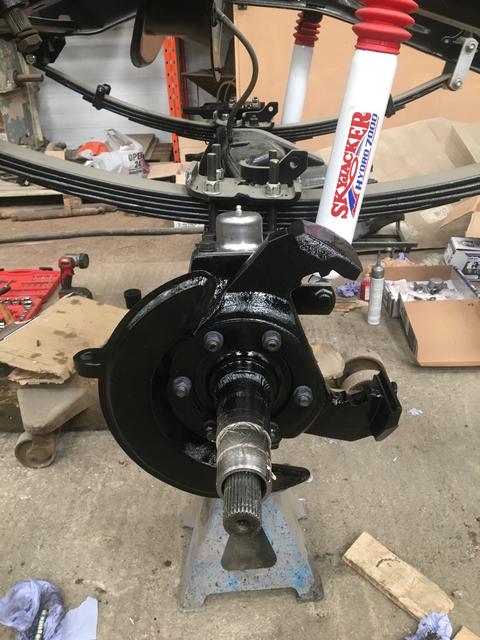
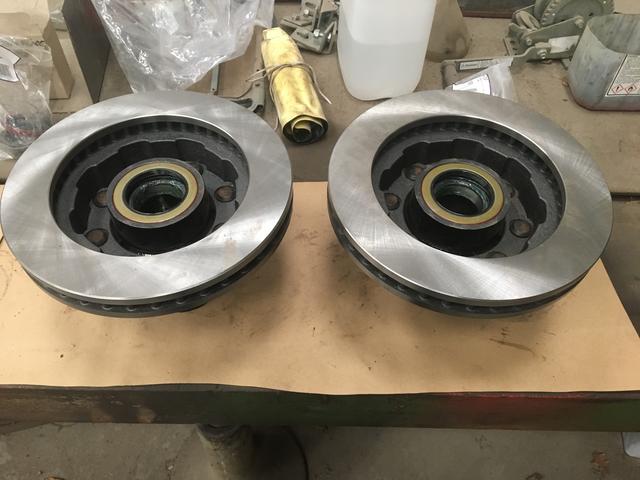
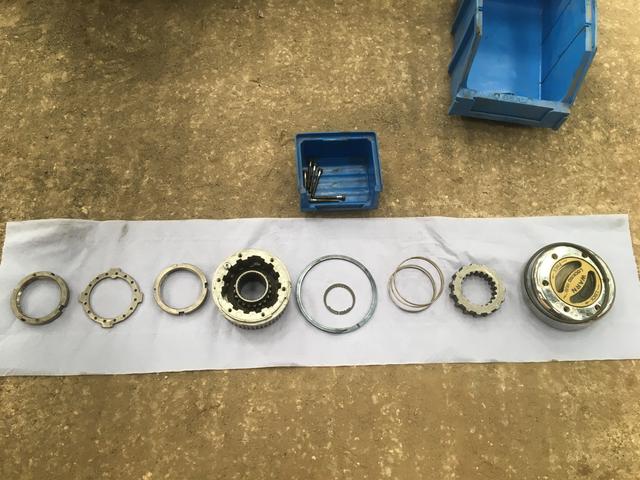
After painting my front hubs, I pressed in new races, packed new bearings and fitted new seals.
Then I cleaned up my studs and fitted new rotors.
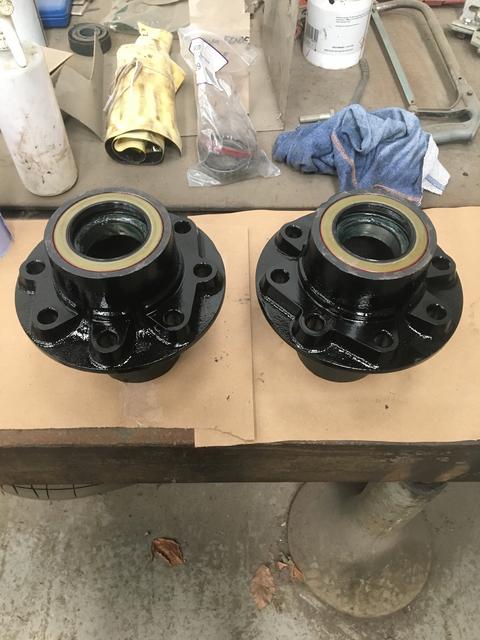
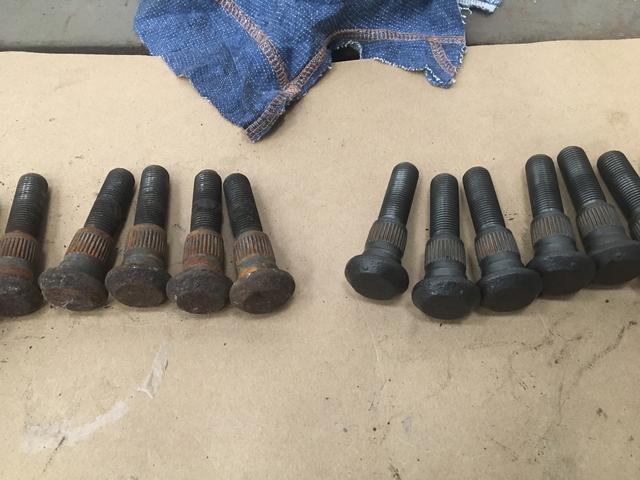
I assembled both front hubs, my homemade tool worked a treat for the wheel bearings.
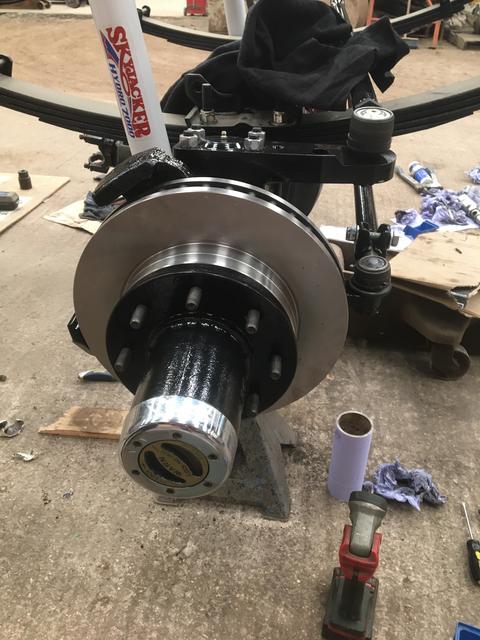
Then I cleaned up my studs and fitted new rotors.
I assembled both front hubs, my homemade tool worked a treat for the wheel bearings.
01-23-2020, 07:57 AM
#30
Registered User
Thread Starter
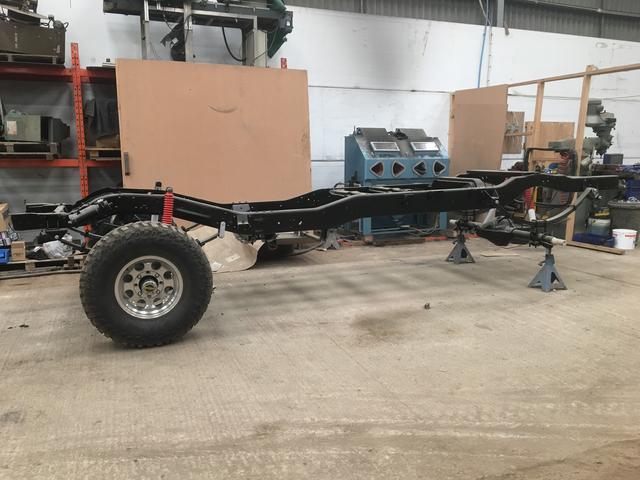
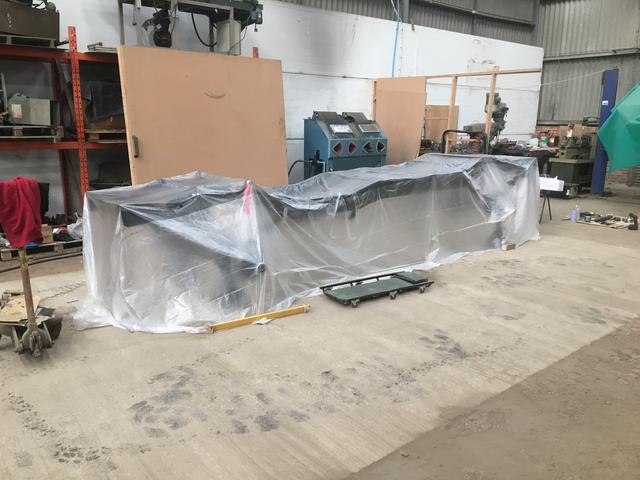
From the frame sitting in my shed at work, from wind blowing in from a dusty yard and over spray from painting it was covered in dust and cobwebs and I was sick of it looking like that.
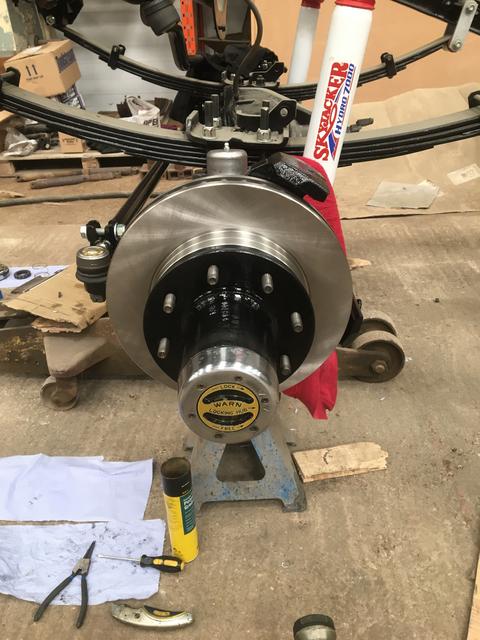
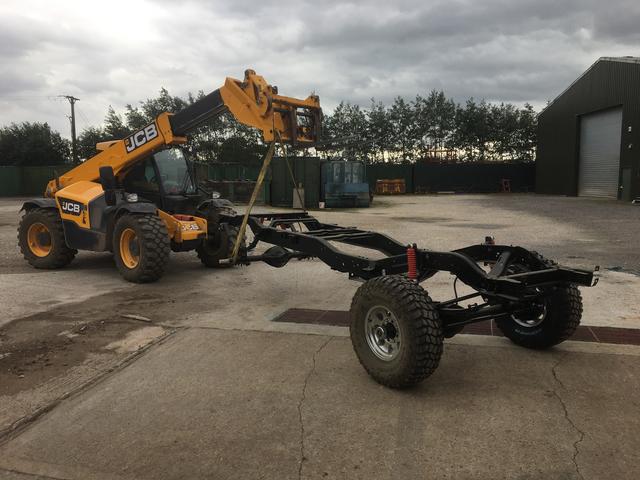
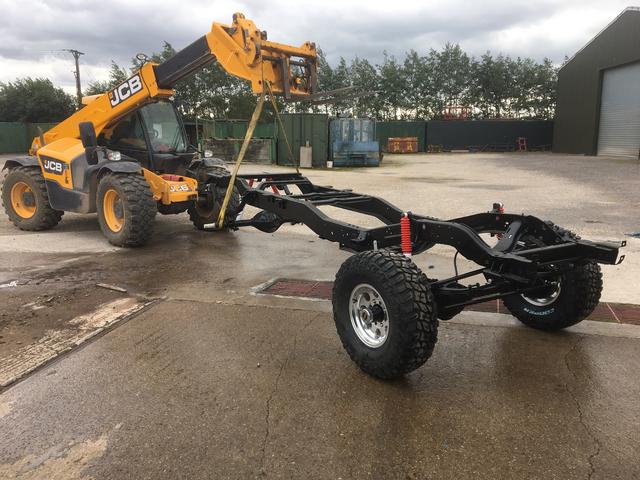
Now that my front hubs were on I threw on 2 wheels, tied my pitman arm to the frame to keep them straight and wheeled it outside.
I gave it a good wash off, swept the floor where it sat, wheeled it back in and blew it all off then covered it over with plastic. This will stay over it when ever I'm not working on it from now on to keep it clean.
Some might think this is crazy as it's just a frame but part of my motivation to get work done on the truck comes from seeing it looking all clean and shiny.