Project Started(Pictures!)
 07-15-2010, 11:46 PM
#151
Registered User
also, for the dash insert removal... loosen the steering column from it's mount. there are 2 studs up and behind the fuse block. allowing the column to drop 1"-2" will save you from using a few choice words when trying to "pry" the insert out from the dash.
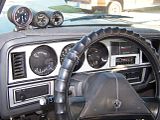
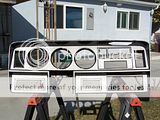
here's my dash insert after treating it to "silver aluminum."

by the way, MoPowa, i hate you ... the truck looks amazing!! the color scheme really works!!
here's my dash insert after treating it to "silver aluminum."


by the way, MoPowa, i hate you
... the truck looks amazing!! the color scheme really works!!
 07-15-2010, 11:55 PM
#152
Registered User
a couple more to show the amount of tape i used. what isn't shown is the amount of time it took to apply the tape i'm happy with the outcome though
i'm happy with the outcome though
 07-16-2010, 12:10 AM
#153
Registered User
Thread Starter
Thanks everyone!
Wow, that looks awesome Jimbo! I will be doing something along the same lines, only difference is i'll leave a little bit more black showing. Where all the fake wood was i'll be painting silver. I would do it the way you did, but I think considering how much silver I just sprayed on the dash it might be a little too much, need some more black to offset it.
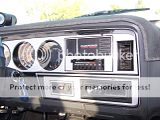
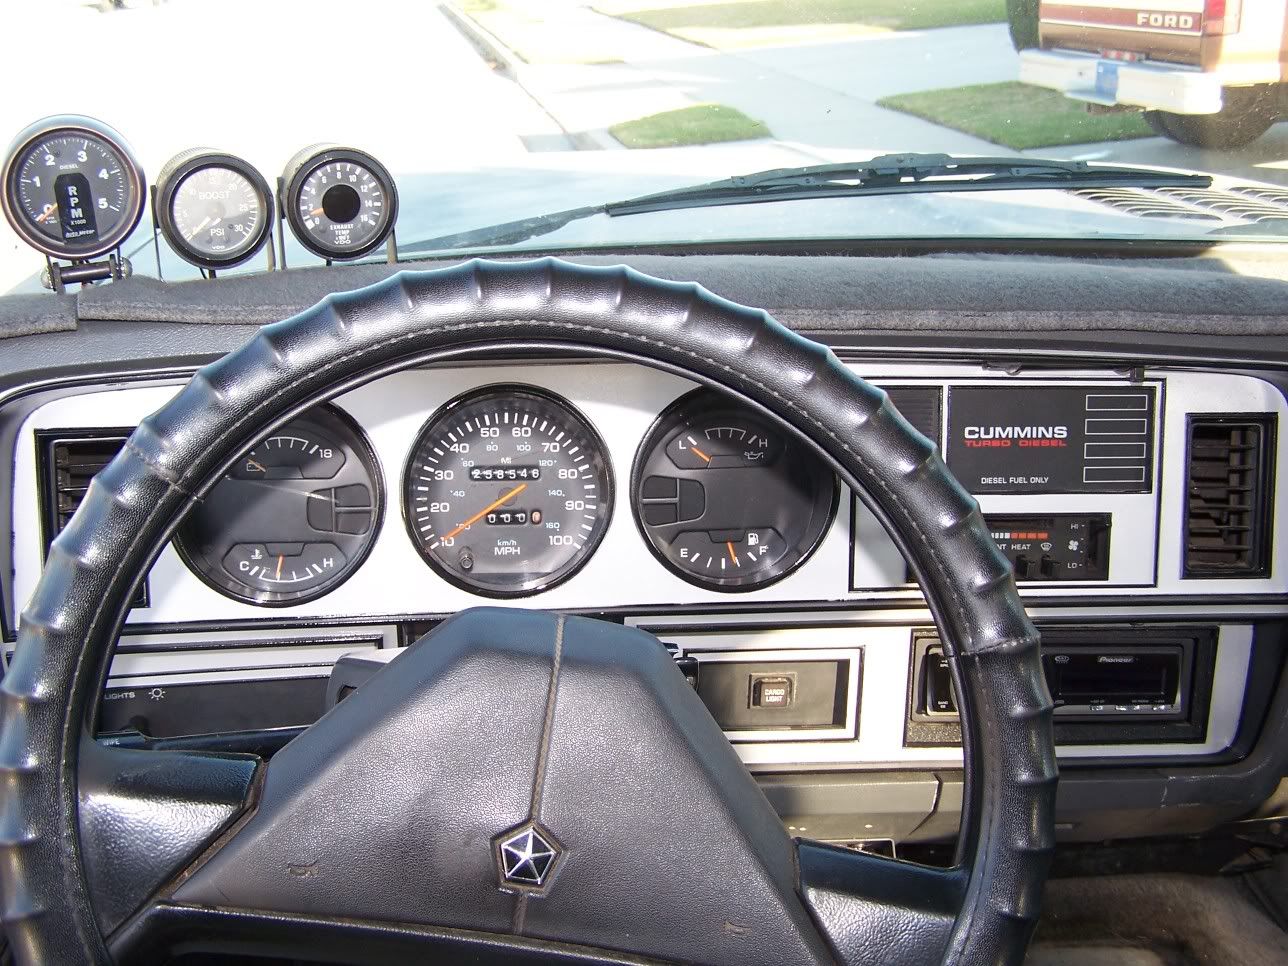
Here are some pics of the dash


Still have to finish the gauge cluster...this weekends project
Thanks for explaining how to take the plastic out by the way guys......real PITA to do, I didn't drop the column....just pried. Heh
Justramit....what stereo? HA! I can't stand listening to the horrible music on the radio so I just left the speakers out tell I can afford a good sound system and can listen to my own music...until than just the beautiful noise of my diesel.
Hey penguinman the stack will be going in fooor sure.....not for a while yet though, gotta get the parts together for the twins so I can do 5 inch exhaust all the way back. It wont be a miter cut pointing up though, it will point out the side. Live in Vancouver where it loves to rain and i'd rather not puke dirty water all over my nice new paint.
...yes I said twins
Wow, that looks awesome Jimbo! I will be doing something along the same lines, only difference is i'll leave a little bit more black showing. Where all the fake wood was i'll be painting silver. I would do it the way you did, but I think considering how much silver I just sprayed on the dash it might be a little too much, need some more black to offset it.
Here are some pics of the dash
Still have to finish the gauge cluster...this weekends project
Thanks for explaining how to take the plastic out by the way guys......real PITA to do, I didn't drop the column....just pried. Heh
Justramit....what stereo? HA! I can't stand listening to the horrible music on the radio so I just left the speakers out tell I can afford a good sound system and can listen to my own music...until than just the beautiful noise of my diesel.
Hey penguinman the stack will be going in fooor sure.....not for a while yet though, gotta get the parts together for the twins so I can do 5 inch exhaust all the way back. It wont be a miter cut pointing up though, it will point out the side. Live in Vancouver where it loves to rain and i'd rather not puke dirty water all over my nice new paint.
...yes I said twins
07-16-2010, 12:16 AM
#154
Registered User
Thread Starter
oh and penguinman, my body guy had a eraser wheel he used. Put it on a drill and spin at low revs and it gets ride of adhesive very easily...leaves the finish looking good too.
07-16-2010, 12:17 AM
#155
Registered User
you could drill a small 1/8" hole in the 90* under the bed. that would keep the water out.
there is a lotta silver on that thing but it still works. i'm gonna have to stop looking at the pictures. i'm becoming very jealous! my interior will get some TLC shortly. i need to address some rust and get rid of the multi-colored paint scheme on mine as well.
there is a lotta silver on that thing but it still works. i'm gonna have to stop looking at the pictures. i'm becoming very jealous! my interior will get some TLC shortly. i need to address some rust and get rid of the multi-colored paint scheme on mine as well.
07-16-2010, 12:22 AM
#156
Registered User
Thread Starter
Good call, ok you just changed my mind, i'll do the miter cut that was in the photoshop picture. Looks way too cool cut like that!
Yea, it has been a long time coming for this ol' girl. She definitely needed some TLC after the way i'd been abusing her!
By the way, how do you like the fluiddampr you have on your truck Jimbo? Did it make a noticeble difference at idle?
Yea, it has been a long time coming for this ol' girl. She definitely needed some TLC after the way i'd been abusing her!
By the way, how do you like the fluiddampr you have on your truck Jimbo? Did it make a noticeble difference at idle?
07-16-2010, 12:25 AM
#157
Registered User
not too much of a difference in the lower RPM range but more noticeable in the upper range. when i started it immediately after the install, it did sound a little quieter though.
07-16-2010, 01:03 AM
#158
Registered User
Thread Starter
Cool, thanks!
Ok I just had an idea guys. I think im going to paint the groove around the glove box and around the face of the dash satin black. Should help tone down the silver some. What do you guys think? By groove I mean the inch wide "hump" around the glovey and dash.
Ok I just had an idea guys. I think im going to paint the groove around the glove box and around the face of the dash satin black. Should help tone down the silver some. What do you guys think? By groove I mean the inch wide "hump" around the glovey and dash.
07-16-2010, 12:41 PM
#159
Registered User
that would probably tone it down quite a bit. how about, along with the "hump" around the glove box getting satin black, you could paint the beveled edge of the dash that goes up and over the dash insert the same?
07-16-2010, 01:08 PM
#160
Registered User
Join Date: Oct 2009
Location: Claymont, Del and Horsham, PA
Posts: 1,830
Likes: 0
Received 1 Like
on
1 Post
the only problem i could see with that is blending the dash area into the rest of the lower dash, it sort of disappears. Maybe have all of that black as well??
 07-16-2010, 01:47 PM
#163
Registered User

Join Date: Jan 2008
Location: Quinton, New Jersey (middle of nowhere)
Posts: 7,547
Likes: 0
Received 2 Likes
on
2 Posts
On the dash bezel, Paint the woodgrain silver and leave the rest black.
Or even better, Redo all the black and just paint the "trim" along the outside of it with a silver paint pen, the part that sticks up it's like a little wall, i don't know how to explain it. It outlines the A/C vents too,
Or even better, Redo all the black and just paint the "trim" along the outside of it with a silver paint pen, the part that sticks up it's like a little wall, i don't know how to explain it. It outlines the A/C vents too,
07-16-2010, 06:41 PM
#164
Registered User
Thread Starter
Well once I finish the dash bezel, i'll see how it compliments the rest of the dash. Hey Brandon, I will be painting the woodgrain silver leaving the rest black, I think this will be the easiest and best looking.
If I do decide to paint the hump I will probably do it similar to the lines of the glove box. I know there is no grove on the bottom part, but I think it will look alright if I make a line. That way both sides will look the same......and if I don't like it i'll just fill the whole bottom in black.
Thanks for the suggestions! I'll post pics when its all done to see what you guys think
Cheers
