
Crewcab update...
 09-14-2013, 01:04 AM
#121
Registered User
Thread Starter
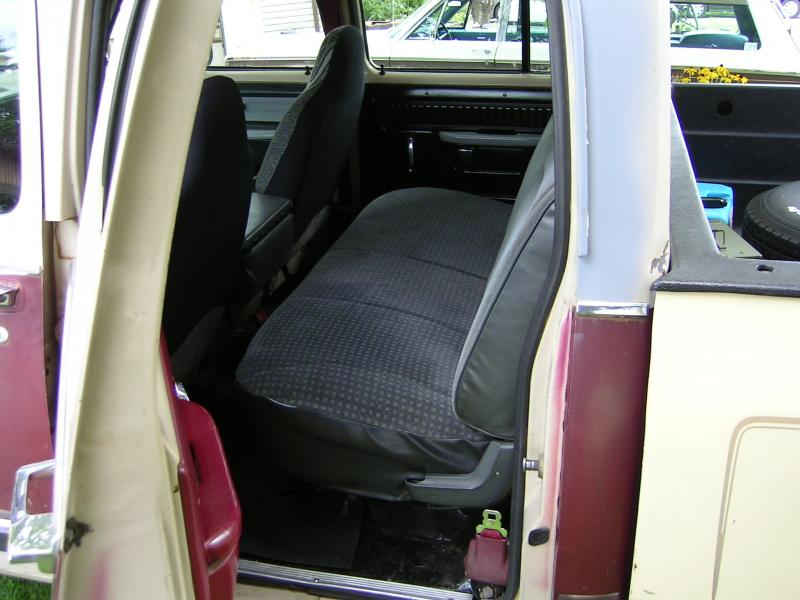
I had hoped to use the nice grey bench seat in the crewcab. Replacing the red rear seat was the plan. Well I wrestled the old one out,and then installed the grey bench from the 93. It turns out that a clubcab bench seat is off set, or short, on the passenger side. Here are some pics to show the difference.
Drivers side....
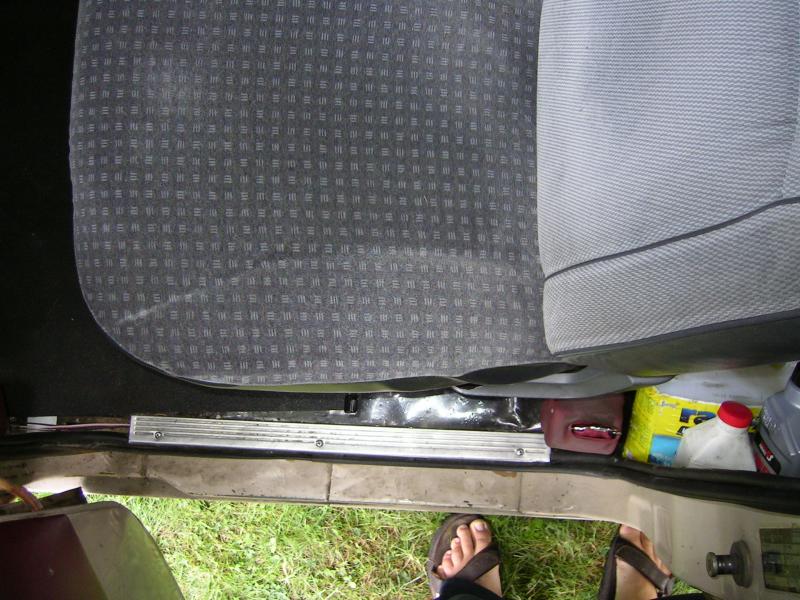
Passenger side....
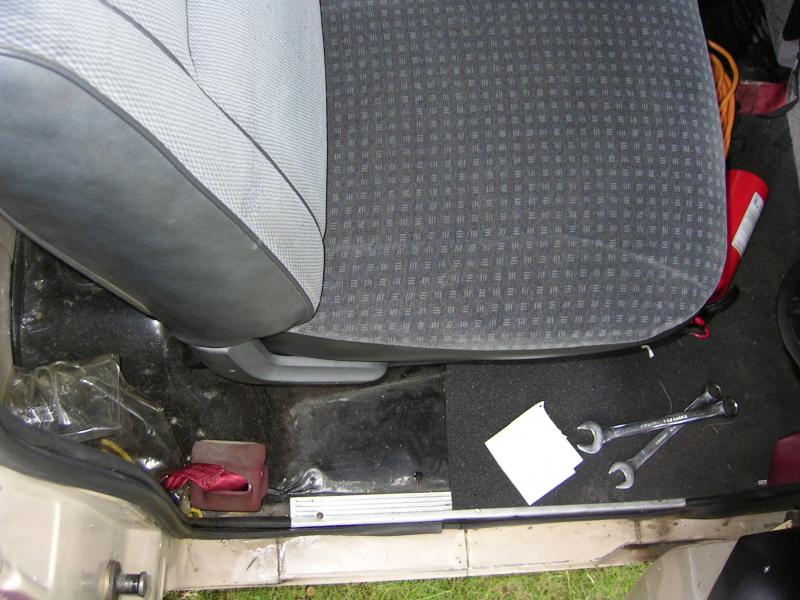
Also turns out the base of the grey bench is longer then the stock rear bench. And the angle of the seat, and or the seat tracks, is greater then the orignal as well.
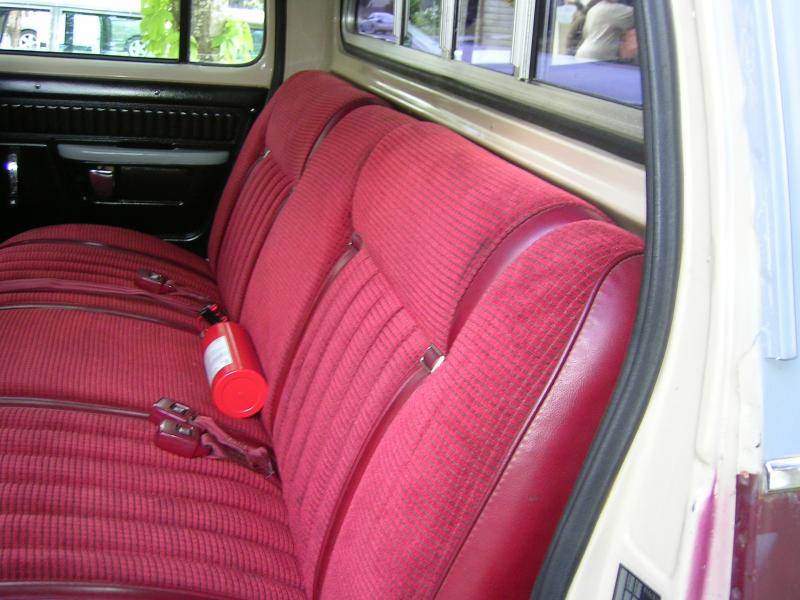
So needless to say I didn't keep it in the truck. Back in went the red seat and I will just have to get a good grey seat cover for now until I can have it re-upholstered.
Drivers side....

Passenger side....

Also turns out the base of the grey bench is longer then the stock rear bench. And the angle of the seat, and or the seat tracks, is greater then the orignal as well.


So needless to say I didn't keep it in the truck. Back in went the red seat and I will just have to get a good grey seat cover for now until I can have it re-upholstered.
 09-14-2013, 01:10 AM
#122
Registered User
Thread Starter
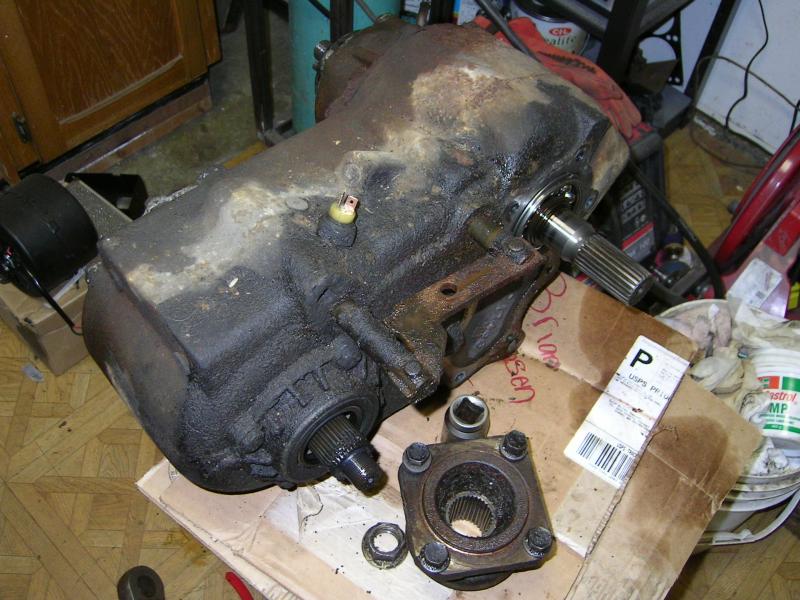
And I tore down the transfer case for it's conversion from 23 spline to 29 spline input shaft. Never torn into a T-case before, so was a little worried. But found a couple sources on-line with great write ups and followed them. All went well.
Before..
After with case all cleaned up...
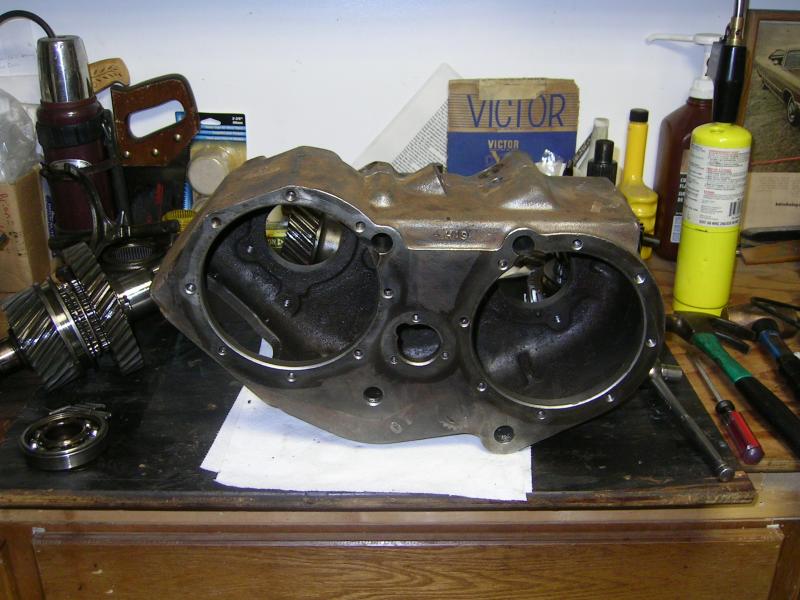
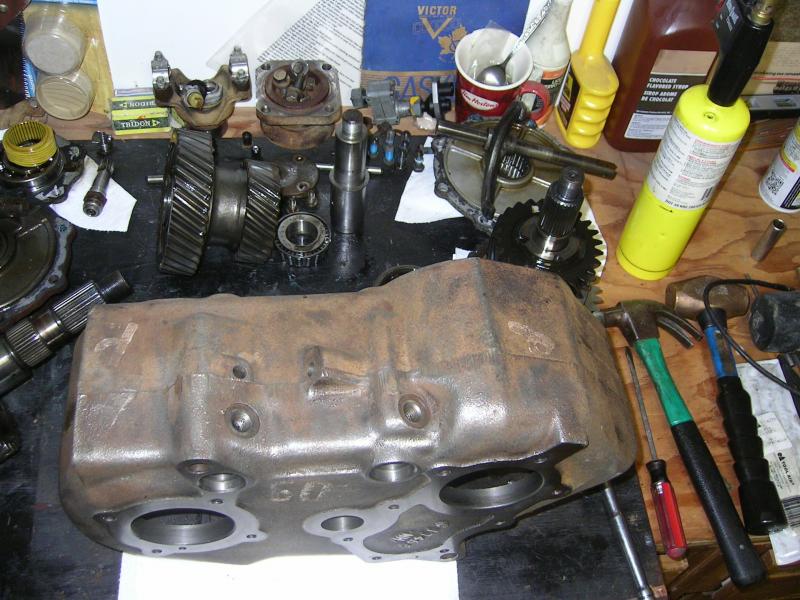
Now I have to get the parts down to my machinest to get the work done.
Before..

After with case all cleaned up...


Now I have to get the parts down to my machinest to get the work done.
09-14-2013, 01:18 AM
#123
Registered User
Thread Starter
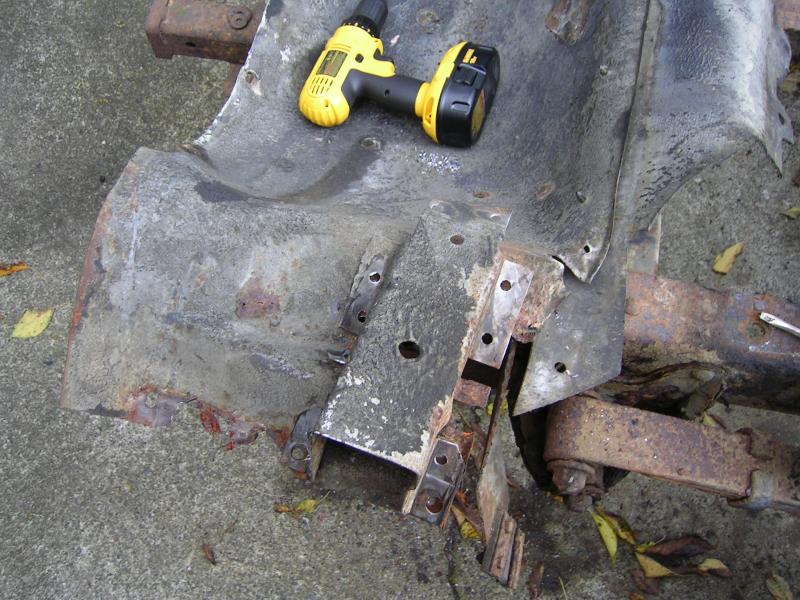
I had hoped to use the inner fenders, but the drivers side was too rusty, and then once I got the pass. side out I found it was rusty too. So I removed the mystery brackets and tossed them. I will reveld those brackets onto my good inner fenders on the crewcab later.
I also removed the shocks...all 4 were original units!! These are the rear shocks.
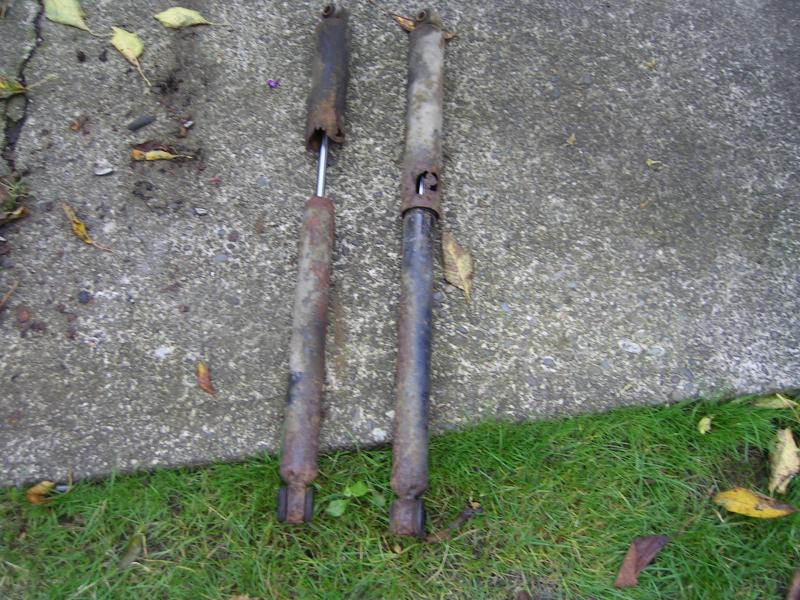
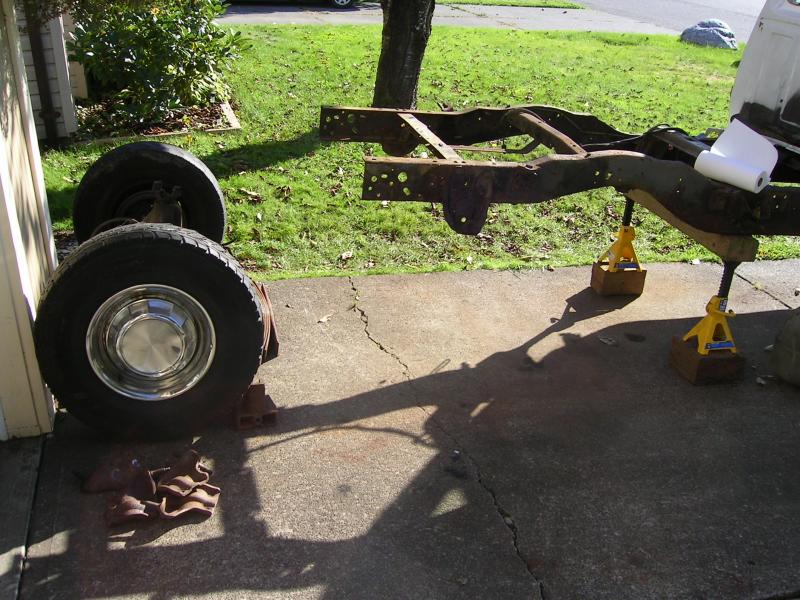
And this is basically how the truck sits now. Another day or two and it should be ready to come off the frame and go to it's new home.


I also removed the shocks...all 4 were original units!! These are the rear shocks.

And this is basically how the truck sits now. Another day or two and it should be ready to come off the frame and go to it's new home.
 09-14-2013, 07:13 AM
#124
Registered User
I have a front bench seat as the back seat in my my white crew cab.
The bottom part of the seat is longer and cuts into the leg room.
I usually am putting 1-4 of my English Mastiffs at any time in the back seat so it works for me to have the bigger cushion for them.
Nice looking work, and I am watching how the 23 spline to 29 spline NP-205 build goes.
The bottom part of the seat is longer and cuts into the leg room.
I usually am putting 1-4 of my English Mastiffs at any time in the back seat so it works for me to have the bigger cushion for them.
Nice looking work, and I am watching how the 23 spline to 29 spline NP-205 build goes.
 09-22-2013, 04:08 PM
#126
Registered User

Join Date: Jul 2013
Location: Washington State
Posts: 389
Likes: 0
Received 0 Likes
on
0 Posts
Hey thrash, first I wanna say I just read through your kingpin/front end deal and you did a good job. Yours were MUCH crustose than mine. I didn't have to use any heat or cutting to remove the kingpins, just laid I to the breaker bar with 5' of galvanized 1" pipe and the eventually broke free. Lowers were not nearly as bad as yours either. I also cleaned all my parts even wire wheeled all the old gummed up grease off the knuckles. I didn't even paint anything and it took me HOURS so I can't even imagine how long it took you. You did a very quality job.
Now I want to talk about this post right here:
My truck is leaking a bit. I thought it was the windshield but wit some research I found that our trucks do not have any glue or urethane around the windshield, and that it is just a gasket. So upon further investigation, of the drip edge, I noticed it's a little crusty. I kind of want to do what you did but have the issue of finding a dry place to do it. It's the rainy season here in WA again, and I want to get this fixed before my floor starts to that out. Plus girls are not impressed at all when they are getting dripped on (by my leaky roof).
What's the factory sealant that is in the drip edge?
If I have holes would some bondo action work?
I didn't noticed you used any bondo or that you had any severe damage.
Now I want to talk about this post right here:
After grinding out all the sealant I used some small picks and screwdrivers to dig out as much of the old sealant I could. I then used a small flat brush to paint in some rust converting primer. Took a while to get into all the nooks and crannies, but got way better coverage then trying to spray primer from a can or gun.
You can see the rust through on the very front endge of the drip rail....


You can see the rust through on the very front endge of the drip rail....
My truck is leaking a bit. I thought it was the windshield but wit some research I found that our trucks do not have any glue or urethane around the windshield, and that it is just a gasket. So upon further investigation, of the drip edge, I noticed it's a little crusty. I kind of want to do what you did but have the issue of finding a dry place to do it. It's the rainy season here in WA again, and I want to get this fixed before my floor starts to that out. Plus girls are not impressed at all when they are getting dripped on (by my leaky roof).
What's the factory sealant that is in the drip edge?
If I have holes would some bondo action work?
I didn't noticed you used any bondo or that you had any severe damage.
09-22-2013, 09:43 PM
#127
Registered User
Thread Starter
Thanks for the kind words on my front end rebuild....was a lot of work but at least I know all is good now.
As for the roof drip rails. I just finally filled the gutters back in a couple weeks ago, and just got them painted the other day. I bought one tube of a decent product but ran out. So went back for another tube and they did not have the same stuff. The second tube was "supposed" to be the same...since it was by the same manufacturer. Well it was horrible stuff! It took days to dry, and when it finally dried up it cracked and fractured in a bunch of places.
I do have some rust through, but I too wanted to get something in there for the Wet coast rainy winter. I patched up the crummy seam sealer I used and hope it will be OK until next summer. Then I will redo it all over again. I will weld up the rust holes then too.
Thankfully I kept the first tube I used and will have to pick up a couple tubes of that.
I would not use any bondo in the rust through. I would rather put a bunch more seam sealer in there for now until I could weld things up properly.
09-23-2013, 09:01 AM
#129
Registered User

I believe those brackets on the fender hold tools. Mine had a toolbox on it and on the passenger side it had jacking tools plus a little bottle jack.
I believe the tool box isn't factory.. maybe not? Either way.. both are a pain to get to haha.
I believe the tool box isn't factory.. maybe not? Either way.. both are a pain to get to haha.
 09-23-2013, 10:19 PM
#131
Registered User
Join Date: Jul 2013
Location: Washington State
Posts: 389
Likes: 0
Received 0 Likes
on
0 Posts
10-08-2013, 12:43 AM
#132
Registered User
Thread Starter
Been busy busy finishing the tear down of the donor 93....and working on the T-case etc. Pics and info to follow....
Got the rear diff out. Which was no problem. Getting the springs off...well that took me a lot longer.
3 of the 4 bolts were seized to the inner spring bushing metal liners. So I Decided since I wasn't using the frame or brackets I would just cut the front of the eyes off.
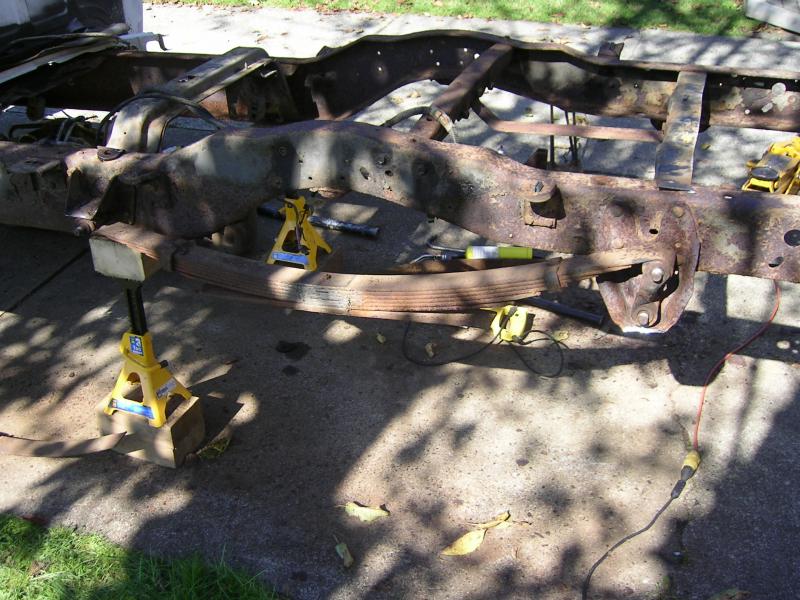
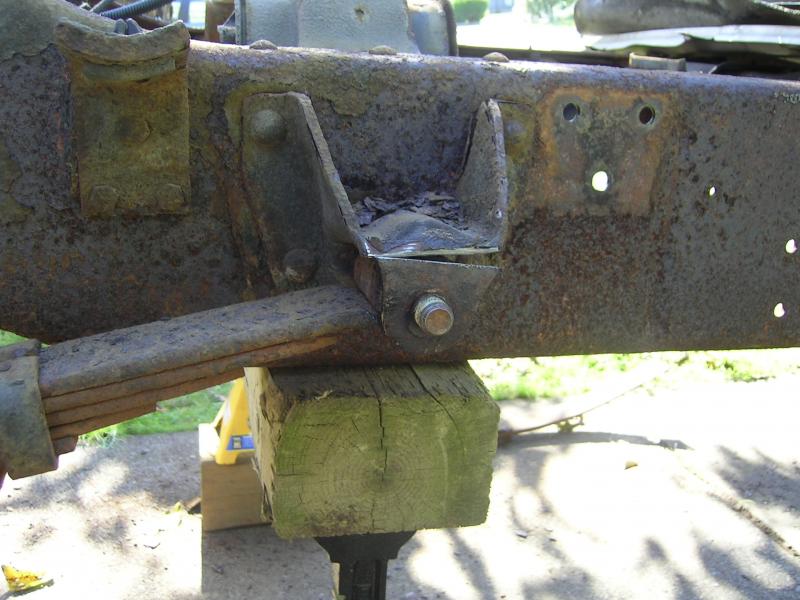
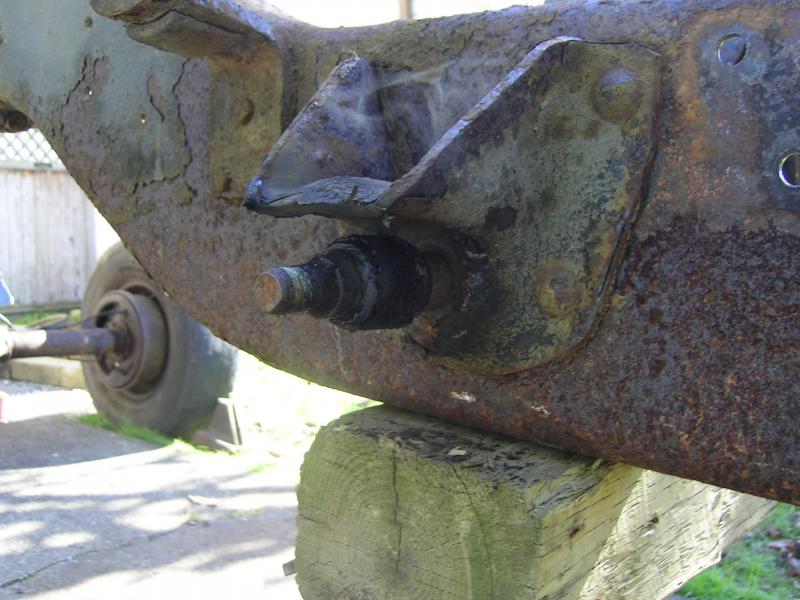
Next was getting the spring free...had to cook the rubber until it was soft enough to slide off. The rear spring mounts...which I knew were in rough shape...turned out to be paper thing. All the rust flaked off when I was beating on the bolts trying to free them up.

Got the rear diff out. Which was no problem. Getting the springs off...well that took me a lot longer.

3 of the 4 bolts were seized to the inner spring bushing metal liners. So I Decided since I wasn't using the frame or brackets I would just cut the front of the eyes off.


Next was getting the spring free...had to cook the rubber until it was soft enough to slide off. The rear spring mounts...which I knew were in rough shape...turned out to be paper thing. All the rust flaked off when I was beating on the bolts trying to free them up.
 10-08-2013, 12:50 AM
#133
Registered User
Thread Starter
And the cab just sitting there. We moved it off the frame so I could finish tearing the frame down.
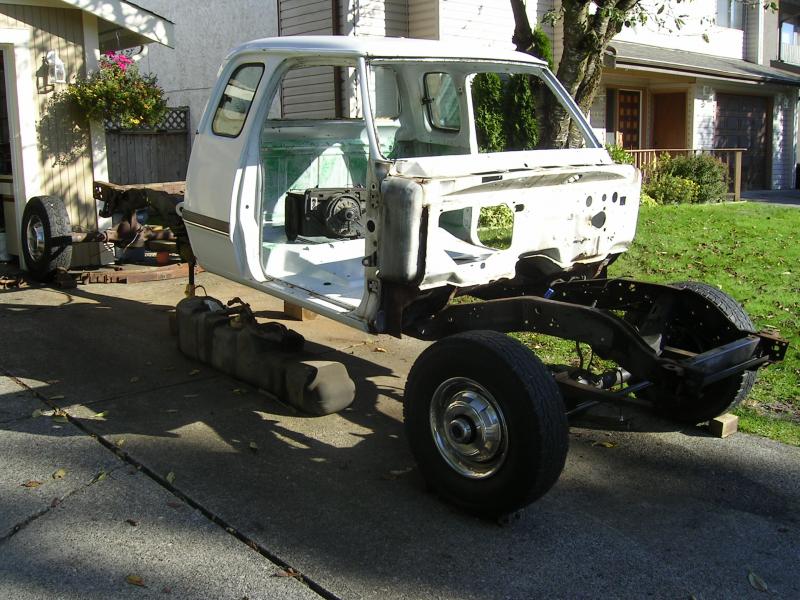
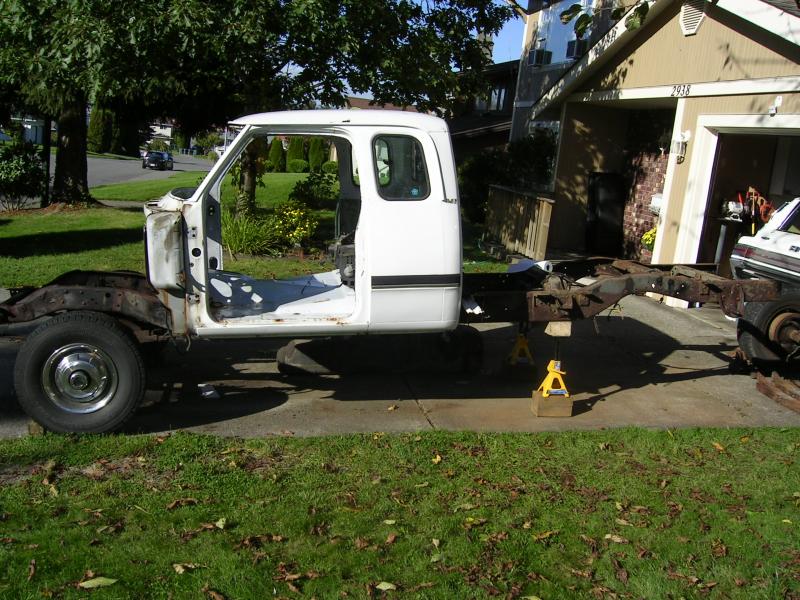
And a day or two later all that was left was a frame....


And a day or two later all that was left was a frame....
 10-08-2013, 12:55 AM
#134
Registered User
Thread Starter
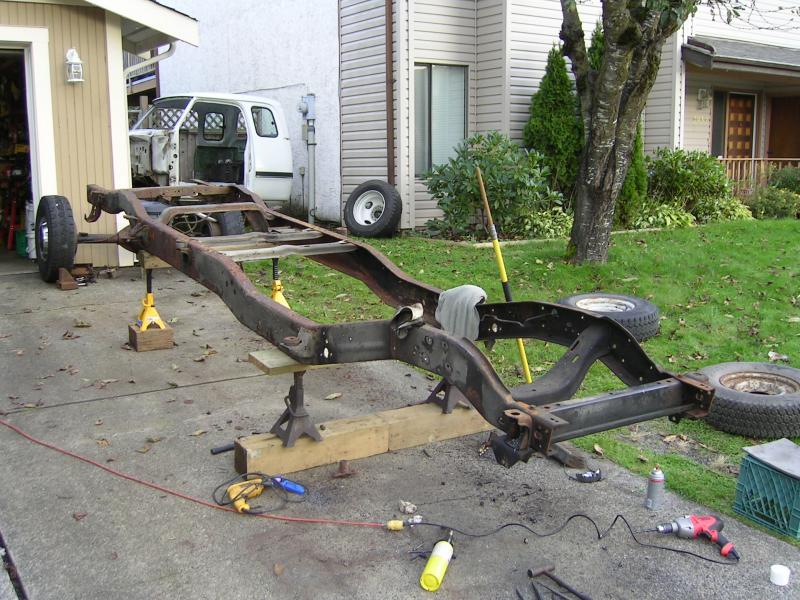
Then I had to get all the front 4wd brackets and cross members off. So removal of the rivets was at hand. I ended up drilling out the heads of most of the rivets...then using a HD punch and a 3lb hammer to pound them loose.
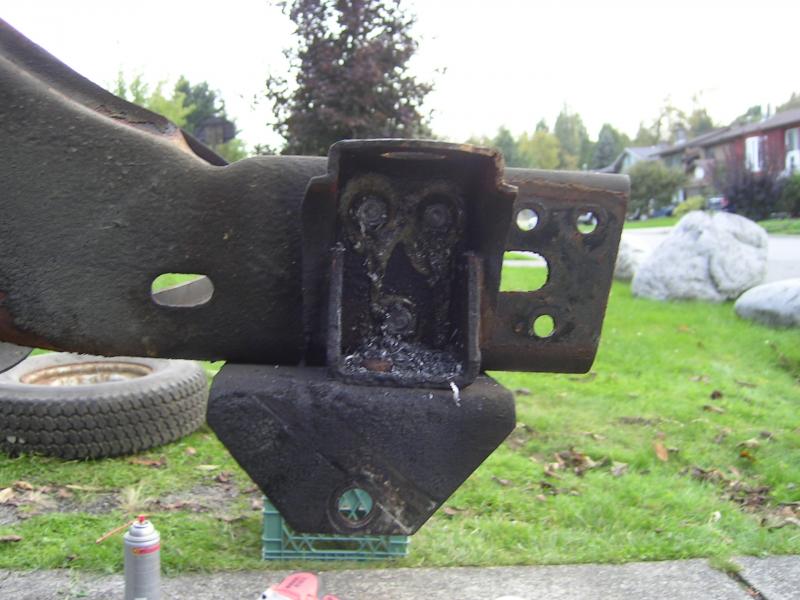
Only ones I used a grinder on were the main engine cross member...sionce they were easily accessed.
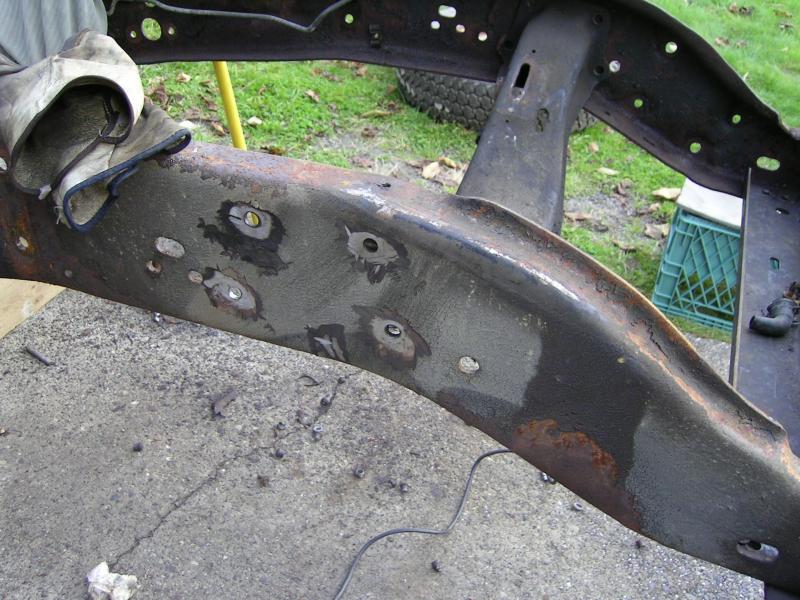
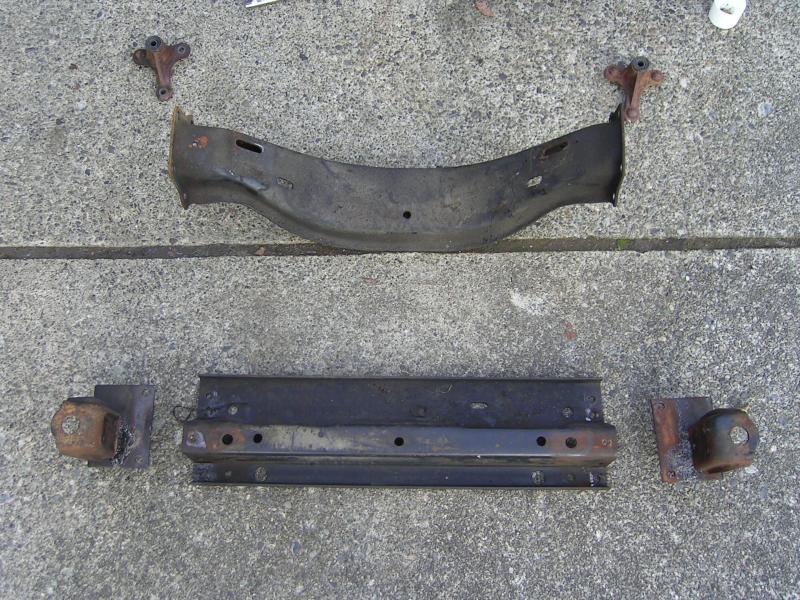
And all the 4wd brackets removed. Too me about 5-6 hours to get all the brackets off.

Only ones I used a grinder on were the main engine cross member...sionce they were easily accessed.

And all the 4wd brackets removed. Too me about 5-6 hours to get all the brackets off.
 10-08-2013, 01:00 AM
#135
Registered User
Thread Starter
And the frame pretty much ready to be cut up and hauled away.
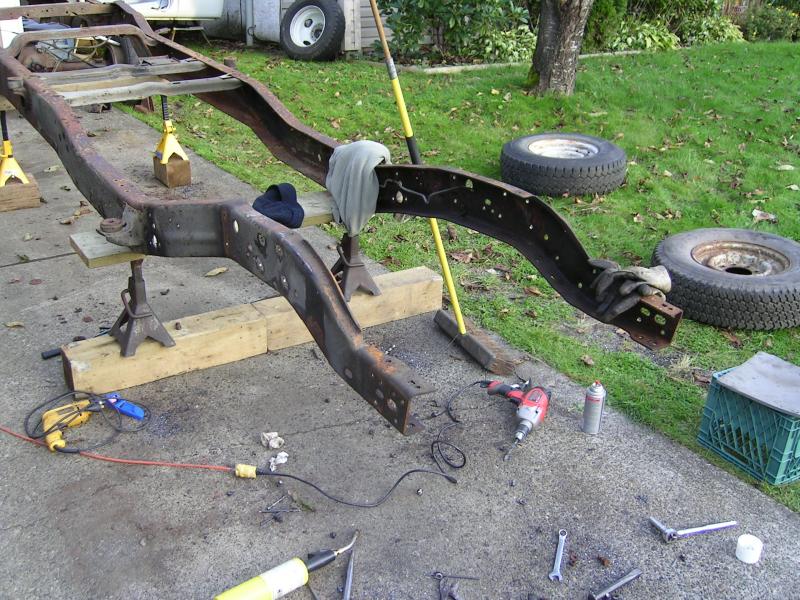
Now to cut up the frame I was not sure how I was going to do this...until my neighbor, and friend, asked if I wanted to use his plasma cutter from his work....HELL YEAH I DO!!!
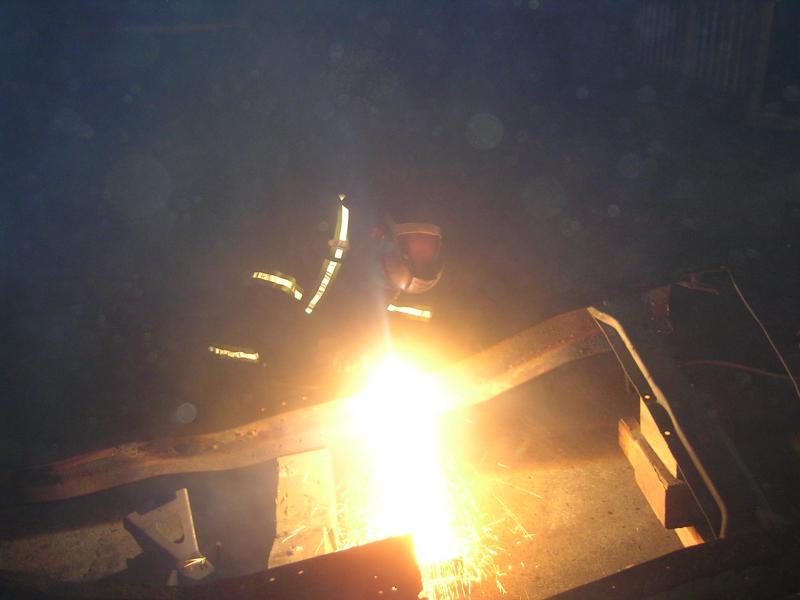
15 minutes after getting the plasma cutter home this is all that is left of the frame.
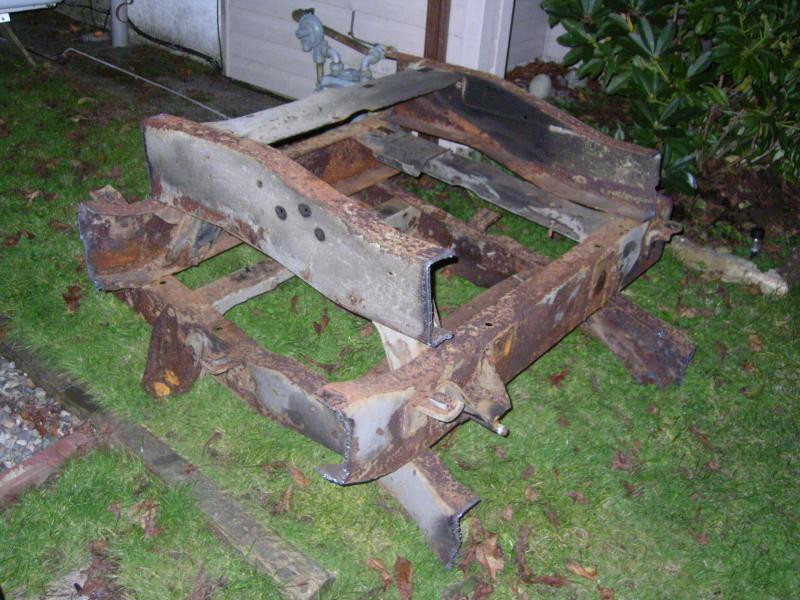
I'm keeping the front frame horns as templates and reference for drilling and positioning the brackets into the crewcab frame.
