
Crewcab update...
 09-03-2014, 10:22 PM
#721
Registered User
Thread Starter
A little trick I have been using while working on interior stuff. You probably all know how hard it is to find the darn screw holes under the carpet and insulation, once you have removed a piece of trim, shift boot or other piece.
Well I figured out a way to make it relatively easy to get your item back in exactly the same place, and hit all the screw holes with little, to no effort.
Here is what I do. First get some long finishing nails. I think I use 3" nails. Then once the carpet and such is back in position you use the finishing nails to poke through the carpet and insulation until you find the screw holes.
Like this...
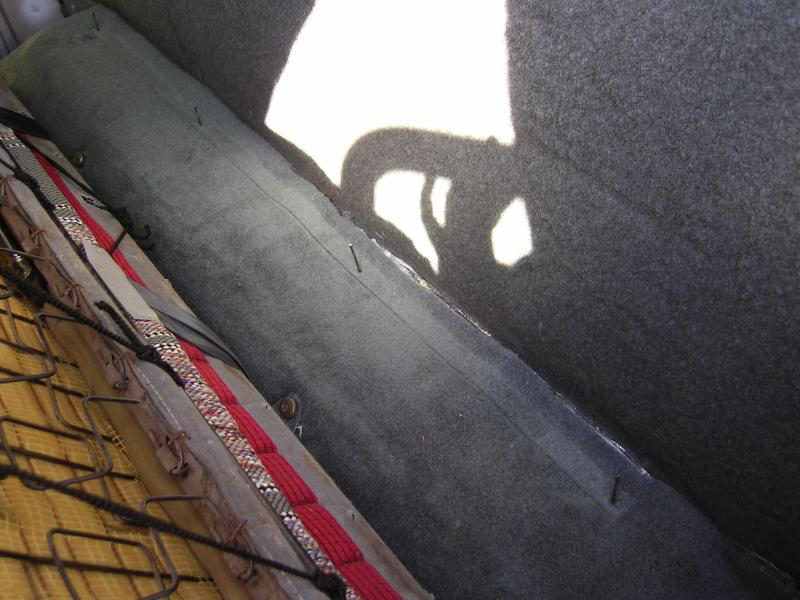
Then once all the screw holes have been found, just lower your piece over the nails.

Then just remove one nail at a time and screw it down into place. Works perfect every time!
 09-04-2014, 12:10 PM
#722
Registered User

I wish I could put carpet in mine but that doesn't work well around here.
09-14-2014, 09:27 PM
#723
Registered User
Thread Starter
I have needed a new pass. side mirror. The mirror had broken, and the original owner had installed one of those cheap shiny U-cut plastic mirrors. Could barely see out of it. And the power mirror motor gears were stripped as well.
Anyway I got a new "reproduction" mirror...well it looked nice in the box. But went to install it and ran into some issues.
First off the mounting holes were just slightly out of alignment, or too small? Finally go the mounting bracket into place and found the routing for the power wires in the wrong spot. So remove it again and change the location of the wires, then Install again.
Thought I was almost done and went to put the outer cover down and over the mounting bracket, and could to get it to line up, or install tight enough to get the lower set screw into place. So I pulled it off again and checked it to the original bracket. Looked like the clip they used that the screw goes into was too short. So I swap those and tryed AGAIN!
Now this time I was just able to push hard enough on the cover to get the lower screw in place...but barely. But now the rubber seal around the neck of the shaft the mirror is on was pushed up and almost out. Seems that the outer cover is just a tad too small...all around.
So removed it AGAIN! and this time pulled the original bracket and cover off the old mirror and installed it on the new one. Installed it on the door and it all fell into place! The actual mirror, motor and stuff seem to be fine...it was just the mounting bracket and cover that gave me all the grief.
So if you are considering buying one of these aftermarket mirrors be aware that things might not fit right.
09-14-2014, 09:34 PM
#724
I ran into the exact same problems with mine trying to get the screw into the bottom. I ended up shimming the bottom of the mirror out with a fender shim. I only had to add one shim to both side on the bottom mounting stud and it ended up working for me.
09-14-2014, 09:34 PM
#725
Registered User
Thread Starter
Also got some time to hunt down and stop a few front end rattles.
First was the air cleaner assembly. It was rattling in the metal bracket. So I removed the air cleaner box and then put some sticky one side neoprene rubber foam along all the edges where it sits. Nice and quiet now.
Then it was on to the front brakes. Turned out when I redid the front end, and all the brakes, that I did not install the brake pads properly. The outer pads I did not bend over the tabs and makes sure they were tight on the calipers. And the inner pads I did not use the anti-rattle clips.
I have eliminated most of the rattle and clunks now. And the truck just seems tighter, and better then ever. Even more reasons to love it!
09-15-2014, 08:03 AM
#726
Registered User
Also got some time to hunt down and stop a few front end rattles.
First was the air cleaner assembly. It was rattling in the metal bracket. So I removed the air cleaner box and then put some sticky one side neoprene rubber foam along all the edges where it sits. Nice and quiet now.
Then it was on to the front brakes. Turned out when I redid the front end, and all the brakes, that I did not install the brake pads properly. The outer pads I did not bend over the tabs and makes sure they were tight on the calipers. And the inner pads I did not use the anti-rattle clips.
I have eliminated most of the rattle and clunks now. And the truck just seems tighter, and better then ever. Even more reasons to love it!
First was the air cleaner assembly. It was rattling in the metal bracket. So I removed the air cleaner box and then put some sticky one side neoprene rubber foam along all the edges where it sits. Nice and quiet now.
Then it was on to the front brakes. Turned out when I redid the front end, and all the brakes, that I did not install the brake pads properly. The outer pads I did not bend over the tabs and makes sure they were tight on the calipers. And the inner pads I did not use the anti-rattle clips.
I have eliminated most of the rattle and clunks now. And the truck just seems tighter, and better then ever. Even more reasons to love it!
 09-20-2014, 10:49 PM
#728
Registered User
Thread Starter
I adjusted my valves today, they all were dead on. I think the original owner always had his servicing done at the Chrysler dealership...so I think they must have stayed on top of the valve adjustment.
I had to remove the fan and shroud so I could rotate the motor at the crank pulley so I could use the companion method to check my valves. And since I had that all off I decided to toss on my new serpentine belt.
Also installed new valve cover gaskets and O-rings. But on the way to pick up new O-rings I was driving the wife's 02 Concorde and the friggin drivers side inner door handle broke...Dooh!
So after getting the truck back together I had to make a run to the wreckers and get a new door handle. They sure don't make these as serviceable parts now days do they! Had to rely on my backyard engineering degree to get things fixed.
Then Ol' Patches decided that it did not like it's positive battery cable connection. Had to pull it all apart, slice out a little bit of the cable end so I could tighten it up a bit more. Then re-assemble.
Then it was time for a bath....It was a good day!

 10-02-2014, 12:58 AM
#730
Registered User
Thread Starter
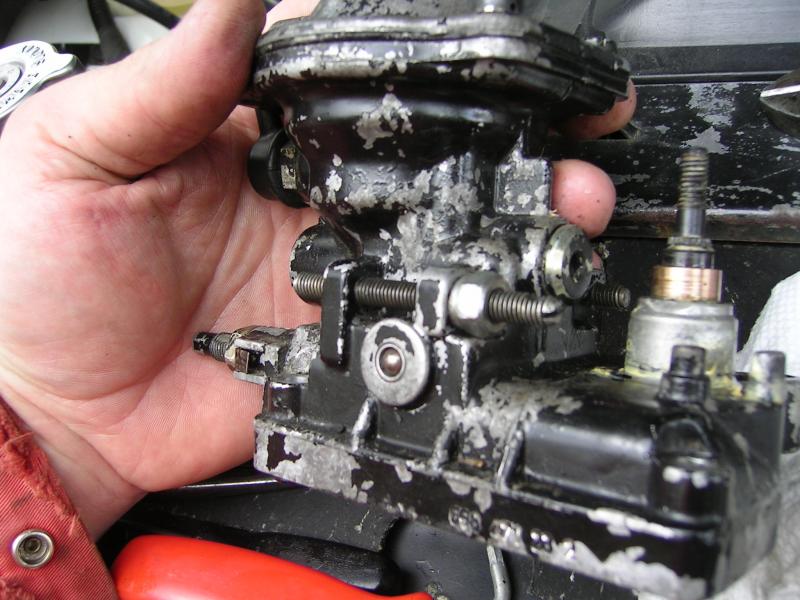
I also messed around with the idle screw, and nut. Not only did it take me an a long friggin time to get that nut loose and out of the way, but I did not want to have to to try and adjust the idle with it in the stock set-up.
So I started looking at another way I could lock the idle shaft down, but still have it reasonably easy to do.
Here is the idle screw in the stock form...
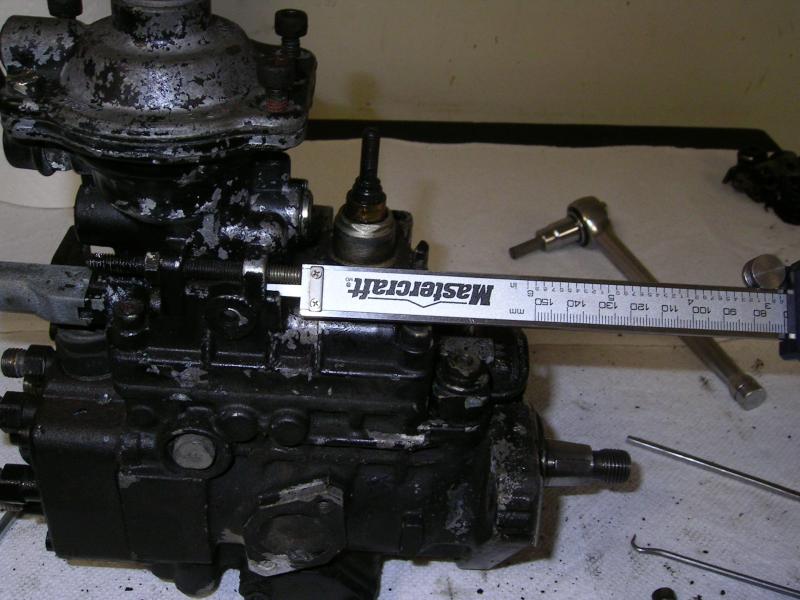
Here's what I came up with. I was looking for a long nut, or type of nut that I could mount on the front side of the idle shaft. The problem with this is that if it's too short then you won't be able to loosen or tighten the nut down. So what I found was a Nyloc nut that had the same fine thread as the idle shaft. Then heated it up until the nylon melted out.
Then I installed it backwards on the forward part of the shaft. This left it long enough to be able to get a wrench on the nut.
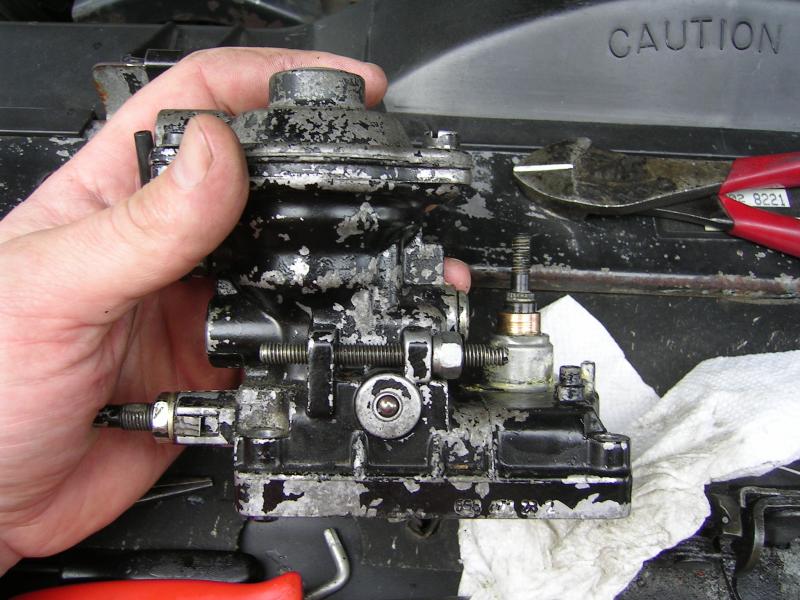
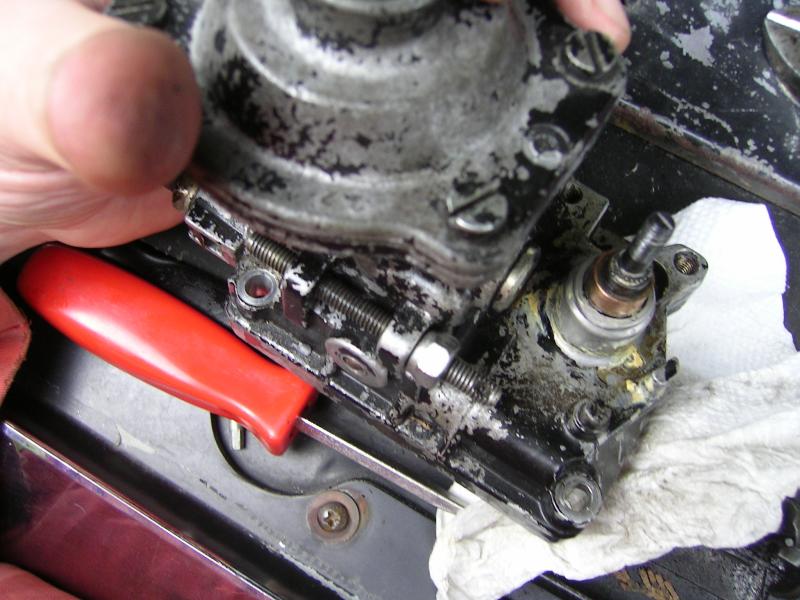
I turned the idle shaft around thinking that it would be easier to adjust from the front, but it was actually a lot more difficult to adjust it this way. So I will be turning the shaft back around to the stock orientation, but leaving the nut on the front side!
So I started looking at another way I could lock the idle shaft down, but still have it reasonably easy to do.
Here is the idle screw in the stock form...

Here's what I came up with. I was looking for a long nut, or type of nut that I could mount on the front side of the idle shaft. The problem with this is that if it's too short then you won't be able to loosen or tighten the nut down. So what I found was a Nyloc nut that had the same fine thread as the idle shaft. Then heated it up until the nylon melted out.

Then I installed it backwards on the forward part of the shaft. This left it long enough to be able to get a wrench on the nut.


I turned the idle shaft around thinking that it would be easier to adjust from the front, but it was actually a lot more difficult to adjust it this way. So I will be turning the shaft back around to the stock orientation, but leaving the nut on the front side!
10-02-2014, 09:17 AM
#731
Registered User
lookin good Brian.
 10-02-2014, 01:31 PM
#734
Registered User
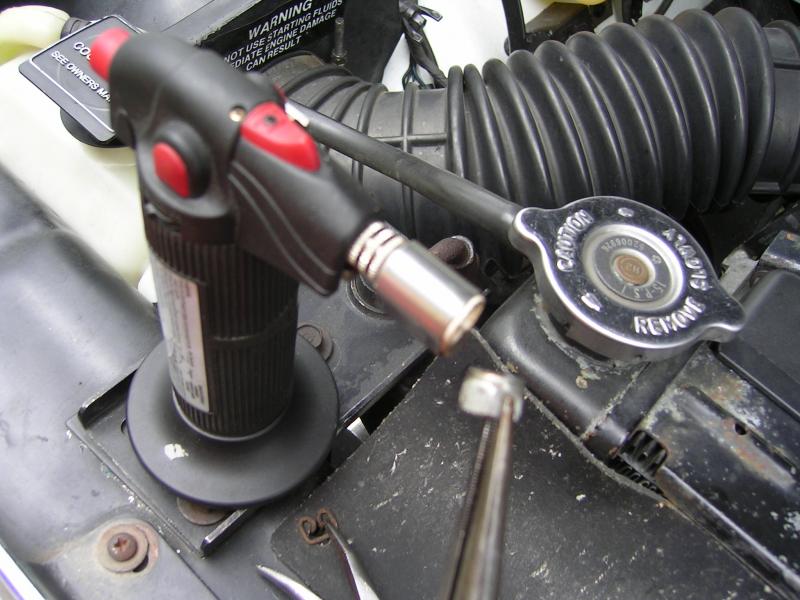
I have used that center punch and hammer technique on the clutch fan nut.
Your gonna love that spring.
Have you gotten a boost and EGT gauge on Patches yet so you can tickle the fuel screw a bit?
Your gonna love that spring.
Have you gotten a boost and EGT gauge on Patches yet so you can tickle the fuel screw a bit?
10-02-2014, 07:17 PM
#735
Registered User
Thread Starter
I had the 366 spring in my 89 motor before....great upgrade! And yes Ol' Patches has EGT, Boost and Tach.
Next I need to pop out the injectors and put in new copper washers, I have 3 that are weeping. Then once that's sealed up I will rotate the fuel pin, and maybe start turning in the fuel screw a little.
I also want to swap on my HX35 I rebuilt. The lag with that 18cm housing, and the bigger PS IC is really killing the bottom end. The motor won't start spooling until 16-1700 rpm. But I think the 12cm housing, with my 4.10's, might cause the EGT's to run too high on the Hwy....and I'm concerned the turbo running too much boost at cruising speed will kill my fuel mileage?
This is why I do things slowly and methodically. One thing at a time, then a couple tanks of fuel to monitor the fuel mileage. My baseline on mileage right now is 19-20mpg...I'm consistently 19.3, 19.8, 19.5,...etc.