
Crewcab update...
 01-05-2014, 09:02 PM
#466
Registered User

Doing a good job Thrashing. Hey, if you get tired of working on yours in the frozen north you can come down here and work on mine. It was 68 today! Hard to watch football when the weather is so nice.
 01-05-2014, 09:38 PM
#467
Banned
 01-05-2014, 10:10 PM
#468
Registered User
Thread Starter
Thrashing�
I though you ordered the Z- Gated shifter bracket from AA, that I gave you the part # to.
That looks like the NON gated bracket they sell.
I got that in their bell housing Getrag to NV-4500 swap set up.
I also ordered their Z gated shifter bracket, which I had to modify a little to make me happy.
The swap looks great and your end result of the 4x4 shifter bracket seem pretty slick.
It fit perfectly.....the other one I got, for the 91 and older non-gated shifter, wouldn't work at all. It was the auto TC shifter that was the problem.
01-06-2014, 08:15 AM
#469
Registered User

That is the reason I make all most all of the parts like that that I use on my builds. It seems like a lot of work but most of the time it takes longer to modify Stuff than to make it. Any way you floor looks good
But then I an the type of guy that builds a Tilt steering column out of a box of spare parts and some tubing
But then I an the type of guy that builds a Tilt steering column out of a box of spare parts and some tubing
01-06-2014, 09:14 AM
#470
Registered User
I had a Getrag Z gate shifter and it still needed some extra work to get it bolted up just right.
I also swapped out the two longer bolts in the kit for the AA Bracket.
The ones that went into the NV shifter cover with Grade 8 ones.
01-09-2014, 11:57 PM
#471
Registered User
Thread Starter
Got a few things done today. Installed the skid plate. Had to drill 2 more holes up into the frame....but at least they were not inside the frame. 

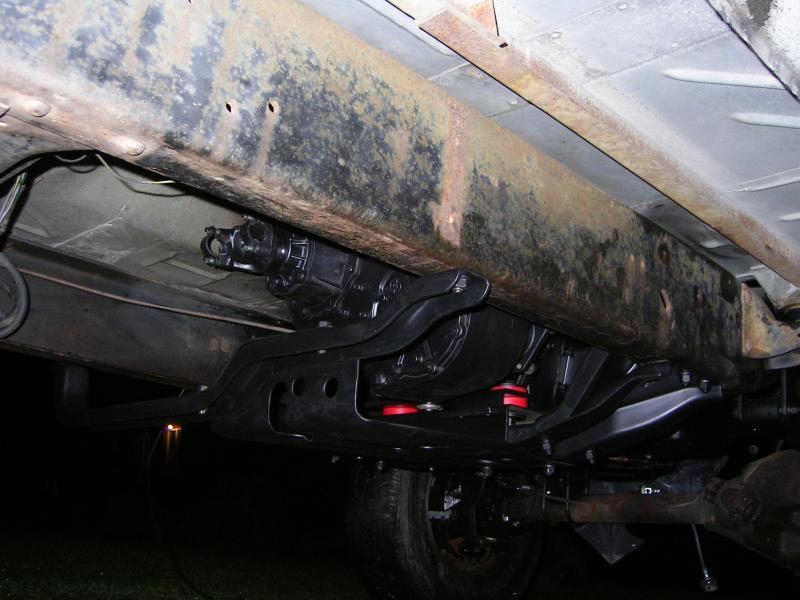
The painted the inside of the front bumper, and wire wheeled clean all the bumper brackets and nuts and bolts.
I was going to install the front shocks...but got to looking at the lower mounts for the shocks. I decided that they were too ugly and rusty....so I removed them, wire wheeled them clean, and painted them up.
Will install them, and the new shock tomorrow.

The painted the inside of the front bumper, and wire wheeled clean all the bumper brackets and nuts and bolts.

I was going to install the front shocks...but got to looking at the lower mounts for the shocks. I decided that they were too ugly and rusty....so I removed them, wire wheeled them clean, and painted them up.

Will install them, and the new shock tomorrow.
01-10-2014, 12:00 AM
#473
Registered User
Thread Starter
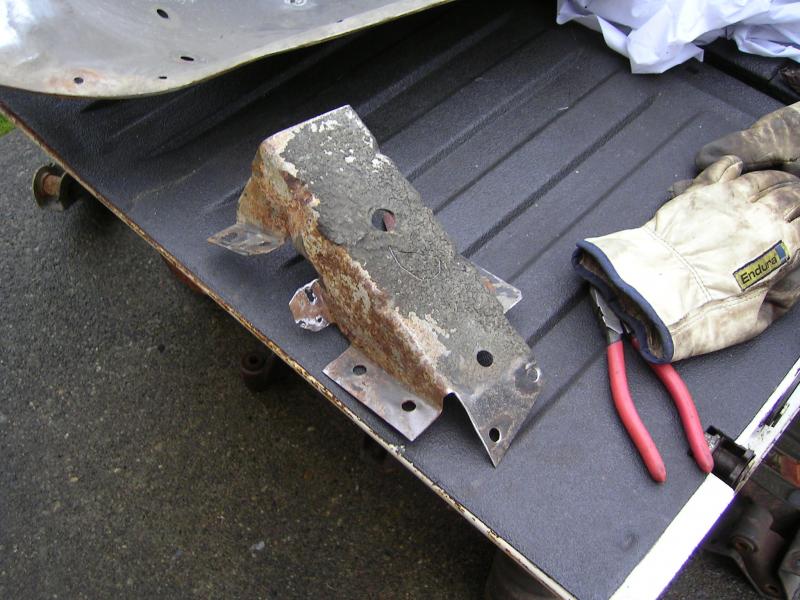
I then decided I would start welding up the holes in the inner fenders. Had a few extra ones added over the years.
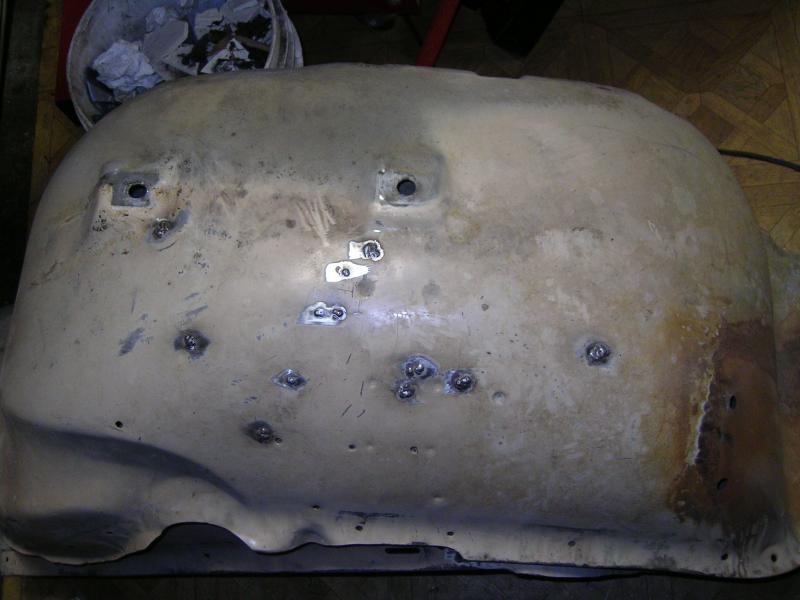
Hope to install the support/stiffening brackets I removed from the original 93 fender tomorrow as well.


Hope to install the support/stiffening brackets I removed from the original 93 fender tomorrow as well.
01-17-2014, 11:29 PM
#474
Registered User
Thread Starter
Working off and on on things the last few day, between work and life...Man they really get in the way...
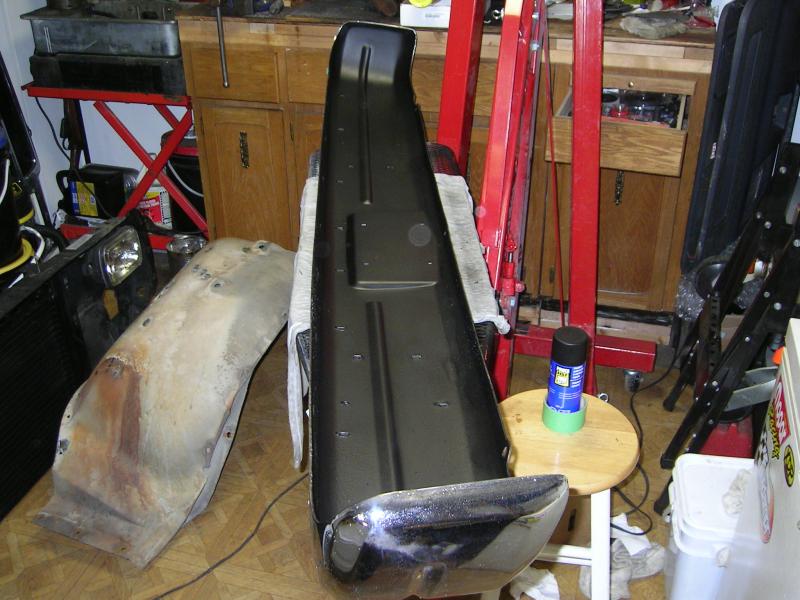
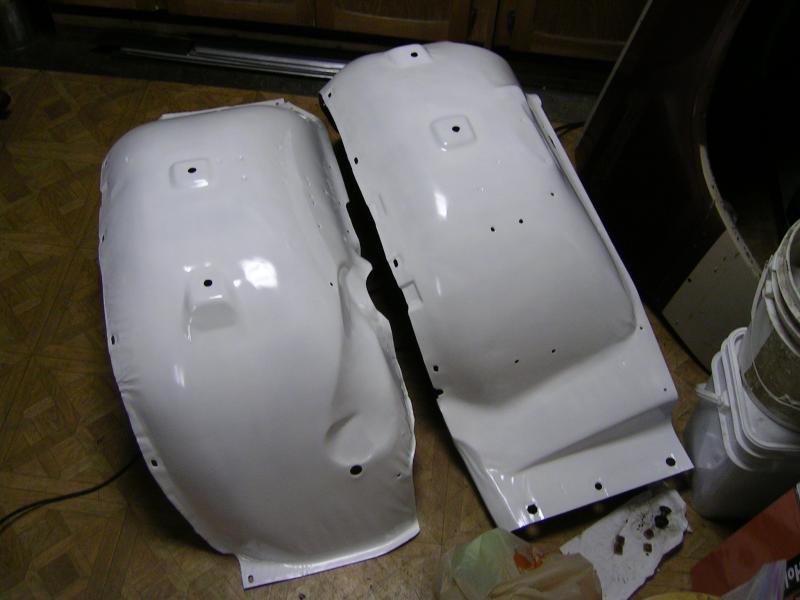
Finished getting the support brackets welded on the inner fenders.
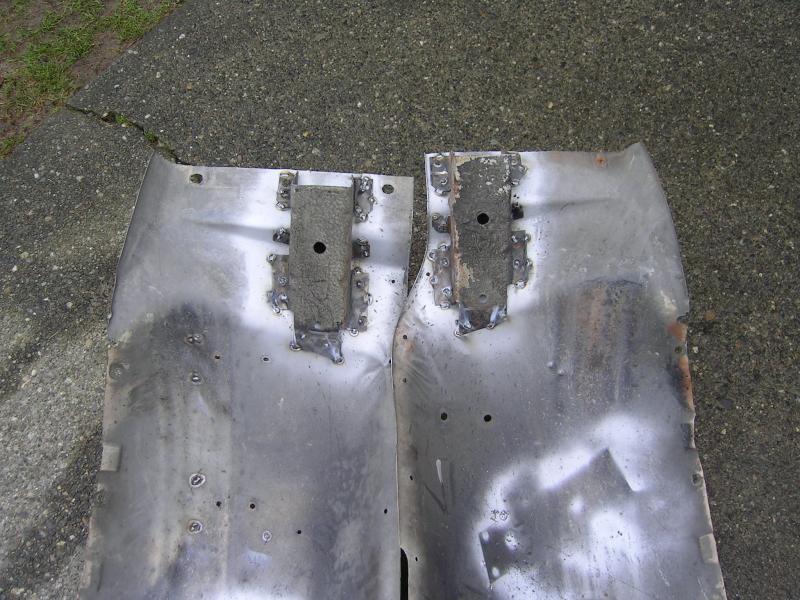
Then got them cleaned up, sanded and primed.
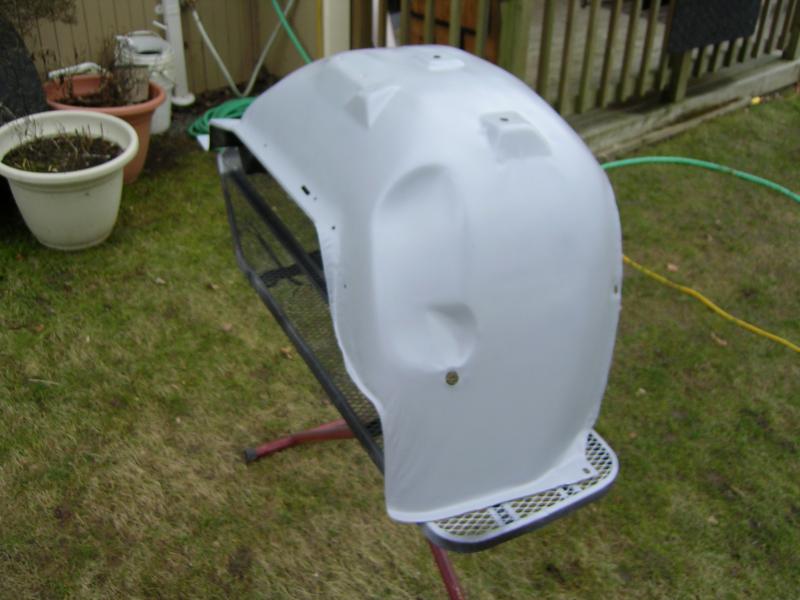
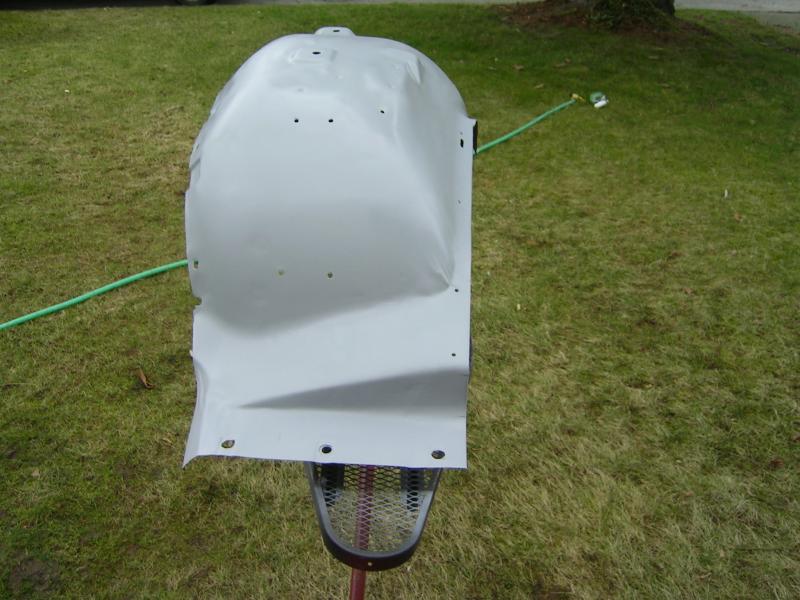
And today I got some white paint sprayed on.
Finished getting the support brackets welded on the inner fenders.


Then got them cleaned up, sanded and primed.


And today I got some white paint sprayed on.
 01-17-2014, 11:40 PM
#475
Registered User
Thread Starter
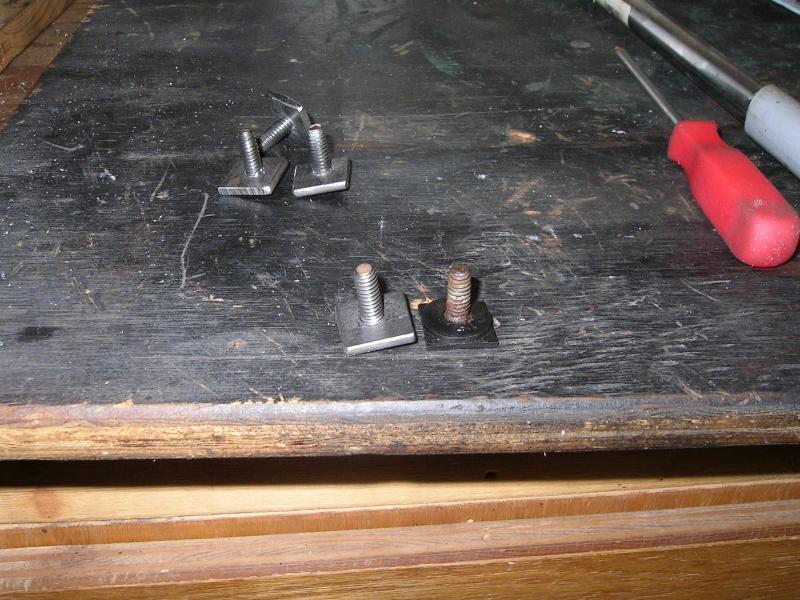
Bumper bolts...
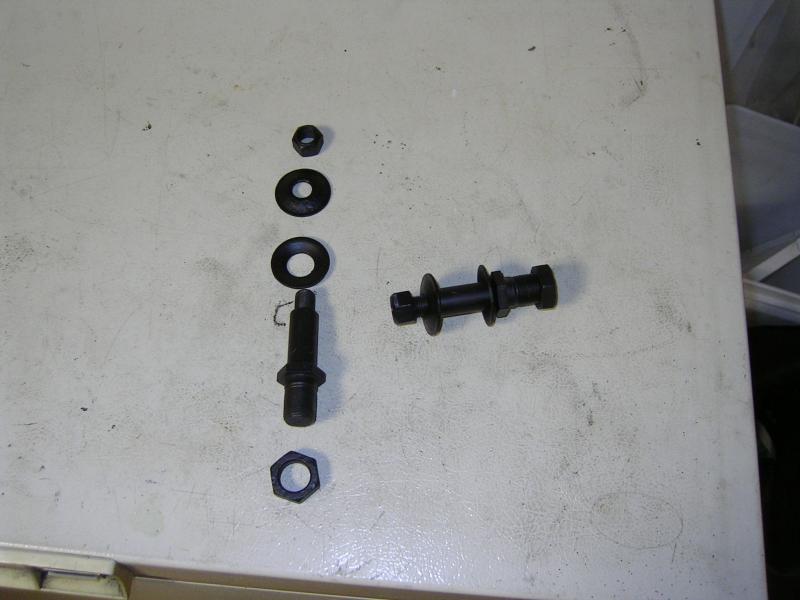
The black pads for the front bumper are held in place by 8 small square headed bolts that sit in pockets on the back side of the pads. They then protrude through the bumper and have a nut to secure it.
Well my front bumper was extremely rusty on the back side, and I ended up wrecking 4 of them. The plastic that makes up the square head on the bolt cracks and falls off. So I was trying to figure out how to replace them. Finally came up with an idea.
Cut some 3/4 flat bar into squares...then drilled 1/4 hole in each one. Then found some old bolts and cut the heads off.
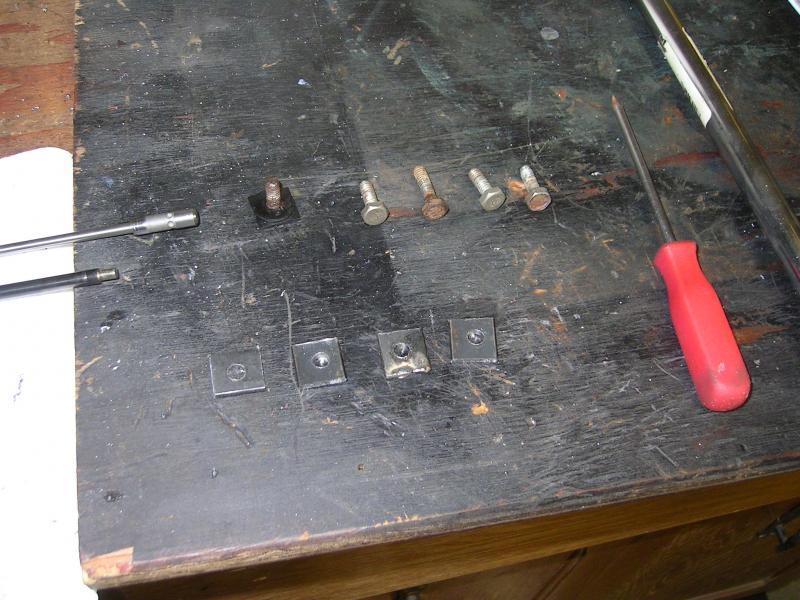
Then welded the studs onto the flat bar squares.
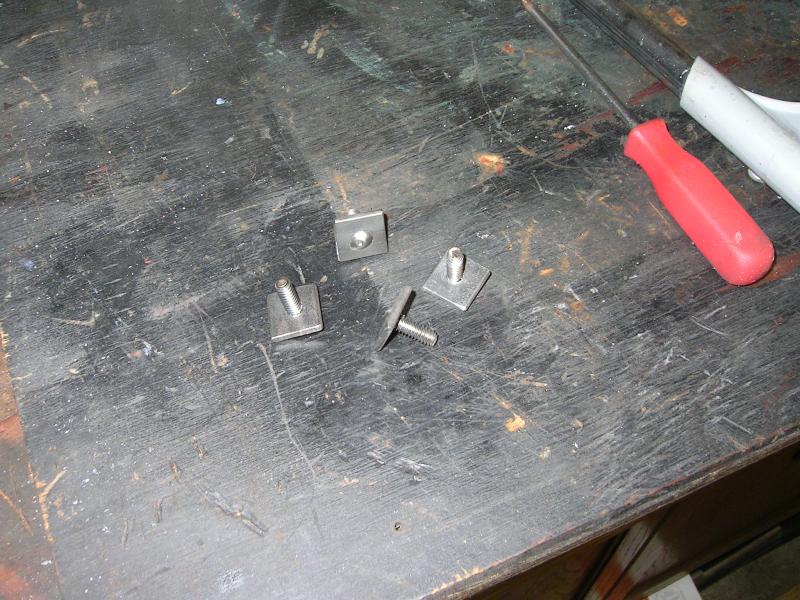
They look very similar...and function better then the originals...IMO.
 01-18-2014, 12:19 AM
#476
Registered User
Thread Starter
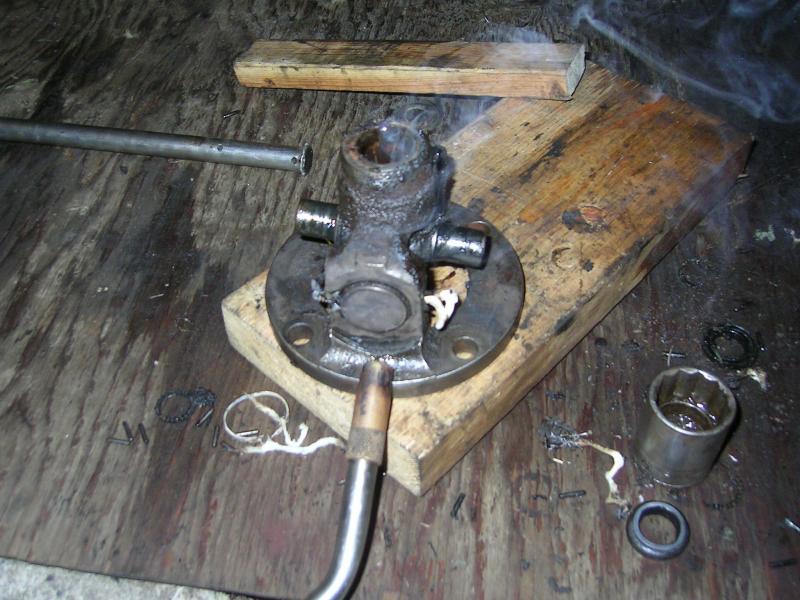
Cardan CV joint....
I also ordered all the spicer U-joints for my front drive shaft...which will need to be shortened. The donor 93 4wd was a Cummins/auto truck...and I have a NV4500.
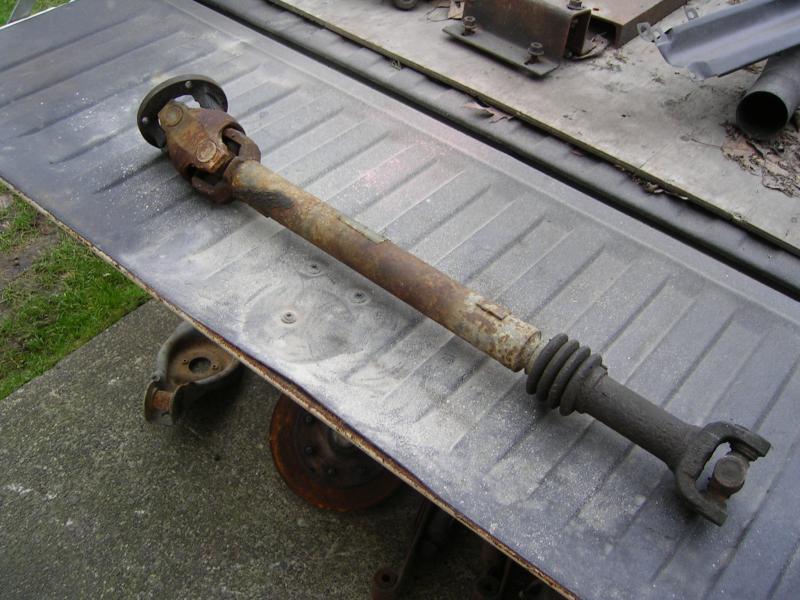
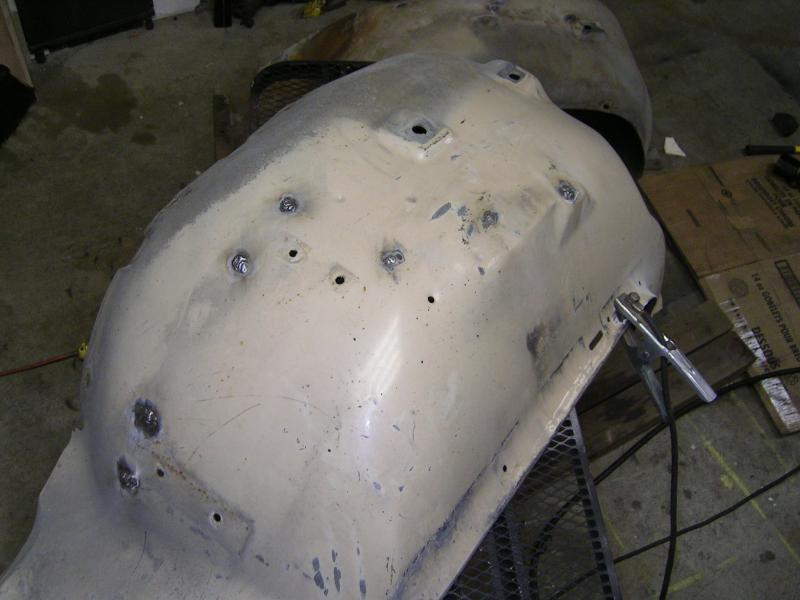
Quick clean up with the wire wheel...
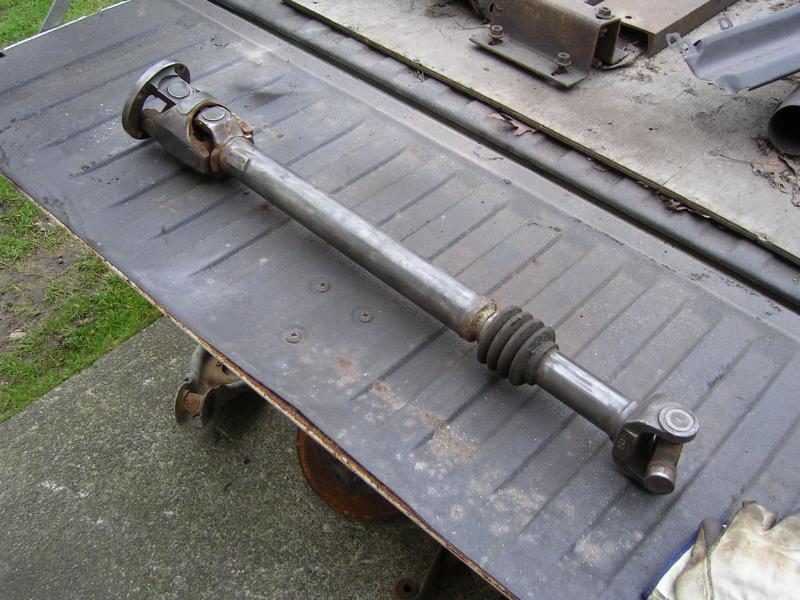
Anyway I went to disassemble the Cardan joints and found that there was no clips..***!! I did some searching on line and could not figure out exactly how they were being held in.
I noticed these white nubs...which I originally thought might be small bumpers for if the cardan joint got too close to the U-joint on rotation? Turns out those nubs were the leavings of the liquid plastic that was squeezed into the castings and caps.
It requires lots of heat to melt the plastic. It then comes squeezing out of the holes like long white worms.

Quick clean up with the wire wheel...

Anyway I went to disassemble the Cardan joints and found that there was no clips..***!! I did some searching on line and could not figure out exactly how they were being held in.
I noticed these white nubs...which I originally thought might be small bumpers for if the cardan joint got too close to the U-joint on rotation? Turns out those nubs were the leavings of the liquid plastic that was squeezed into the castings and caps.

It requires lots of heat to melt the plastic. It then comes squeezing out of the holes like long white worms.
 01-18-2014, 12:22 AM
#477
Registered User
Thread Starter
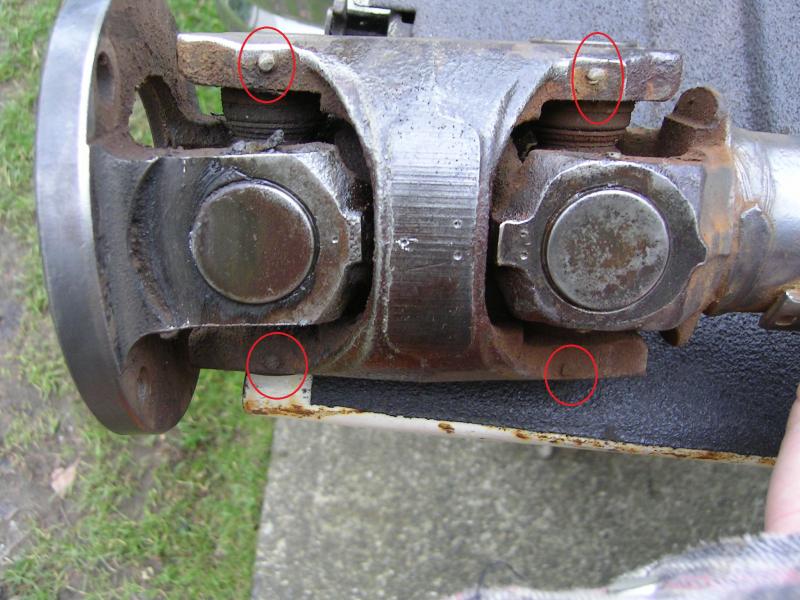
4wd constant velocity joint
After battling those 2 joints for a hour or so I finally got everything apart.
Here's a pic of the plastic I cleaned out of one of the U-joint caps onthe driveshaft.

And you can see the grooves in the driveshaft yoke, and the U-joint cap.
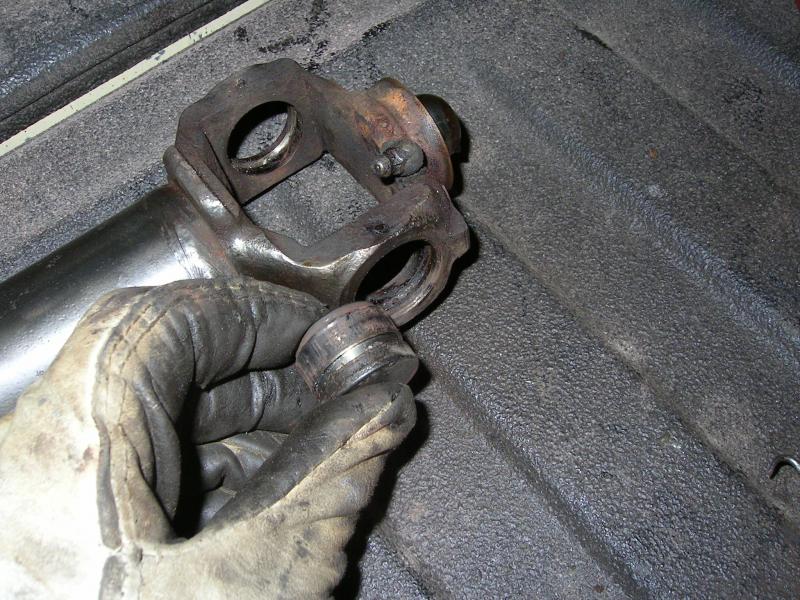
I was telling a friend of mine about this and he mentioned that GM/Chev has been using this type of U-joint securing method for a long time...it was the first time I had EVER seen this!
Glad the new joints come with clips.
01-18-2014, 08:44 AM
#479
Registered User
After battling those 2 joints for a hour or so I finally got everything apart.
Here's a pic of the plastic I cleaned out of one of the U-joint caps onthe driveshaft.

And you can see the grooves in the driveshaft yoke, and the U-joint cap.

I was telling a friend of mine about this and he mentioned that GM/Chev has been using this type of U-joint securing method for a long time...it was the first time I had EVER seen this!
Glad the new joints come with clips.
Here's a pic of the plastic I cleaned out of one of the U-joint caps onthe driveshaft.
And you can see the grooves in the driveshaft yoke, and the U-joint cap.
I was telling a friend of mine about this and he mentioned that GM/Chev has been using this type of U-joint securing method for a long time...it was the first time I had EVER seen this!
Glad the new joints come with clips.