
Crewcab update...
 01-04-2014, 01:43 AM
#451
Registered User
Thread Starter
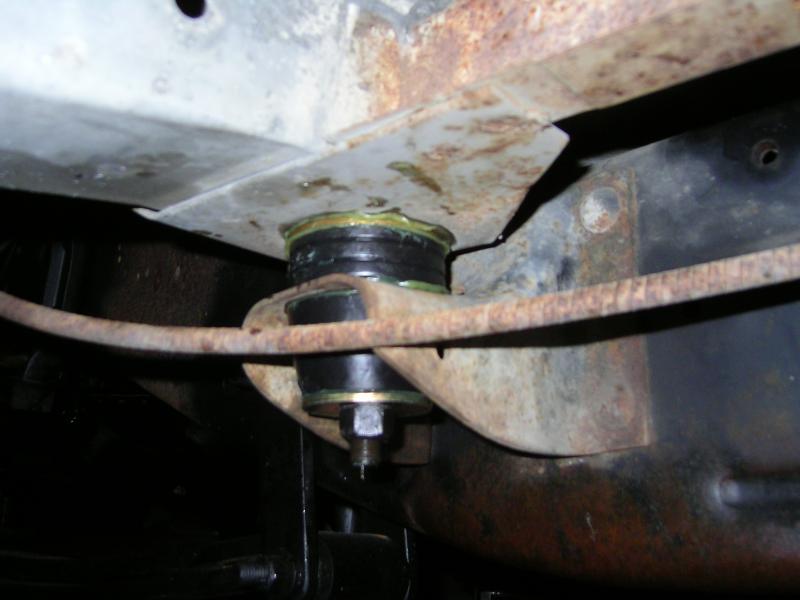
Today I got the cab mounts swapped. Turned out the crewcab already had a set of poly bushing cab mounts. But since I had new ones...and did not know how old the old ones were...I decided to swap them in anyway.
Used some big dunage to lift one side at a time. The opposite side was loose...but still bolted in place. And then Just list it high enough to wrestle the old bushing out.
New ones in and bolted down. I spent a few minutes making sure the cab was square on the chassis. Checked measurements from side to side, and front to back.
Used some big dunage to lift one side at a time. The opposite side was loose...but still bolted in place. And then Just list it high enough to wrestle the old bushing out.

New ones in and bolted down. I spent a few minutes making sure the cab was square on the chassis. Checked measurements from side to side, and front to back.

 01-04-2014, 01:55 AM
#452
Registered User
Thread Starter
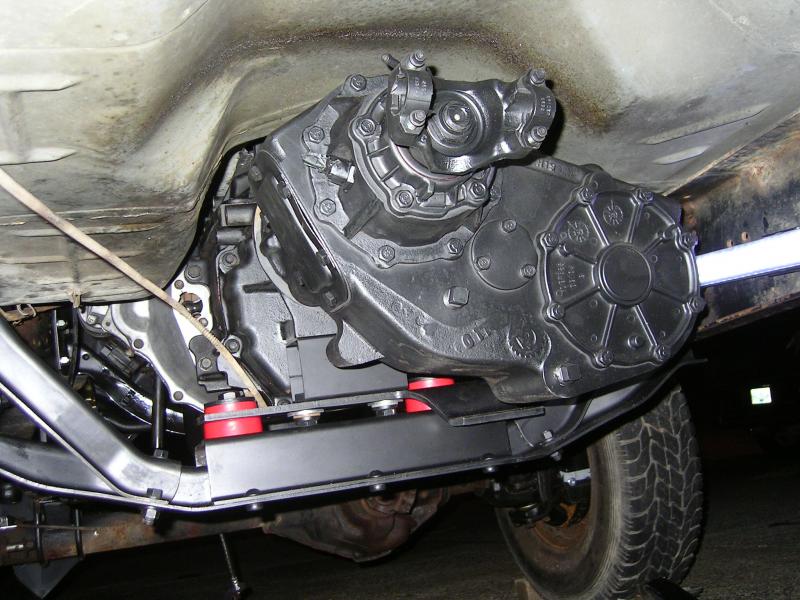
And I got the transfer case installed. Went pretty smooth considering it was just me and my floor jack, on a sloping driveway....
And then I decided to dismantle and clean my front bumper. Got all the black plastic pads off...and then polished it up as best I could.
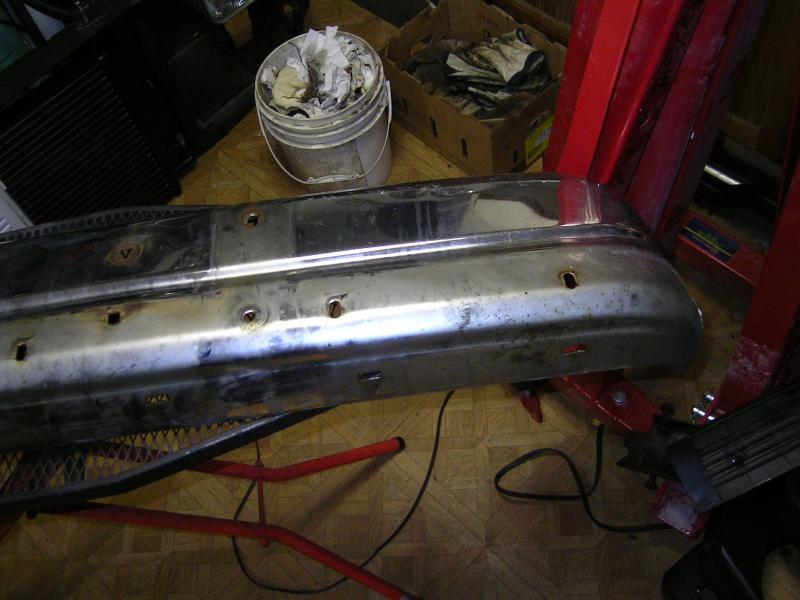
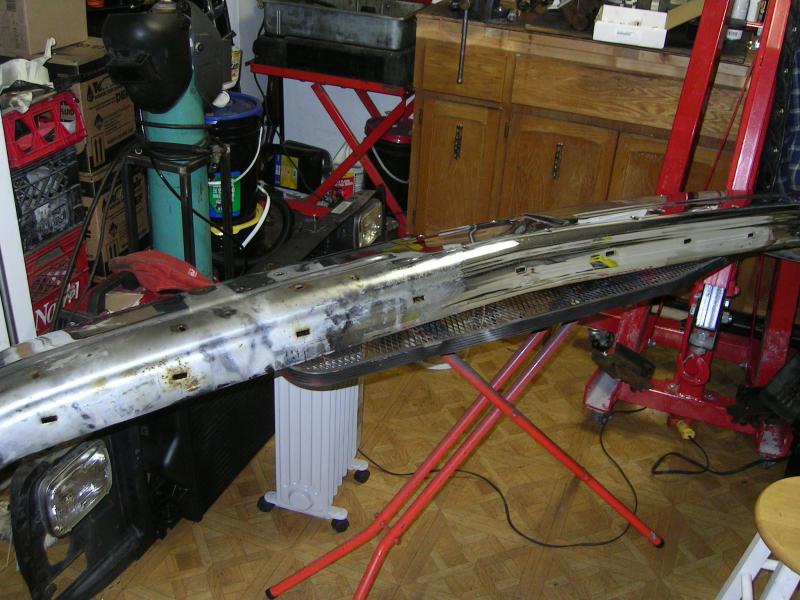
Will have to repair a couple of the plastic pockets the studs slip into...but shouldn't cause me too much grief.

And then I decided to dismantle and clean my front bumper. Got all the black plastic pads off...and then polished it up as best I could.


Will have to repair a couple of the plastic pockets the studs slip into...but shouldn't cause me too much grief.
 01-04-2014, 02:35 PM
#454
Registered User
Do you plan on adding a support for the 205?
I'm pretty sure I will be doing one as I fear the added weight of the 205 may cause problems with the transmission housing cracking.
I'm pretty sure I will be doing one as I fear the added weight of the 205 may cause problems with the transmission housing cracking.
01-04-2014, 03:33 PM
#455
Registered User
Thread Starter
Thank you!!
No I wont. I went with the new steel tailhousing for the NV4500 just so I shouldn't have to worry about that. But even if I had been able to find an aluminum housing, I still wouldn't have installed a support. Heck they installed the NP205 on the back of the aluminum 518.
No I wont. I went with the new steel tailhousing for the NV4500 just so I shouldn't have to worry about that. But even if I had been able to find an aluminum housing, I still wouldn't have installed a support. Heck they installed the NP205 on the back of the aluminum 518.
01-04-2014, 11:15 PM
#456
Registered User
Thread Starter
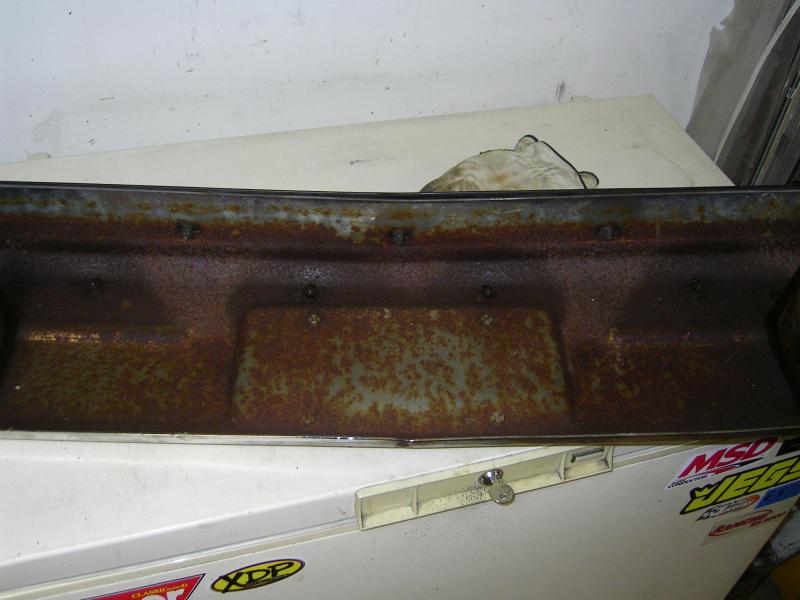
So today I decided to clean the back side of the front bumper...why?...cause I didn't like all that rust. And sometimes I can't help myself...
Before...
After...
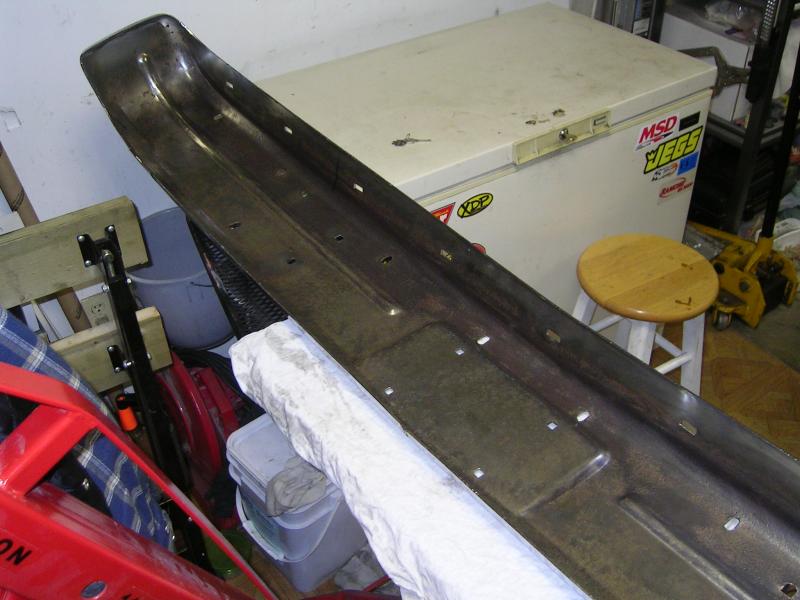
I will give the back side a coat of flat black paint...will help keep the rust monster at bay for a while.
Before...

After...

I will give the back side a coat of flat black paint...will help keep the rust monster at bay for a while.
01-04-2014, 11:25 PM
#457
Registered User
Thread Starter
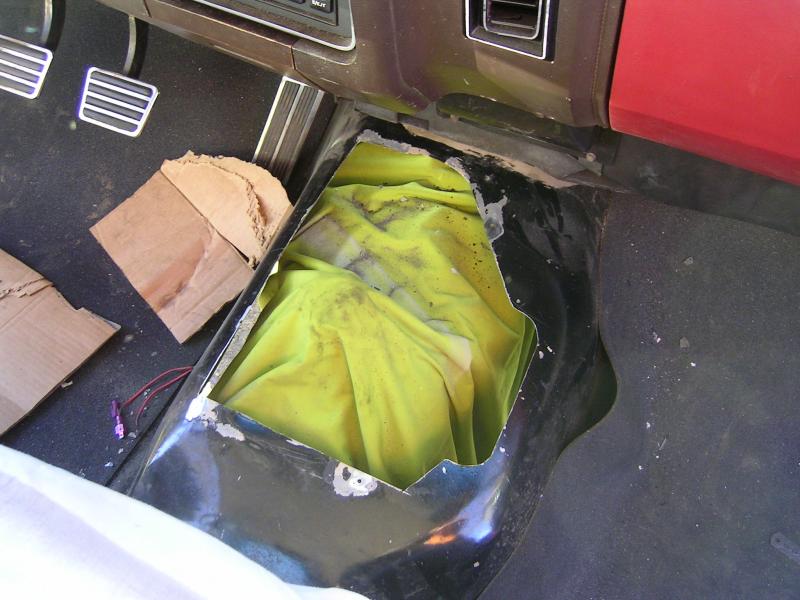
I then concentrated on getting the removable tranny tunnel cut for the shifter...and then clean up the opening, and open it up enough for the transfer case shifter.
Had to measure and re-measure to make sure I got my shifter hole in the right spot.
Mark out the areas I was going to cut...
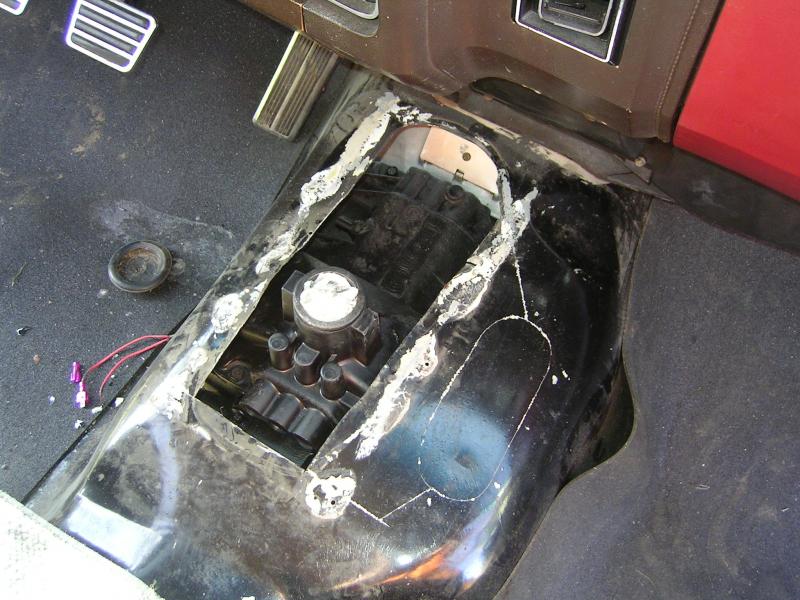
Then it was cover the tranny and start cutting.
Had to measure and re-measure to make sure I got my shifter hole in the right spot.

Mark out the areas I was going to cut...

Then it was cover the tranny and start cutting.
 01-04-2014, 11:51 PM
#458
Registered User
Thread Starter
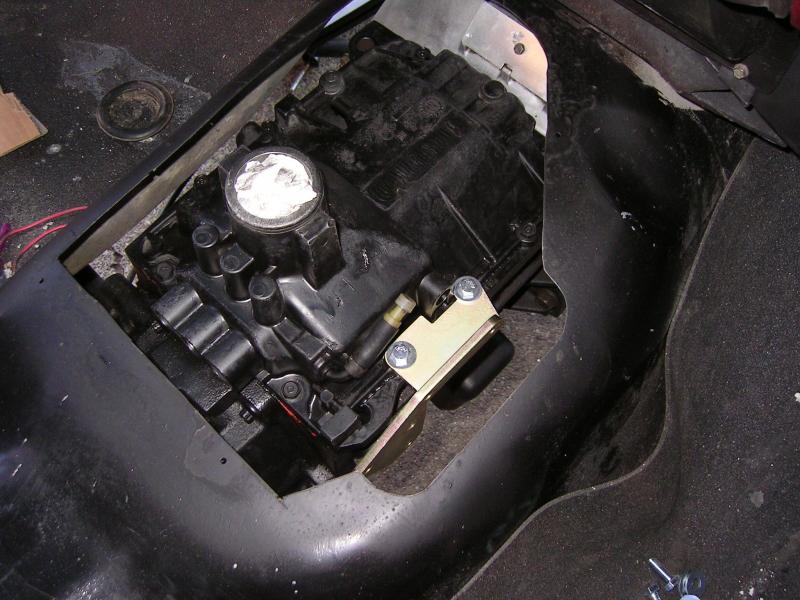
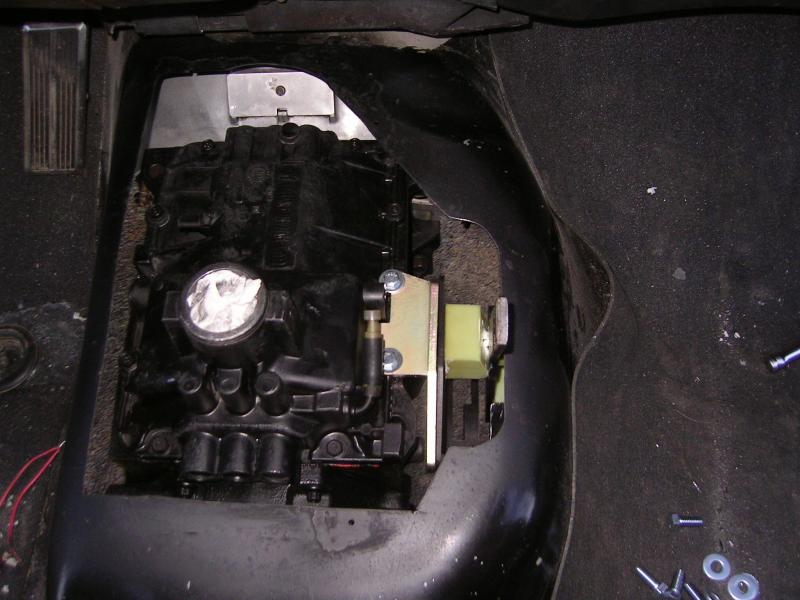
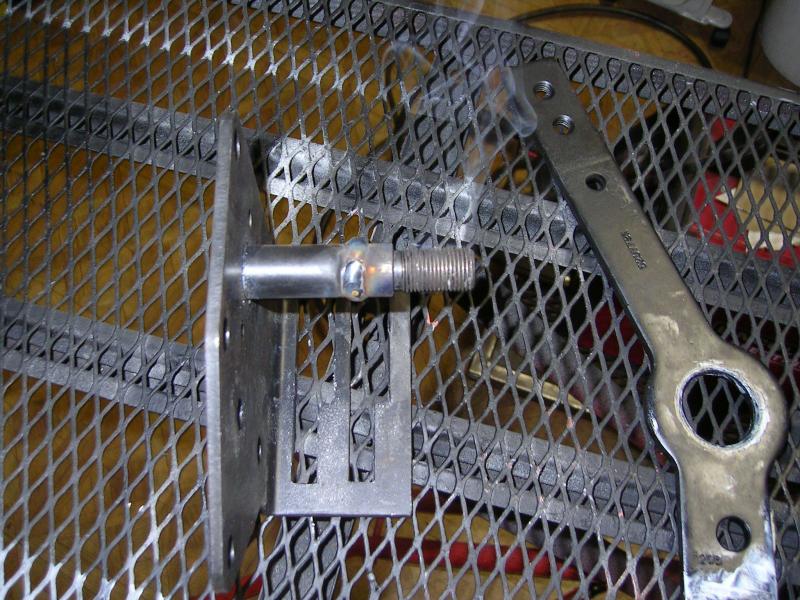
Now that I had lots of room it was time to install the Advanced Adapter transfer case shifter bracket...and hardware.
You have to use the longer bolts supplied to mount to the tranny...

Bracket installed....
Then tried to install the shifter....NOPE aint going to fit!! Isn't this just my luck...

Turns out that the gated transfer case shifter off a Cummins/A518 auto combo is about one inch too wide....or wider then the Getrag combo. So it was sitting tight against the outside edge of the TC shifter hole. And under the truck the length of the shaft had it sitting tight against the floor board.
Here's the stock set-up. You can see the inside gated shift area...this is where I need the shifter to be. So now I have to remove 1" from everything so it will all work.
You have to use the longer bolts supplied to mount to the tranny...

Bracket installed....

Then tried to install the shifter....NOPE aint going to fit!! Isn't this just my luck...


Turns out that the gated transfer case shifter off a Cummins/A518 auto combo is about one inch too wide....or wider then the Getrag combo. So it was sitting tight against the outside edge of the TC shifter hole. And under the truck the length of the shaft had it sitting tight against the floor board.
Here's the stock set-up. You can see the inside gated shift area...this is where I need the shifter to be. So now I have to remove 1" from everything so it will all work.
 01-04-2014, 11:58 PM
#459
Registered User
Thread Starter
So I dismantled everything and was trying to figure out what I could do. I needed an inch out of the main plastic body....I was going to cut at it with my cut off wheel, but then I thought..."Hey a hot thin blade would melt through the plastic like a hot knife through butter!"
So I decided to heat up and exacto knife blade and slowly work my way around the block. I had first scribed a line all the way around so I knew where to melt.
All done....
Then I mocked it up so I could see where I needed to hack out the one inch out of the main shaft.
Once cut I used a couple rare earth magnets to hold it mostly square so I could tack it.
All welded up...then used a flapper disc to clean it up.
So I decided to heat up and exacto knife blade and slowly work my way around the block. I had first scribed a line all the way around so I knew where to melt.
All done....

Then I mocked it up so I could see where I needed to hack out the one inch out of the main shaft.

Once cut I used a couple rare earth magnets to hold it mostly square so I could tack it.

All welded up...then used a flapper disc to clean it up.
 01-05-2014, 12:03 AM
#460
Registered User
Thread Starter
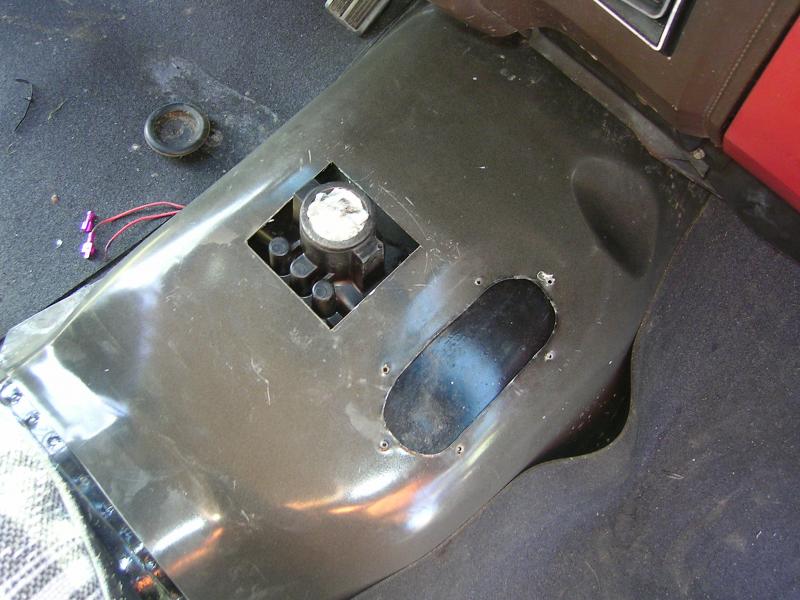
I then had to figure out a way to hold the main body in place. The original piece had little plastic pins that went through the bracket and held it square, and in place. But since I cut it down I no longer had these pins. I decided that there was enough material on the back side that I could drill it with a very small bit, and then use a couple small screws to hold it in place.
It's not like this pad is under load. Just don't want it to flip out of alignment.
Then it was re-assembly time!!
Now that looks a lot better!!

It's not like this pad is under load. Just don't want it to flip out of alignment.
Then it was re-assembly time!!

Now that looks a lot better!!


 01-05-2014, 12:14 AM
#462
Registered User
Thread Starter
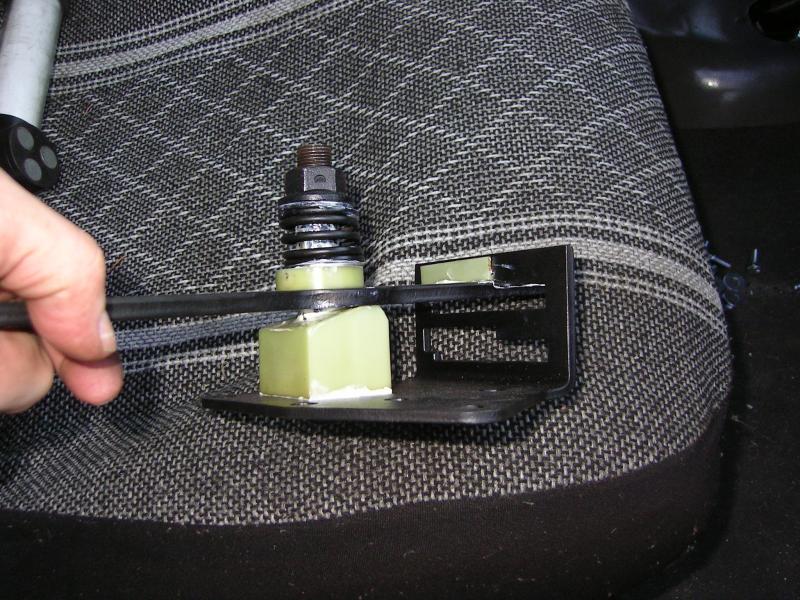
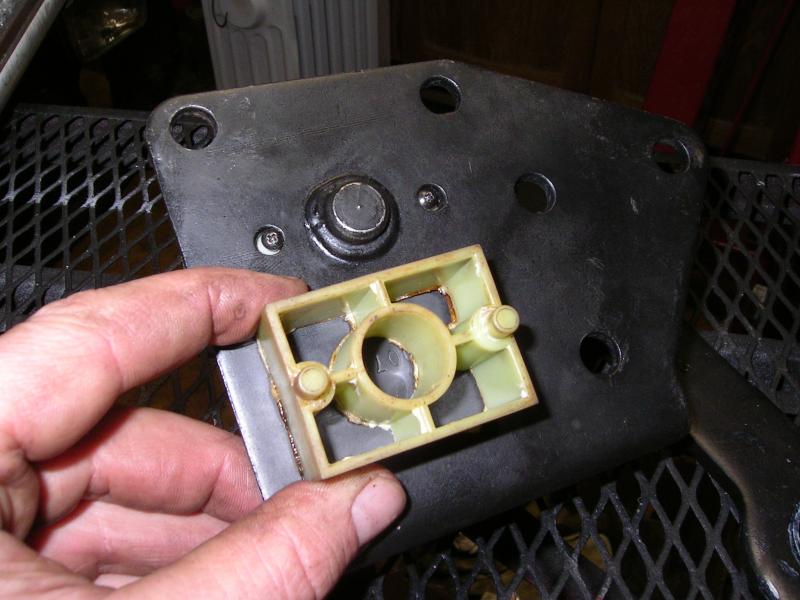
Then it was onto the rod from the shifter to the TC. This did not go easily either. I messed around with it in all types of orientation and with the bushings it came with.
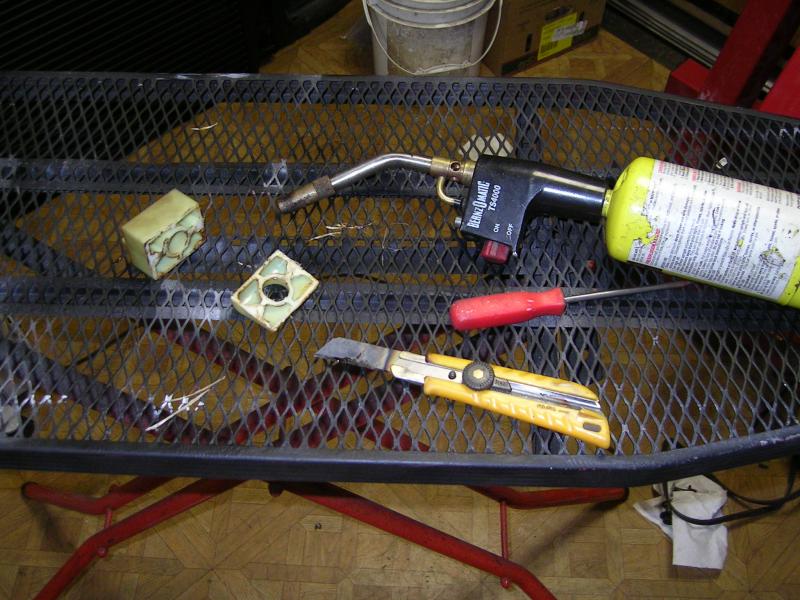
Turned out I needed to modify two of the bushings. It came with three, but only needed two.
Here's what they looked like....
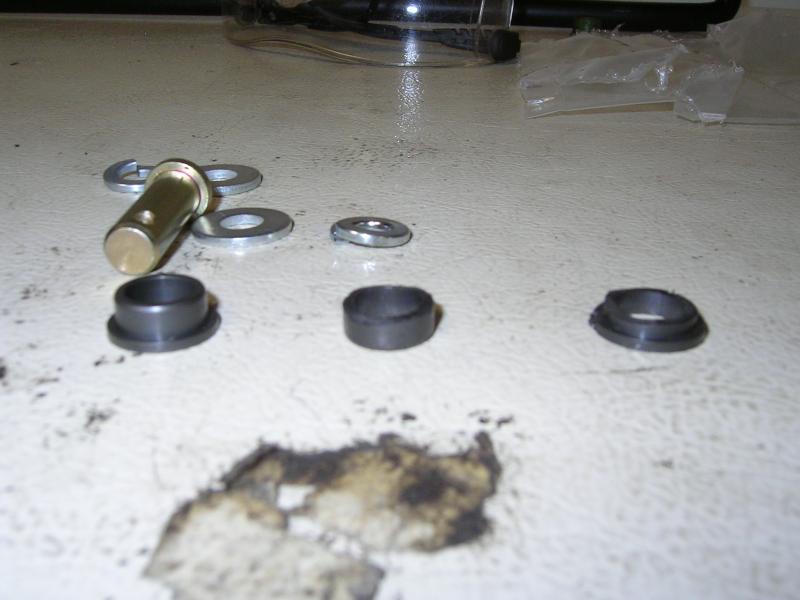
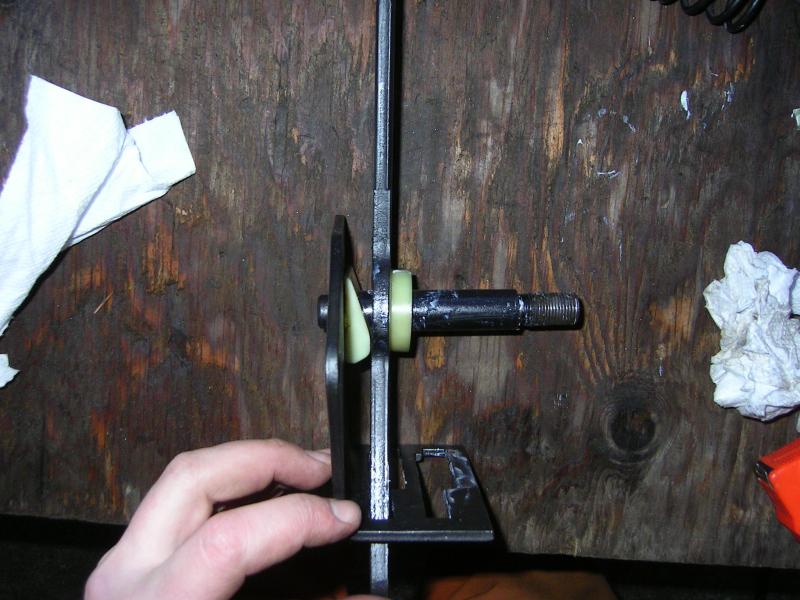
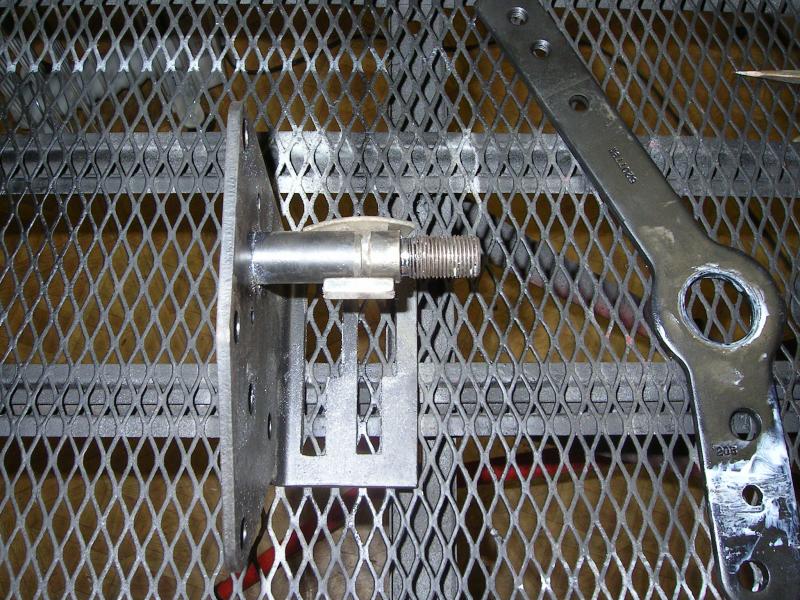
Here is where I used them. The center one I used on the pin that goes through the main shifter hole. It takes up the slop, but when I installed it as I received it, it did not allow the shaft to go through far enough to get the cotter pin through.
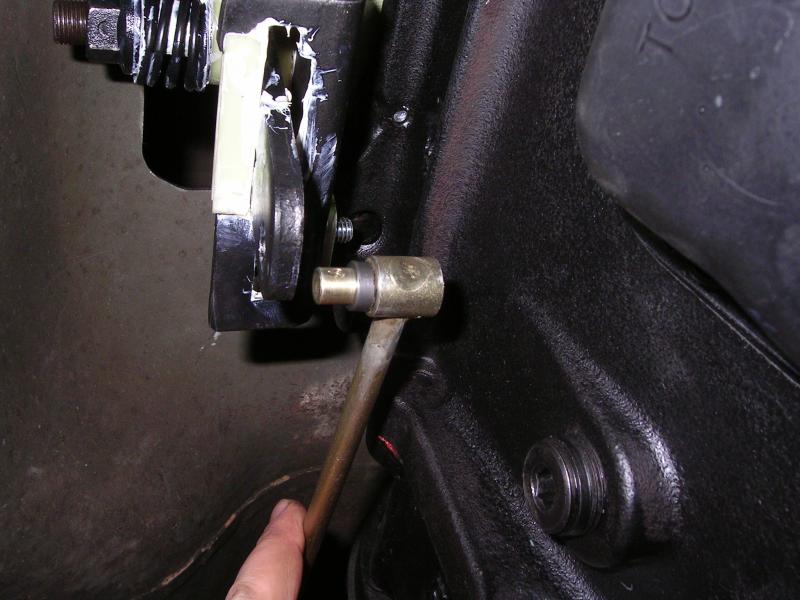
And the one of the far right I had to shorten. The adjustable clasp had too mush slop for my liking. So I used the shorten bushing as a spacer on the top.
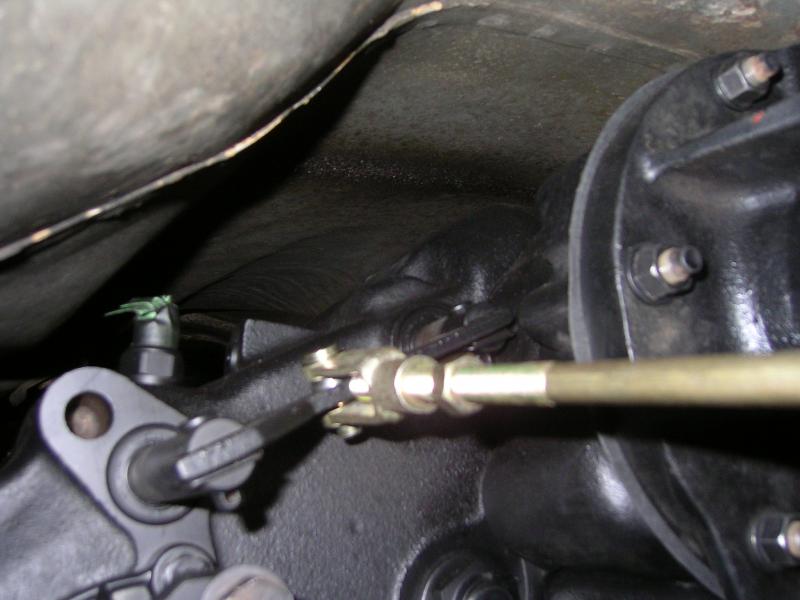
So where does the main shifter arm need to sit? does it sit all the way forward, or back, or half way in between? I don't have a pic of the shifter before I removed it, and can't recall where it needs to be set-up.
Turned out I needed to modify two of the bushings. It came with three, but only needed two.
Here's what they looked like....

Here is where I used them. The center one I used on the pin that goes through the main shifter hole. It takes up the slop, but when I installed it as I received it, it did not allow the shaft to go through far enough to get the cotter pin through.

And the one of the far right I had to shorten. The adjustable clasp had too mush slop for my liking. So I used the shorten bushing as a spacer on the top.

So where does the main shifter arm need to sit? does it sit all the way forward, or back, or half way in between? I don't have a pic of the shifter before I removed it, and can't recall where it needs to be set-up.
01-05-2014, 01:00 PM
#463
Registered User
It sits halfway in between if I remember correctly. My transmission and transfer case is out at the moment but I remember all the way forward is 4L and all the way back is 4H.
Great work on the CC so far, can't wait to see it finished!
Great work on the CC so far, can't wait to see it finished!
01-05-2014, 04:09 PM
#464
Registered User

Join Date: Apr 2009
Location: Banning, ca same house 73yrs
Posts: 175
Likes: 0
Received 25 Likes
on
18 Posts
shifter position
the 2 W.D. position is one notch forward from the 4 high position (all the way back), next notch is neutral, and all the way forward is 4 LO.
01-05-2014, 04:26 PM
#465
Registered User
Thrashing�
I though you ordered the Z- Gated shifter bracket from AA, that I gave you the part # to.
That looks like the NON gated bracket they sell.
I got that in their bell housing Getrag to NV-4500 swap set up.
I also ordered their Z gated shifter bracket, which I had to modify a little to make me happy.
The swap looks great and your end result of the 4x4 shifter bracket seem pretty slick.