
Crewcab update...
 11-29-2013, 12:52 PM
#346
Banned

I used the stock carrier bearing cross member and had a shaft built to my spec's with the big joint's and for the rearend I swapped a d70 yoke onto my 60 and I'm goin to do the same for the front because the gasser useing the smaller joint .
 11-29-2013, 01:26 PM
#348
Banned
I want to say the tube is 4 in ID all I did was take the end pieces into a shaft shop and have him build me 1 it wasn't cheap either 640 out the door for the 2 section rear shaft .but it had new joint's all the way plus new Carrier bearing .Brian On the crewcab's the carrier bearing mount's on a plate onto of cross member if you need that plate let me know .
11-29-2013, 03:02 PM
#349
Registered User
Thread Starter
Yeah I have a couple pf the plates that the carrier bearing mounts on to. My crewcab, when it was a 2wd gasser...had the carrier bearing on a p-late on the cross member that span the bottom of the frame. Just a bit ahead of the upper one.
The upper one is the cross member that the cummins trucks use.
The upper one is the cross member that the cummins trucks use.
11-30-2013, 12:11 AM
#350
Registered User
Thread Starter
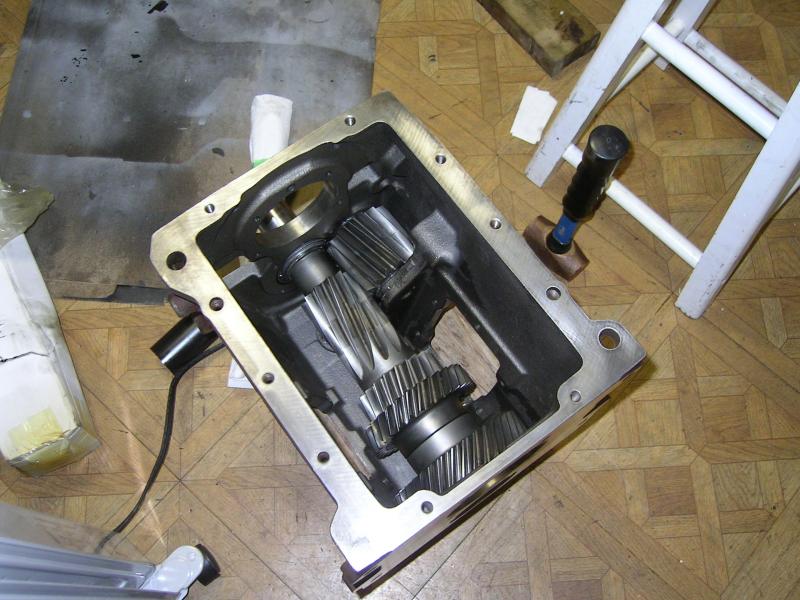
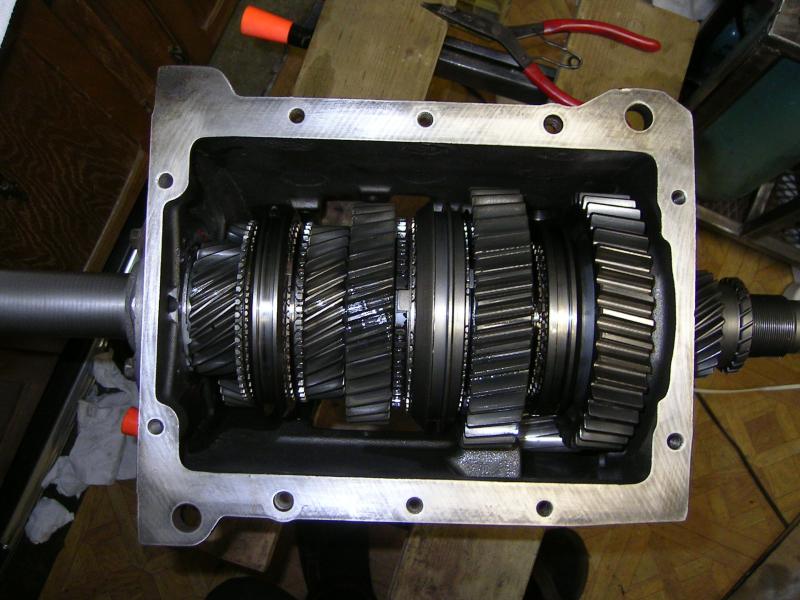
Been working on the NV4500 4wd conversion the last couple days. Got the counter shaft in and end play set to .002".
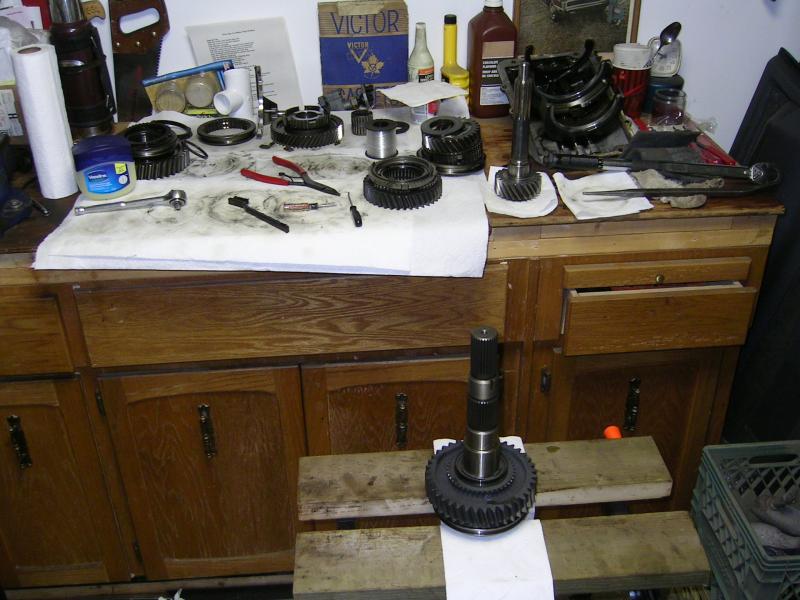
Then it was start assembling the new fully splined 4wd mainshaft.
Start...
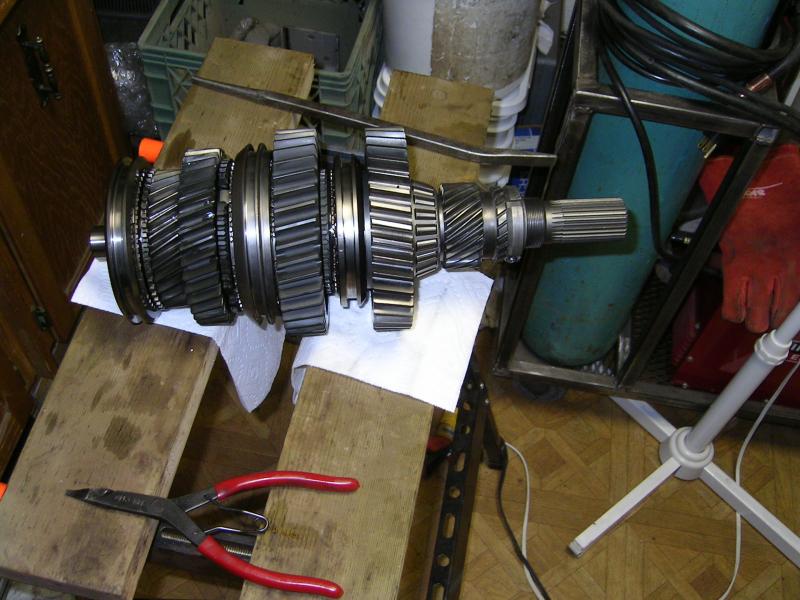
All done and ready to roll into the case....
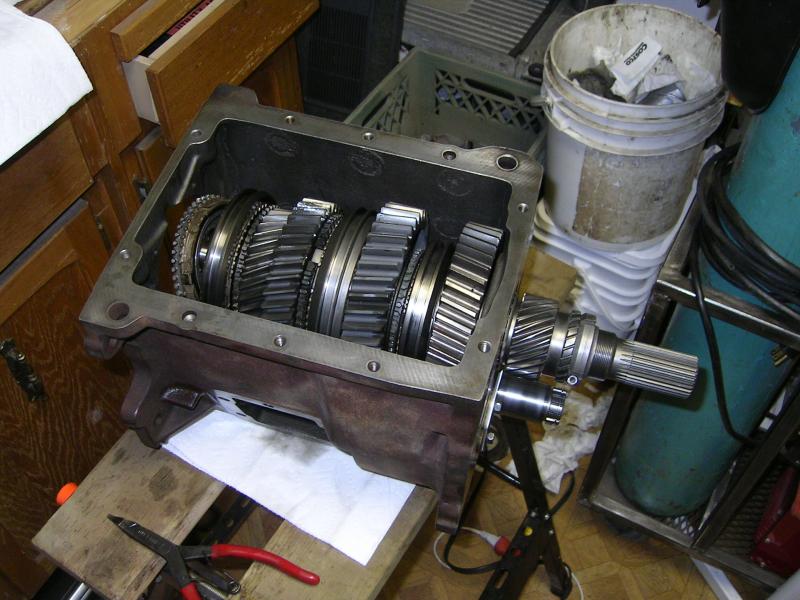
And the tranny starting to look like a real functioning unit....

Then it was start assembling the new fully splined 4wd mainshaft.
Start...

All done and ready to roll into the case....

And the tranny starting to look like a real functioning unit....
 11-30-2013, 12:15 AM
#351
Registered User
Thread Starter
Picked up my new front bearing retainer today. Not a bad piece...but it did require a little grinding on the oiling passage.
Not sure if you can see it in the pic, but the casting was almost level where it ran across the oiling hole. Once the bearing race was installed I doubt much oil would have gotten through.
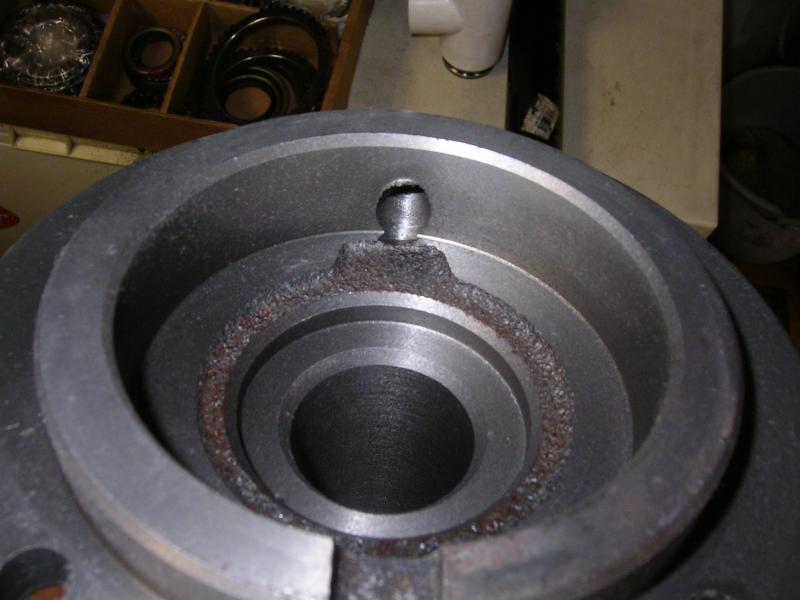
A minute or so with the die grinder and a stone had things opened up....
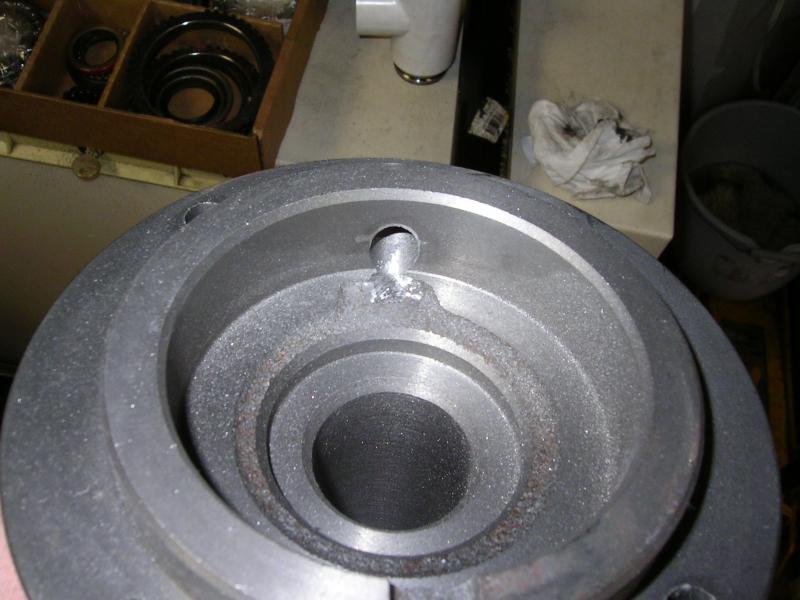
Make sure you guys check these things when buying "new" parts....
So tomorrow I should have the tranny pretty much all back together....Wohoooo!
11-30-2013, 09:35 AM
#352
Registered User

Getting closer, my friend
11-30-2013, 11:29 AM
#353
Registered User
Thread Starter
I'll post up a link to the other thread I started about the issue I found with the new 4wd mainshaft....
https://www.dieseltruckresource.com/...=1#post3214098
https://www.dieseltruckresource.com/...=1#post3214098
12-04-2013, 12:11 AM
#354
Registered User
Thread Starter
Almost got the tranny finished tonight...

........then I noticed that the shift rail rod for 5th gear is worn badly... So now I have to wait on one last part before I can finally finish the tranny. Little cheesed off I never noticed the wear on that part before now.
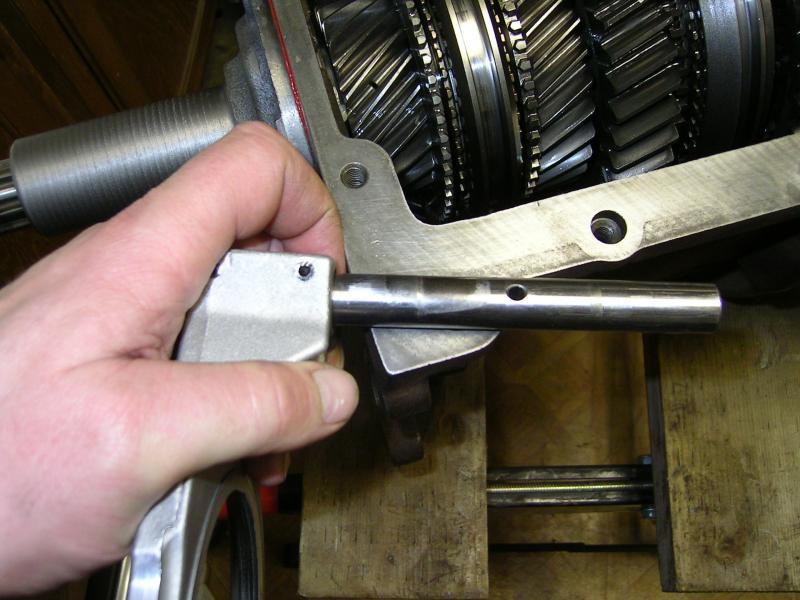
Oh well I have a million other things I can work on in the mean time.


........then I noticed that the shift rail rod for 5th gear is worn badly...
So now I have to wait on one last part before I can finally finish the tranny. Little cheesed off I never noticed the wear on that part before now.
Oh well I have a million other things I can work on in the mean time.
12-04-2013, 09:03 AM
#355
Registered User

 12-06-2013, 12:34 AM
#358
Registered User
Thread Starter
So since I'm waiting for my shift rod to arrive ...I've been working on some other things.
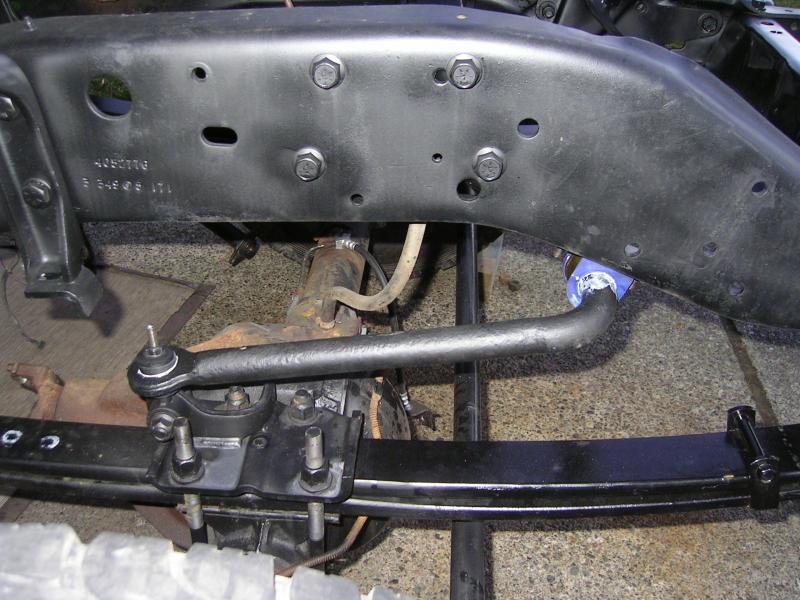
Yesterday I got the front swaybar installed. Had to drill the holes on the underside of the frame to mount the bushing. Thank goodness I had bought a short 90* air drill some time back.
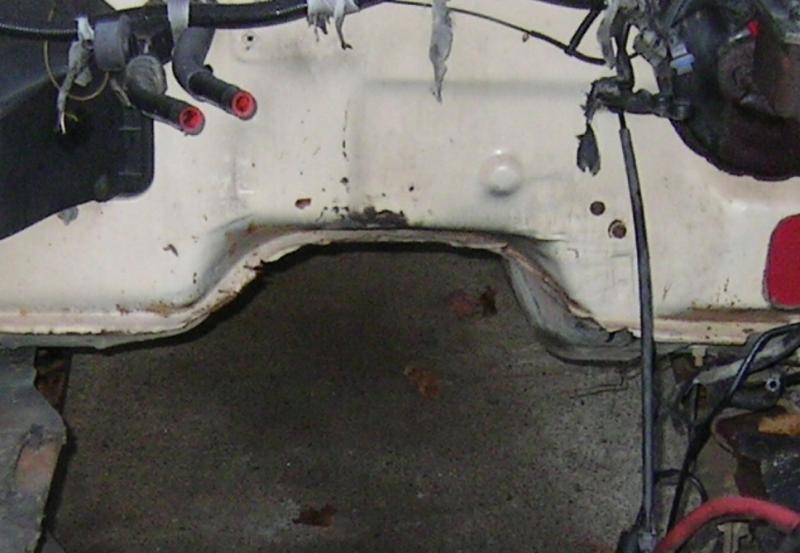
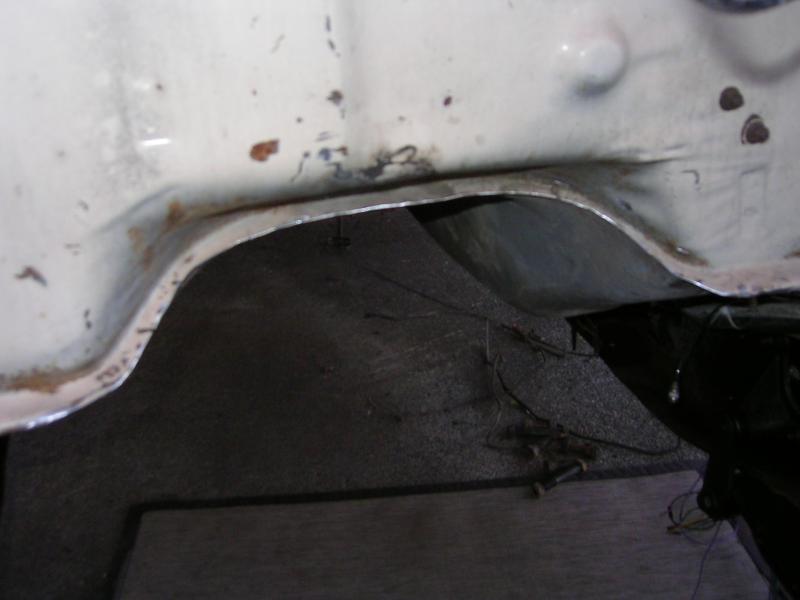
And I straightened the spot welded pinch seam on the tranny tunnel. Previous owner(s) cut and bent it to all heck. So I straightened it, and then trimmed off the excess...and there was a lot!!
And I started to make up the over plates to reinforce the cowl crack areas...

Yesterday I got the front swaybar installed. Had to drill the holes on the underside of the frame to mount the bushing. Thank goodness I had bought a short 90* air drill some time back.

And I straightened the spot welded pinch seam on the tranny tunnel. Previous owner(s) cut and bent it to all heck. So I straightened it, and then trimmed off the excess...and there was a lot!!


And I started to make up the over plates to reinforce the cowl crack areas...
 12-06-2013, 12:37 AM
#359
Registered User
Thread Starter
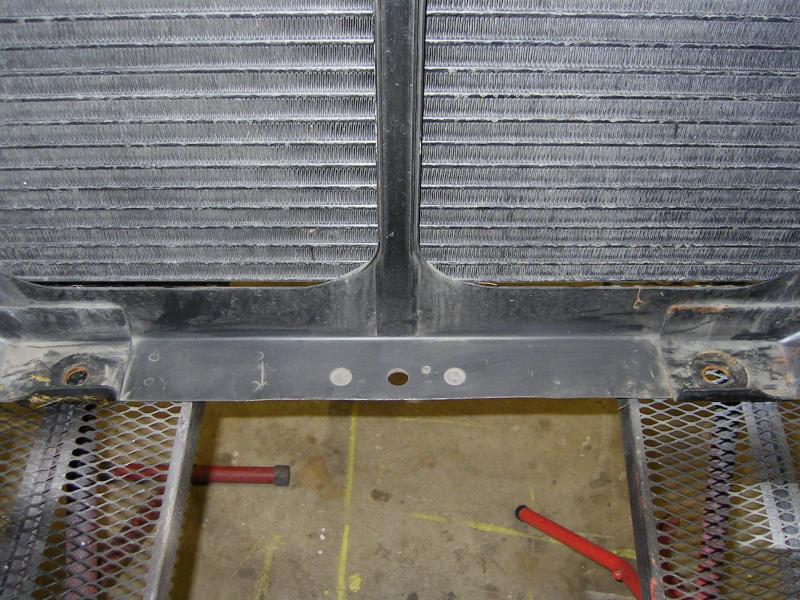
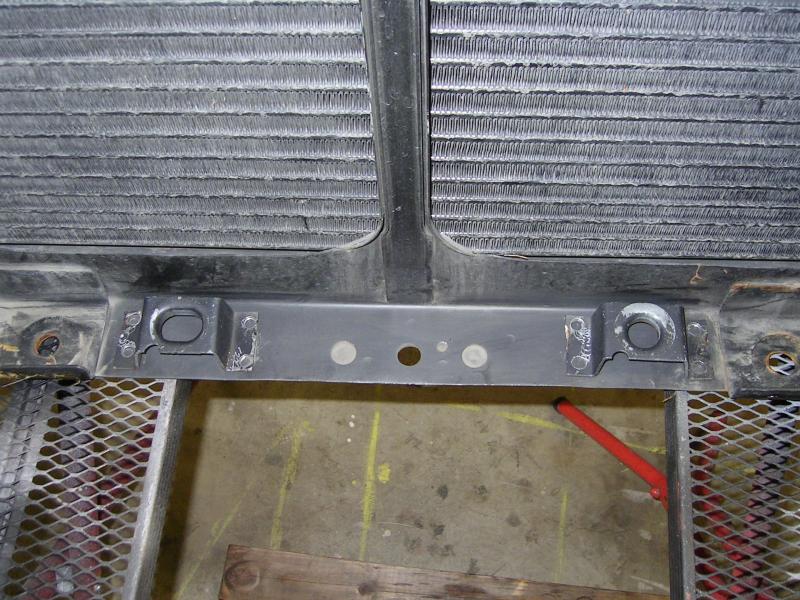
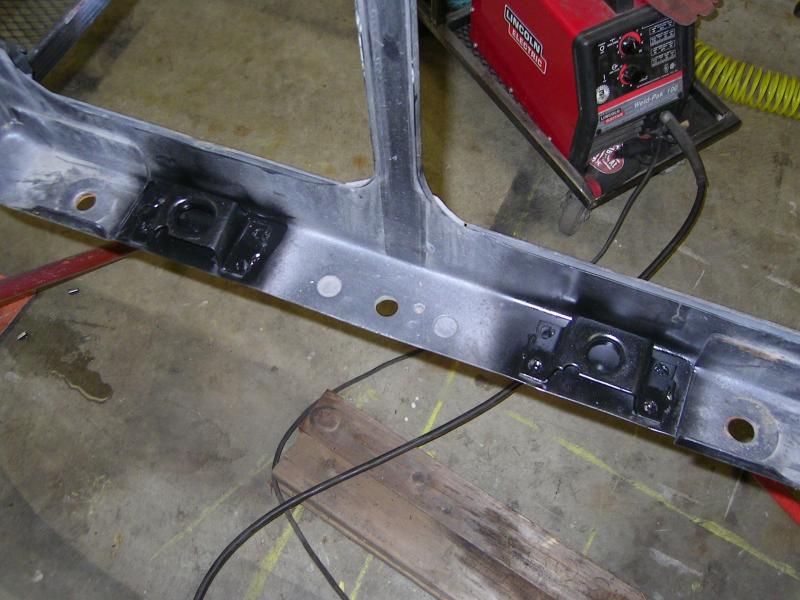
Today I decided i would work on the rad support. I had to re-install the lower mounts for the IC radiator. Since I had removed them to run the old Non-IC rad. Glad I saved all those brackets I removed....


 12-06-2013, 12:43 AM
#360
Registered User
Thread Starter
Power Stroke IC
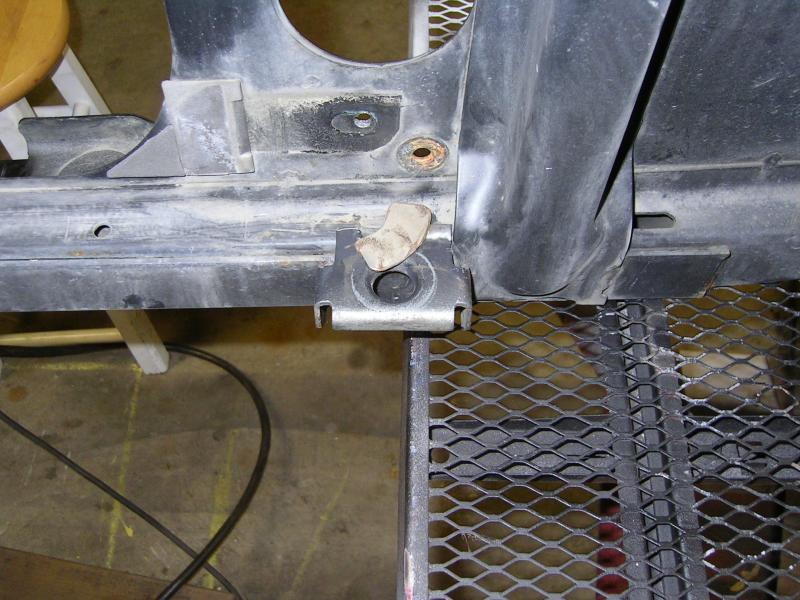
Then I thought I may as well get started working on my PowerStroke IC install.
I used the old front bracket for the Dodge IC I had removed before. I cleaned them up and trimmed them down just a hair on the one side. Then moved them all the way out on either side.
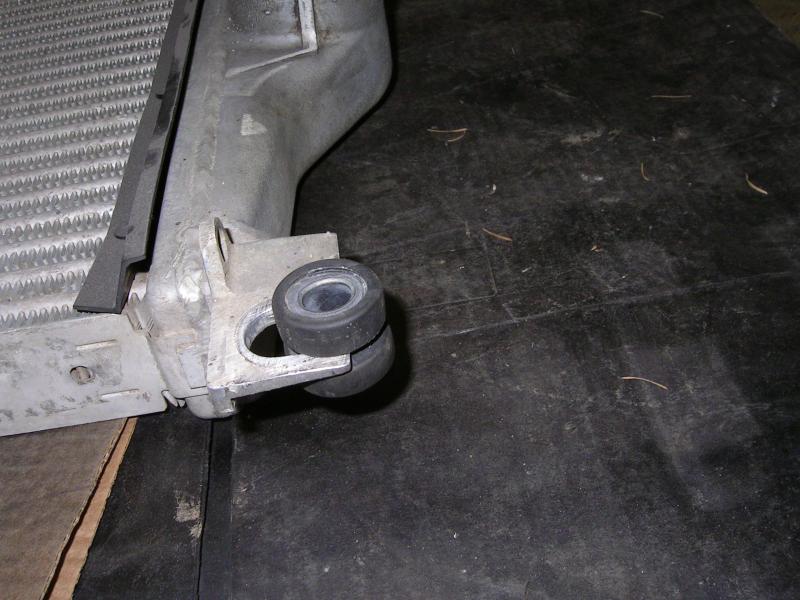
I then spent the next 2 hours trying to find the original bushings that mount on the bottom of the OEM IC and go into these brackets...never did find them.
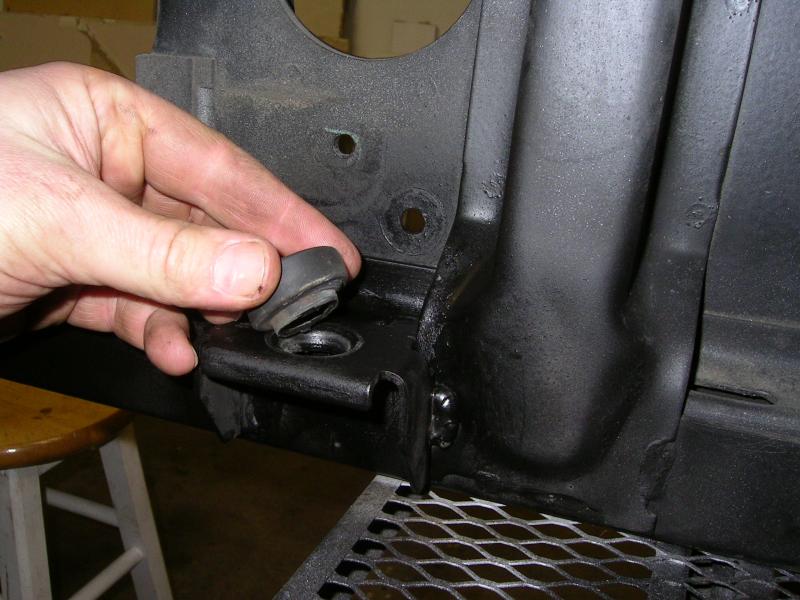
So I used the upper bushing from the PS IC and trimmed them down to fit.
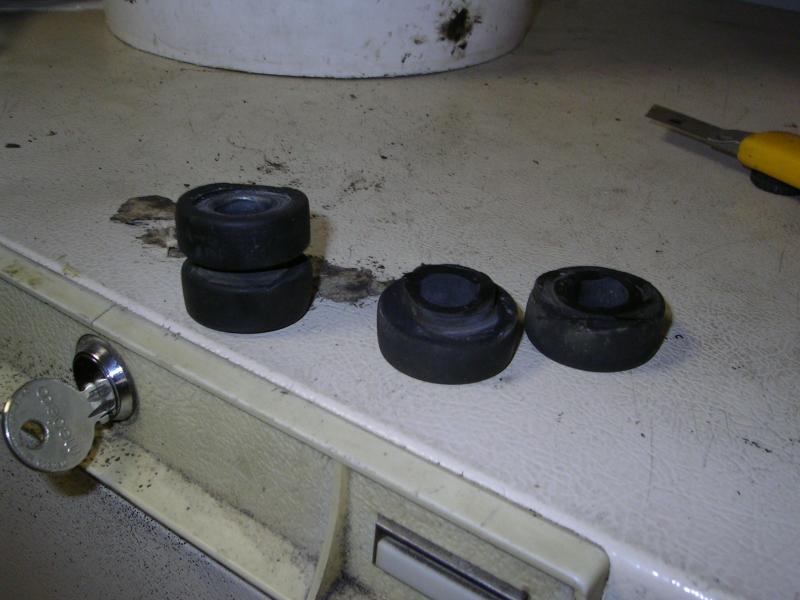
I used the old front bracket for the Dodge IC I had removed before. I cleaned them up and trimmed them down just a hair on the one side. Then moved them all the way out on either side.

I then spent the next 2 hours trying to find the original bushings that mount on the bottom of the OEM IC and go into these brackets...never did find them.
So I used the upper bushing from the PS IC and trimmed them down to fit.


