
Crewcab update...
 11-17-2013, 09:50 PM
#331
Registered User
Thread Starter
I also went to install my sway bar. I had used Rockauto to get the part number for the Moog sway bar bushings....K7302 for a 1 1/16" bar. I never measured mine and when I slipped the bushing over my bar...nope does not fit!! So I measure my bar and I have a 1.18" or 1 3/16" bar. So I have to order up some K7328 bushing instead.
This is the first time I can recall that the Rockauto site has led me astray, or maybe I have a bigger bar for some reason??? Their site does not make mention of this bushing period...so I don't know?
This is the first time I can recall that the Rockauto site has led me astray, or maybe I have a bigger bar for some reason??? Their site does not make mention of this bushing period...so I don't know?
 11-17-2013, 10:14 PM
#332
Registered User
I had the same problem with Rock auto. My sway bar bushings were too small and I assumed I either ordered wrong or had a different size bar.
Ended up reusing my old ones until I put the crossover system in
Ended up reusing my old ones until I put the crossover system in
11-18-2013, 07:21 AM
#333
Registered User

Wow, you've been busy as usual.
I would replace the input bearing retainer, mostly in light of the wear on the quill (where the throwout bearing rides).
To remove a bearing race like that in the future, the easiest way is with a welder. Crank up the amps and lay a heavy bead in the center of the race all the way around the inside. Let it cool, and the race will fall out.
I love that trick -- thanks for an excuse to mention it
I have had a few bad part #'s from Rock Auto -- I will normally try to use their cross reference application list as a double check to make sure I am getting the right part, but it doesn't always help. I still like Rock Auto -- the local guys are even worse most of the time . . .
11-18-2013, 07:53 AM
#334
Registered User

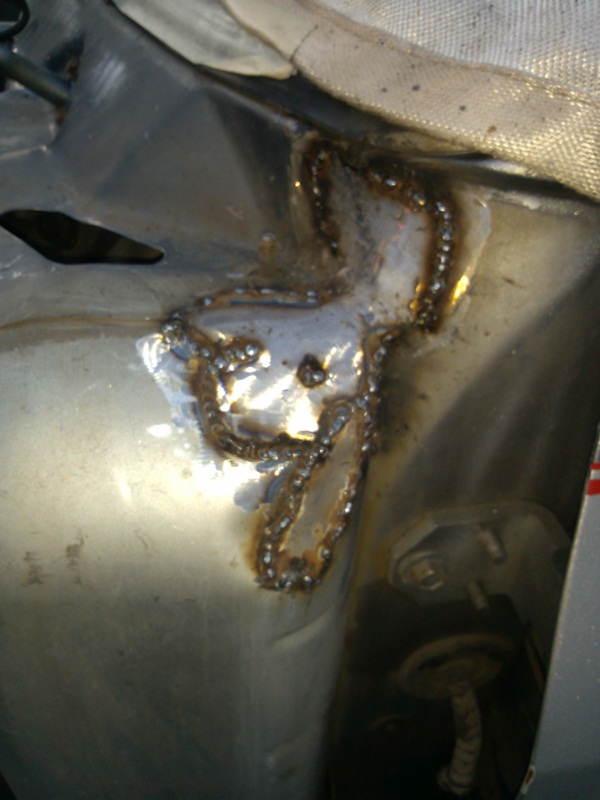
Been sick the last couple days... So only doing a little puttering on the truck. I decided to start welding up some of the cowl area cracks, since the wind and rain had stopped for a little while. I still need to finish them off, and then make a couple reinforcement plates as well.

So only doing a little puttering on the truck. I decided to start welding up some of the cowl area cracks, since the wind and rain had stopped for a little while. I still need to finish them off, and then make a couple reinforcement plates as well.
You could do a full seem but you would need some support, maybe a tube steel somewhere inside to support it from twisting?
11-18-2013, 10:20 PM
#335
Registered User
Thread Starter
Thanks for the info Bannered!! I will keep it in mind. How many years has it been since you welded up those areas?
If I have to go in every few years and tack up some more cracks...I can live with that. Excuse to double check things, and clean things up I guess.
If I have to go in every few years and tack up some more cracks...I can live with that. Excuse to double check things, and clean things up I guess.
11-19-2013, 07:46 AM
#336
Registered User
Join Date: Dec 2010
Location: Land of the Toxic Avenger
Posts: 6,789
Received 1,647 Likes
on
1,120 Posts
Changing out the cab mount bushings will supposedly help with the re-cracking issue. I did mine this spring, and so far so good. You should put some "strapping" across that gap so that you're not just relying on the welds, but then again, I bet you're already working on that....
Since I don't really off road this truck, I can feel comfortable that it will last a while.... years if not a few minutes...


Since I don't really off road this truck, I can feel comfortable that it will last a while.... years if not a few minutes...
11-20-2013, 09:34 AM
#338
Registered User
Going strong for three years!! Keep in mind that from the factory they brazed the cab together with brass. Low heat, good strength and doesn't cause panels to warp. Brass can flex and has more give than steel. It was a good idea in theory but you can't weld brass to steel, it just doesn't work. Welding steel actually molds together and creates a good bond. Since there is so many curves and bends in this area the weld is a good choice. If you replaced the factory braze, it will hold for a really long time.
11-23-2013, 10:22 PM
#339
Registered User
Thread Starter
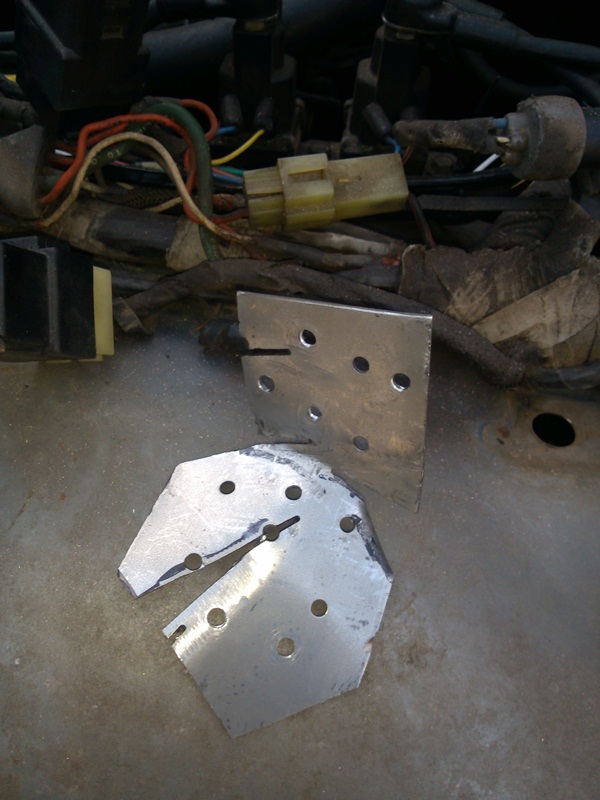
So my machinist called and said he finally got my plates done. Did a really nice job on them. Little bit longer then the original, and all flat, so should distribute the load better over the slightly compromised top spring. All this was suggested by the guys at the spring shop I use.

Then Got the 2wd Dana 60, and all springs, hangers etc out of the truck on Friday.

Then Got the 2wd Dana 60, and all springs, hangers etc out of the truck on Friday.
 11-23-2013, 10:28 PM
#340
Registered User
Thread Starter
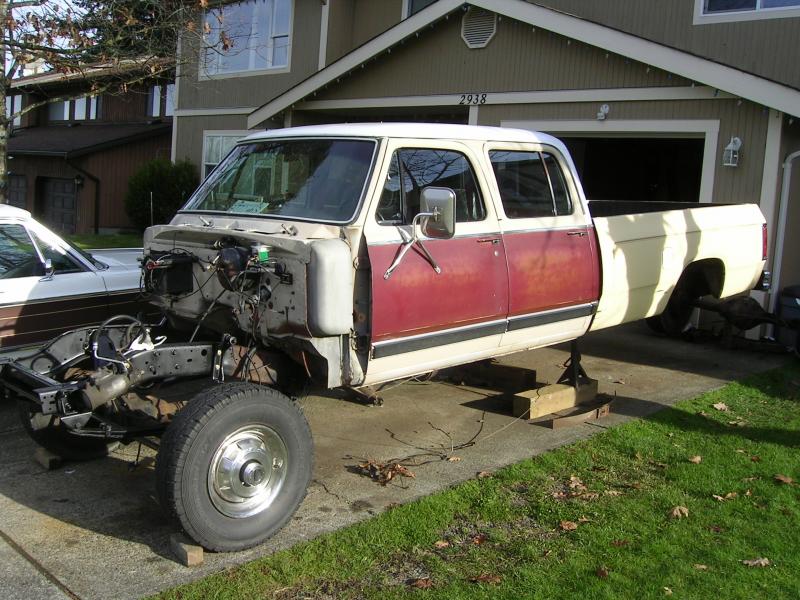
Today I installed the Re/Re'd springs from the donor 93, and got the Dana 70 in place and bolted up.
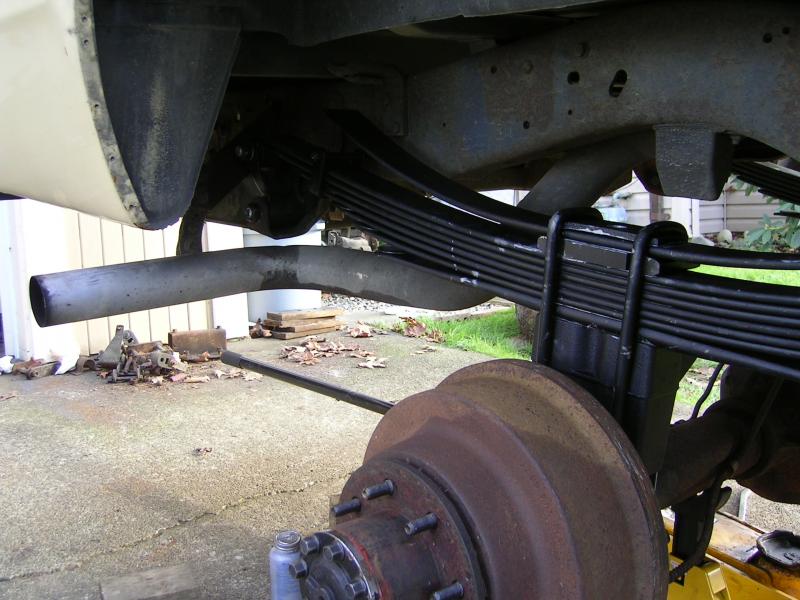

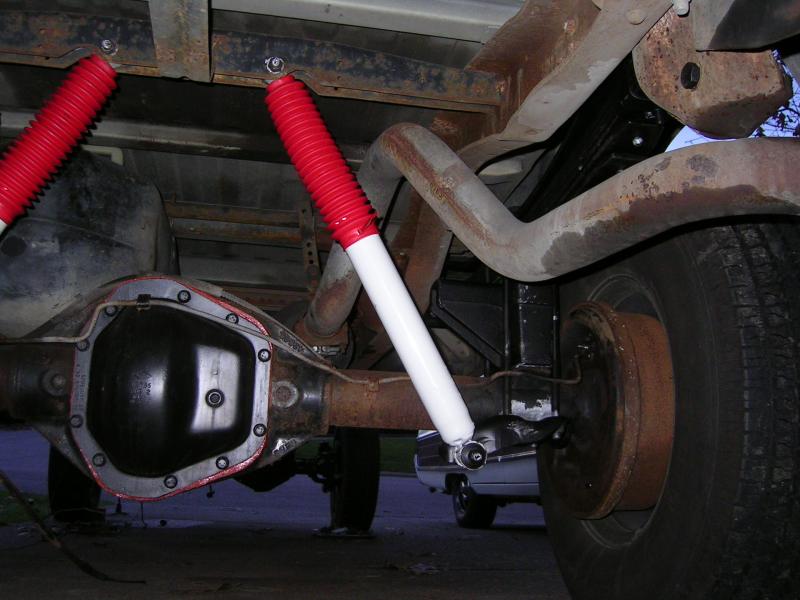
Had some fun with one of my shocks. The factory installed the bushings in the wrong ends...top for bottom and vica versa. Took me, and my friend and neighbor, about 2 hours to carefully remove the bushing and swap them around.
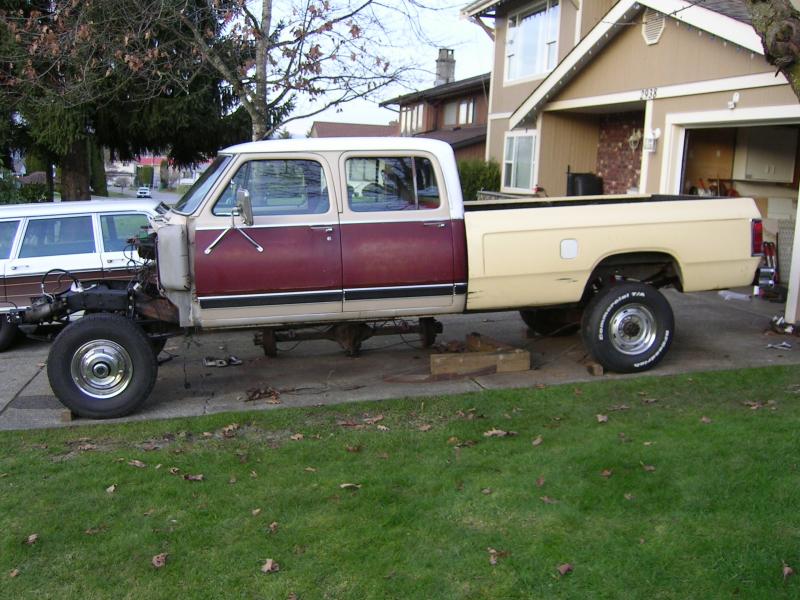
And all done and sitting pretty....**** it's going to sit high!!


Had some fun with one of my shocks. The factory installed the bushings in the wrong ends...top for bottom and vica versa.
Took me, and my friend and neighbor, about 2 hours to carefully remove the bushing and swap them around.And all done and sitting pretty....**** it's going to sit high!!
 11-25-2013, 09:28 AM
#342
Registered User

Looking really good!
One of these days I will get to mine.
One of these days I will get to mine.
11-25-2013, 06:25 PM
#343
Registered User
Join Date: Dec 2010
Location: Land of the Toxic Avenger
Posts: 6,789
Received 1,647 Likes
on
1,120 Posts
Hey TC,
Did you ever do a carrier bearing in your ride ? The reason I ask is that there was a TSB on my truck which said to lower the carrier bearing with spacers, which, in turn, dropped the angle of the shaft towards the rear axle. This was a TSB that was initiated by chrysler because of driveline vibrations.
Just curious...
Looking great, BTW.
11-27-2013, 08:36 PM
#344
Registered User
Thread Starter
Thanks for the kind words Guys...Appreciate it!!
And T-man...I have not done anything with the carrier bearing set-up yet. I've actually been wondering about what I need to do. I need all new drive shafts made up, so will probably talk to the driveline place locally and get their opinion on what I should do.
What have other crewcab guys done?
And T-man...I have not done anything with the carrier bearing set-up yet. I've actually been wondering about what I need to do. I need all new drive shafts made up, so will probably talk to the driveline place locally and get their opinion on what I should do.
What have other crewcab guys done?
11-27-2013, 09:57 PM
#345
Mine is out of a 99 dodge 4wd. its a 2 piece with a carrier bearing. I had the back section re tubed. Seems to work ok. When I switched from the getrag to the nv5600 I had it reworked again and 6'' taken out of it. The 99 had the same size u joints as what the getrag and dana 70 used so it worked pretty easy. I fabricated my own carrier bearing crossmember.
Sent from my DROID4 using Tapatalk 2
Sent from my DROID4 using Tapatalk 2